Installing a Skylight on a Motorhome, a caravan, or a Campervan is an essential step to improve the brightness and ventilation of your mobile living space. Whether you choose a classic 40x40 skylight, a panoramic model, or a skylight with a 12V fan, the installation remains accessible to everyone with a bit of method and the right tools.
This advanced guide accompanies you step by step to successfully complete your installation.
- 1. Why install a skylight?
- 2. The different types of skylights for Motorhomes and Campervans
- 3. What equipment to use to install a skylight on a converted van?
- 4. Installation steps for a 40x40 skylight (to be validated)
- 5. Tips to optimize ventilation (12V fan)
- 6. Selection of recommended skylights
Our Vanlife layout experts are here for you! Whether you have a question about our products or are looking for advice to transform your van into a true nomadic cocoon, contact us – we will be happy to guide you!

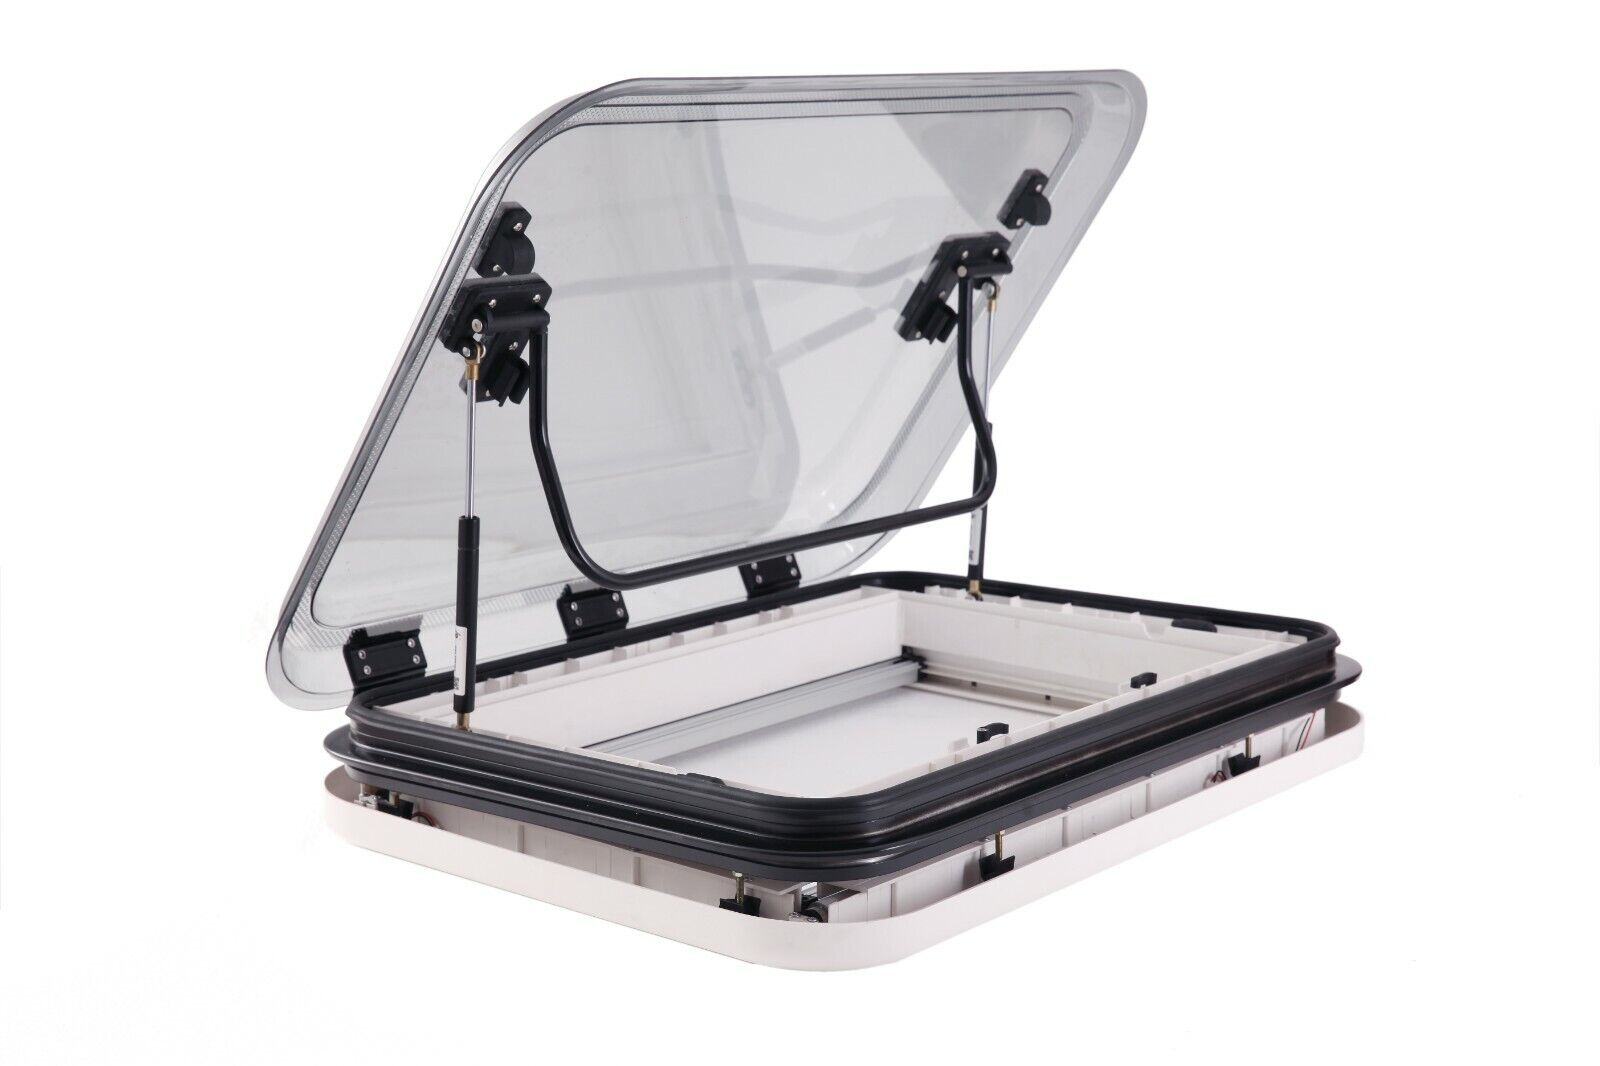
Why install a skylight?
Installing a skylight (also called Vasistas or sometimes Skydome) on a Motorhome or a Campervan offers many advantages.
First of all, it provides precious natural light inside the vehicle, making the living space more pleasant daily.
It also improves ventilation, which limits condensation and bad odors, especially during cooking or on cool nights. So with a good skylight and good ventilation, no more humidity problems.
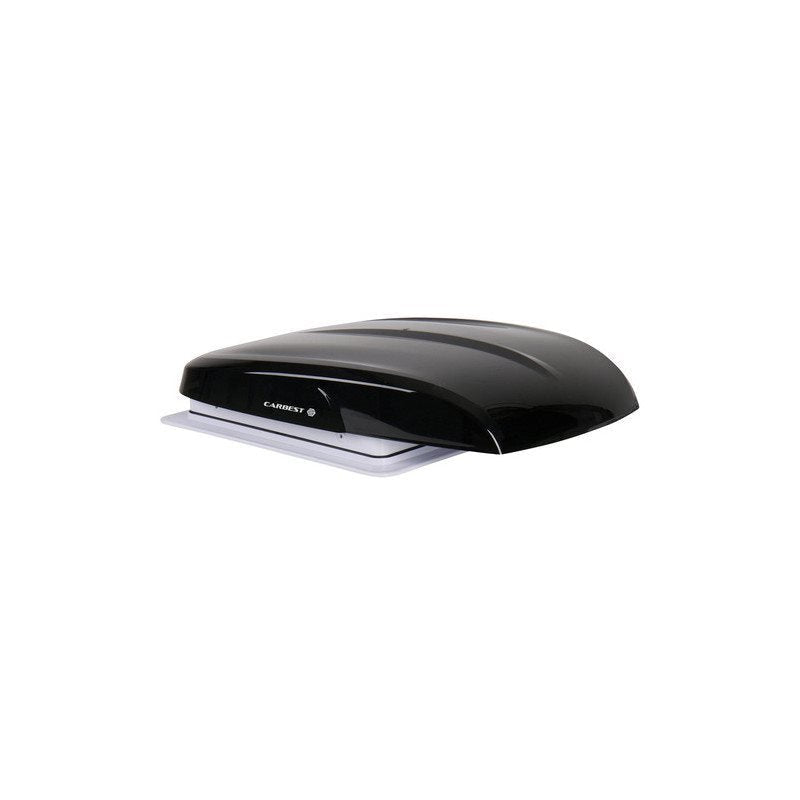
Some skylight models are equipped with a 12V fan, thus ensuring optimal airflow even when the vehicle is stationary. You should also favor skylights with permanent ventilation that allow continuous airflow, an essential prerequisite for approval for example.
So in conclusion, adding a skylight enhances your vehicle while significantly improving onboard living comfort!
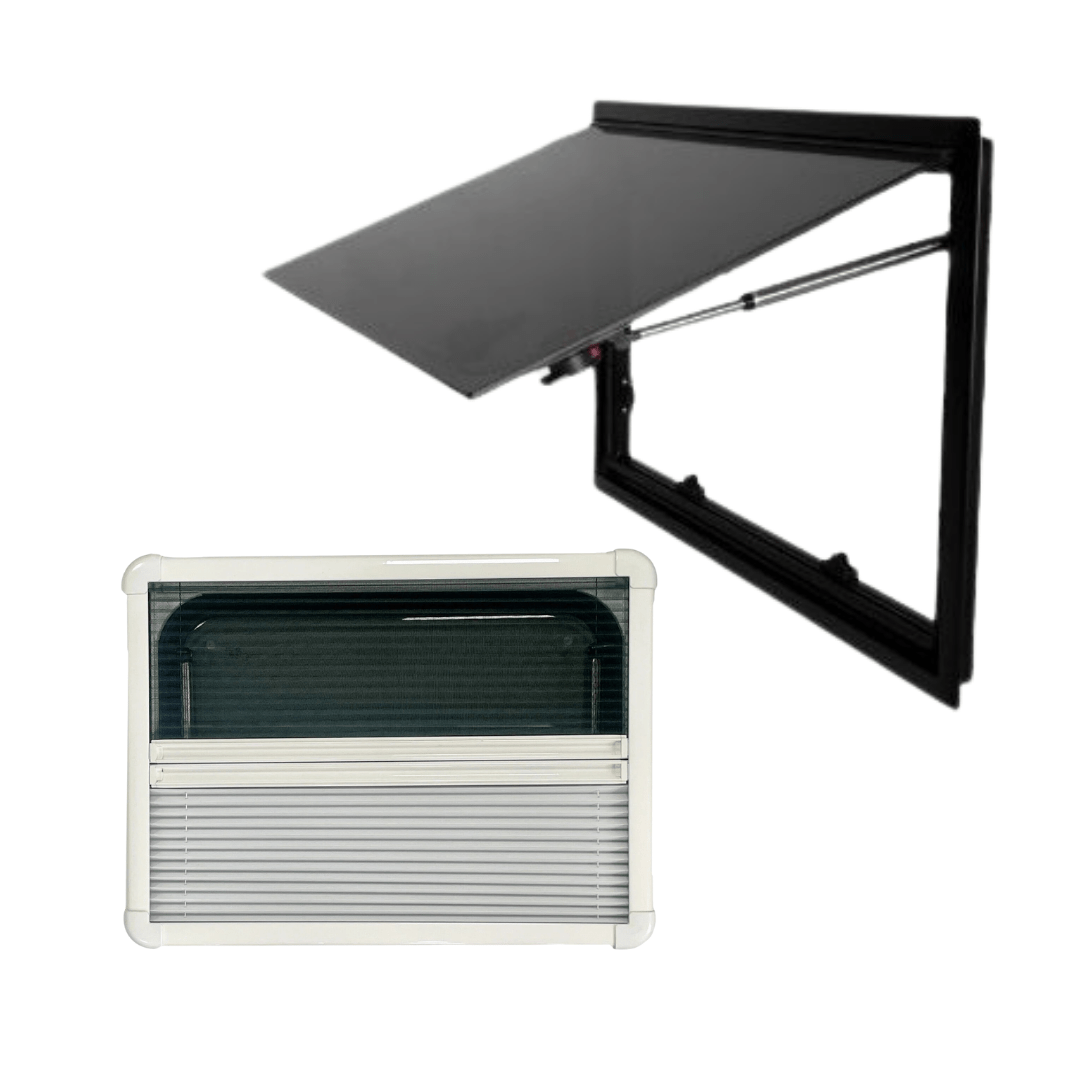
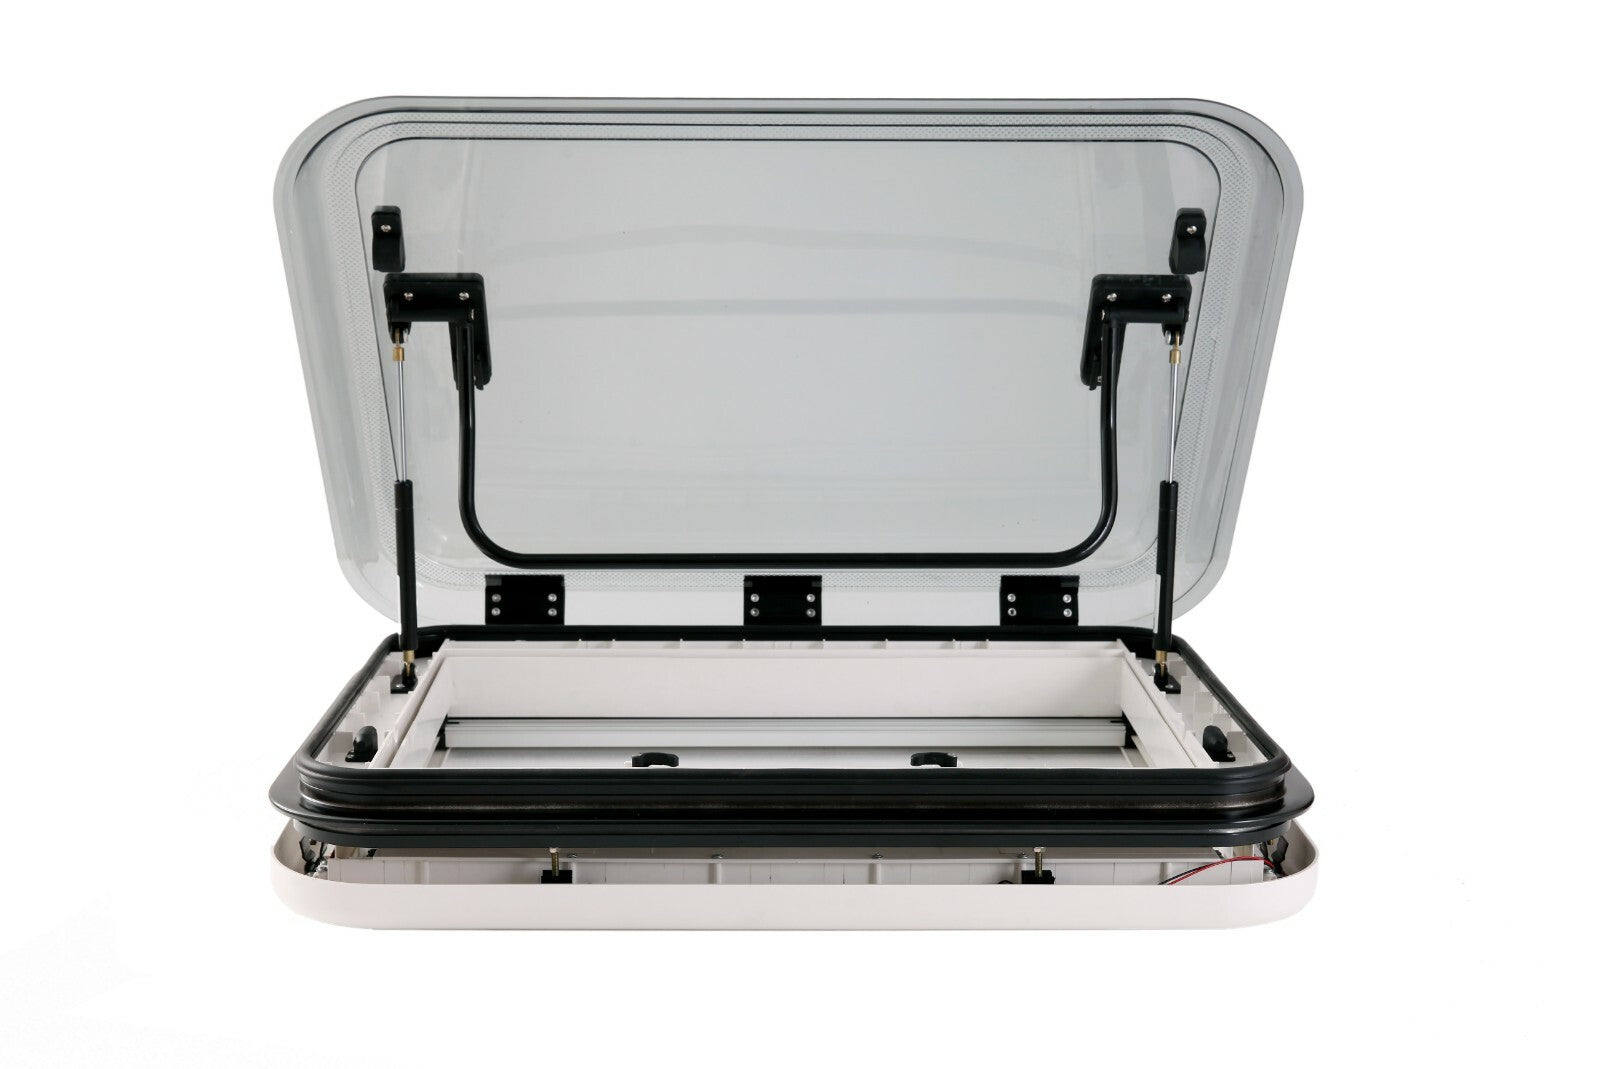
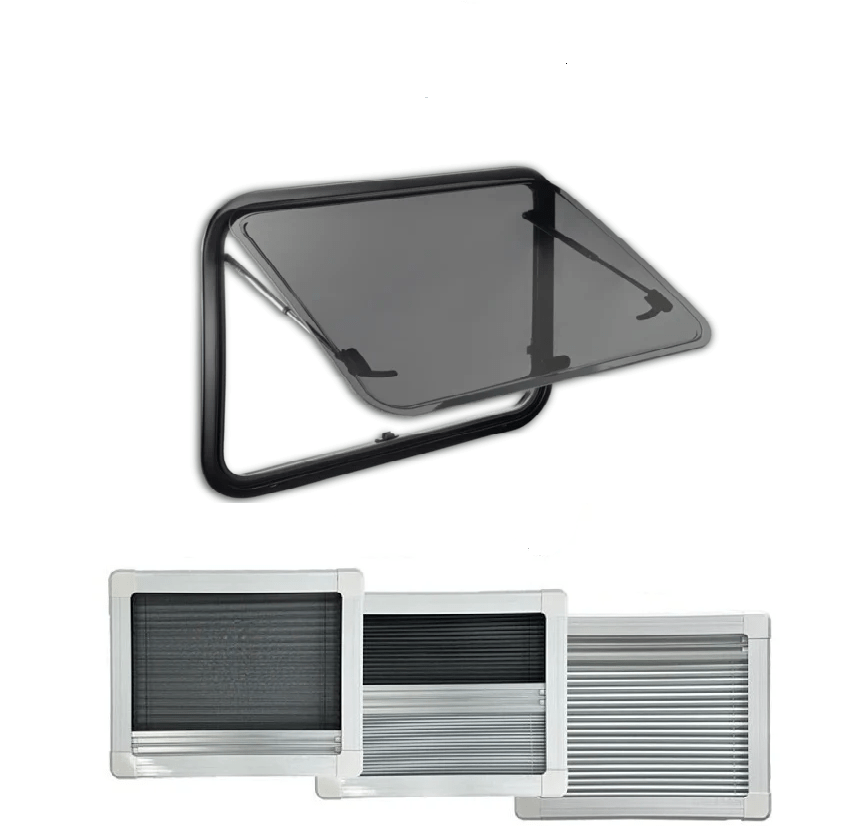
The different types of skylights for Motorhomes and vans
Depending on your needs and budgets, you can choose the best skylight for your vehicle, whether it is a Motorhome or a Campervan:
| Type of skylight | Main advantages | Examples of recommended products |
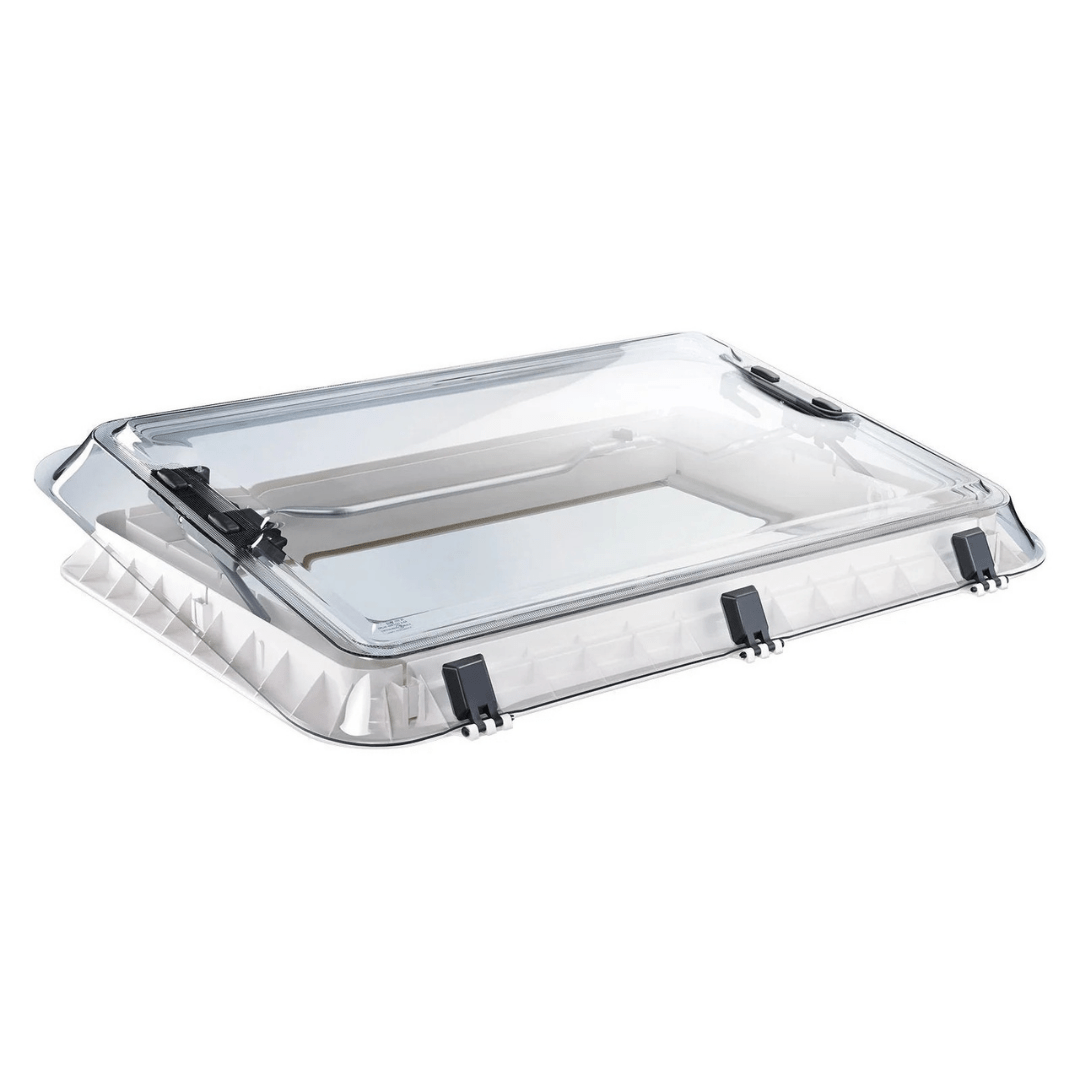
| Skylight 40x40 | Standard, easy to install, compatible everywhere.Price from €119.May include permanent ventilation of 100 cm² as well as an LED frame.Includes mosquito net and blackout blind | Skylight 40x40 Style , VanVent Skylight 400x400 |
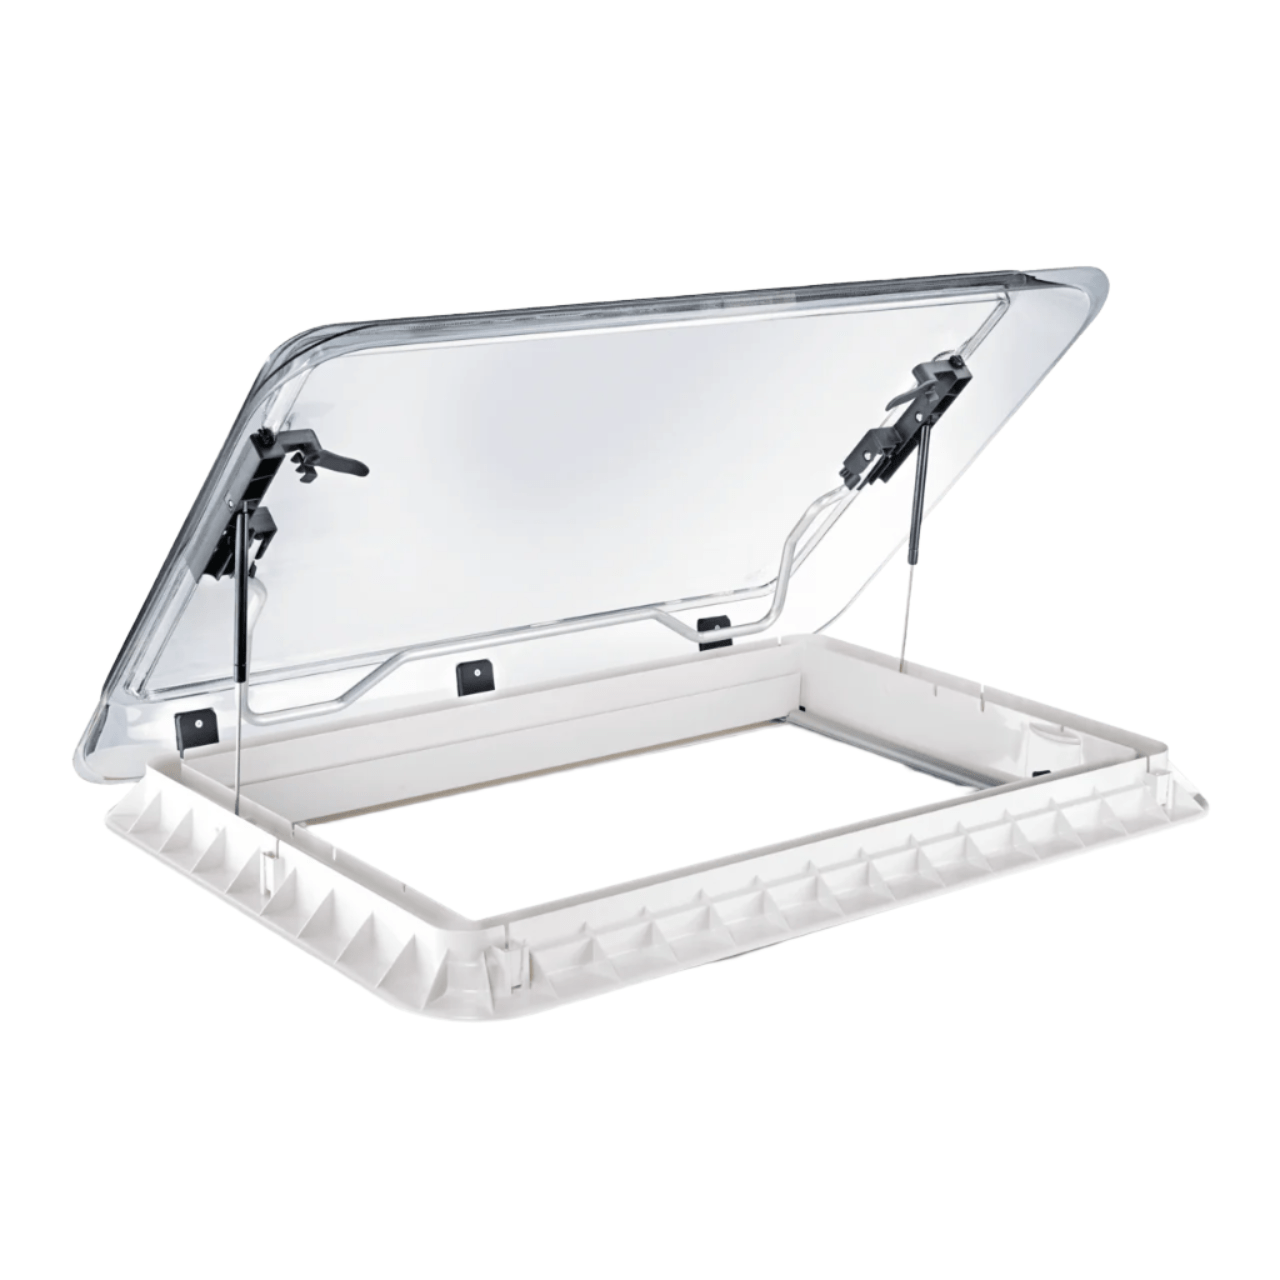
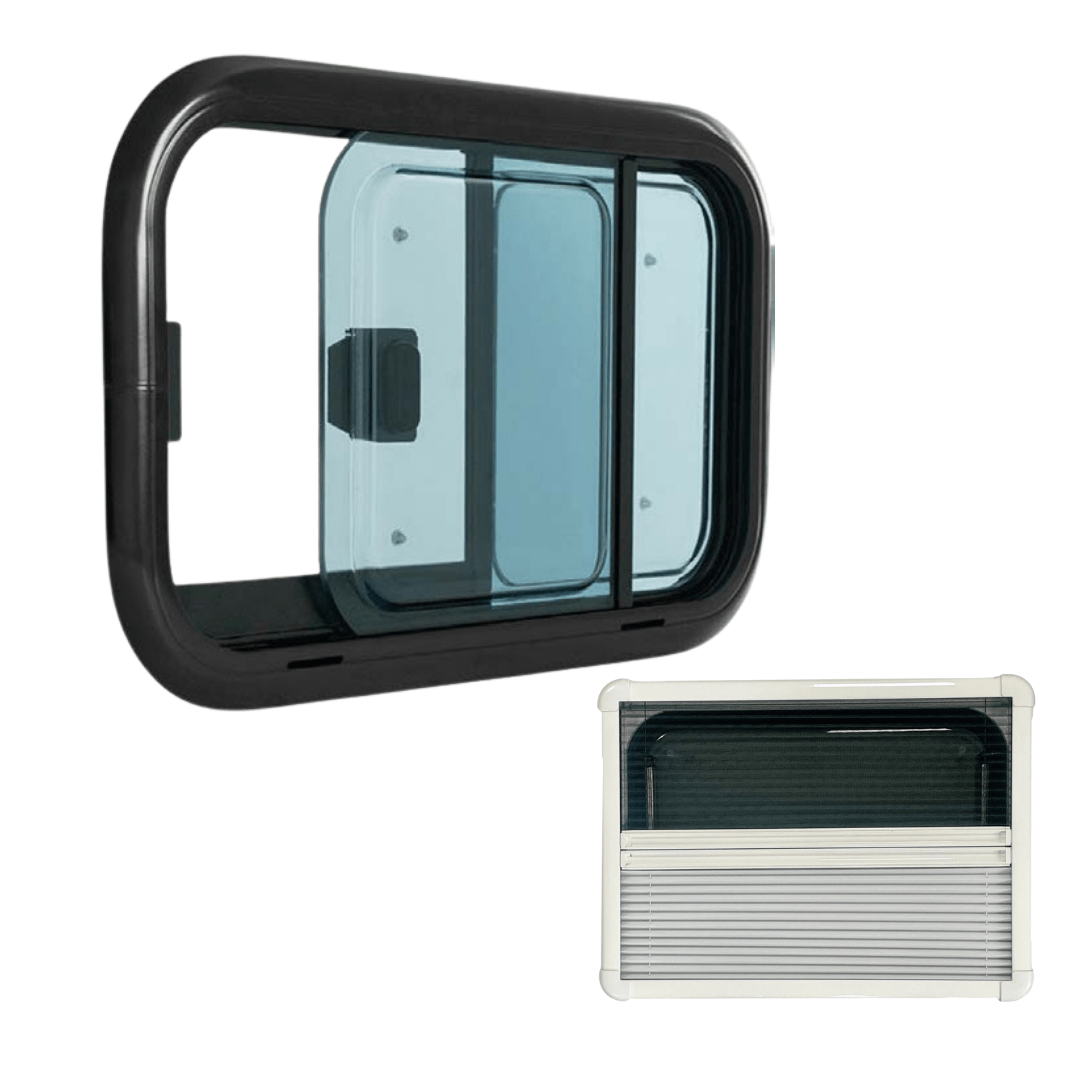
| Panoramic skylight 50x70 | Large opening, clear view, maximum brightness.Specifically designed for Campervans L2H2 and larger.Price from €269 for the version without permanent ventilation.150 cm² for the version with permanent ventilationIncludes mosquito net and blackout blind | Panorama LED Skylight 70x50 |
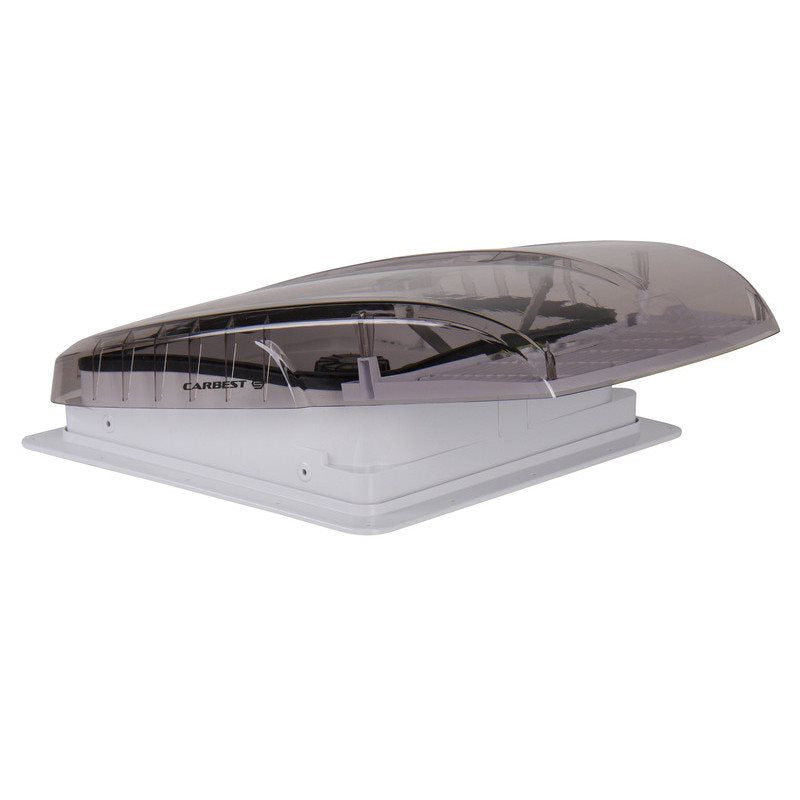
| Skylight with 12V fan | Active ventilation, ideal for kitchen and showersMultiple ventilation speedsIncludes mosquito net.From €149 | Skylight Fan 40x40 |
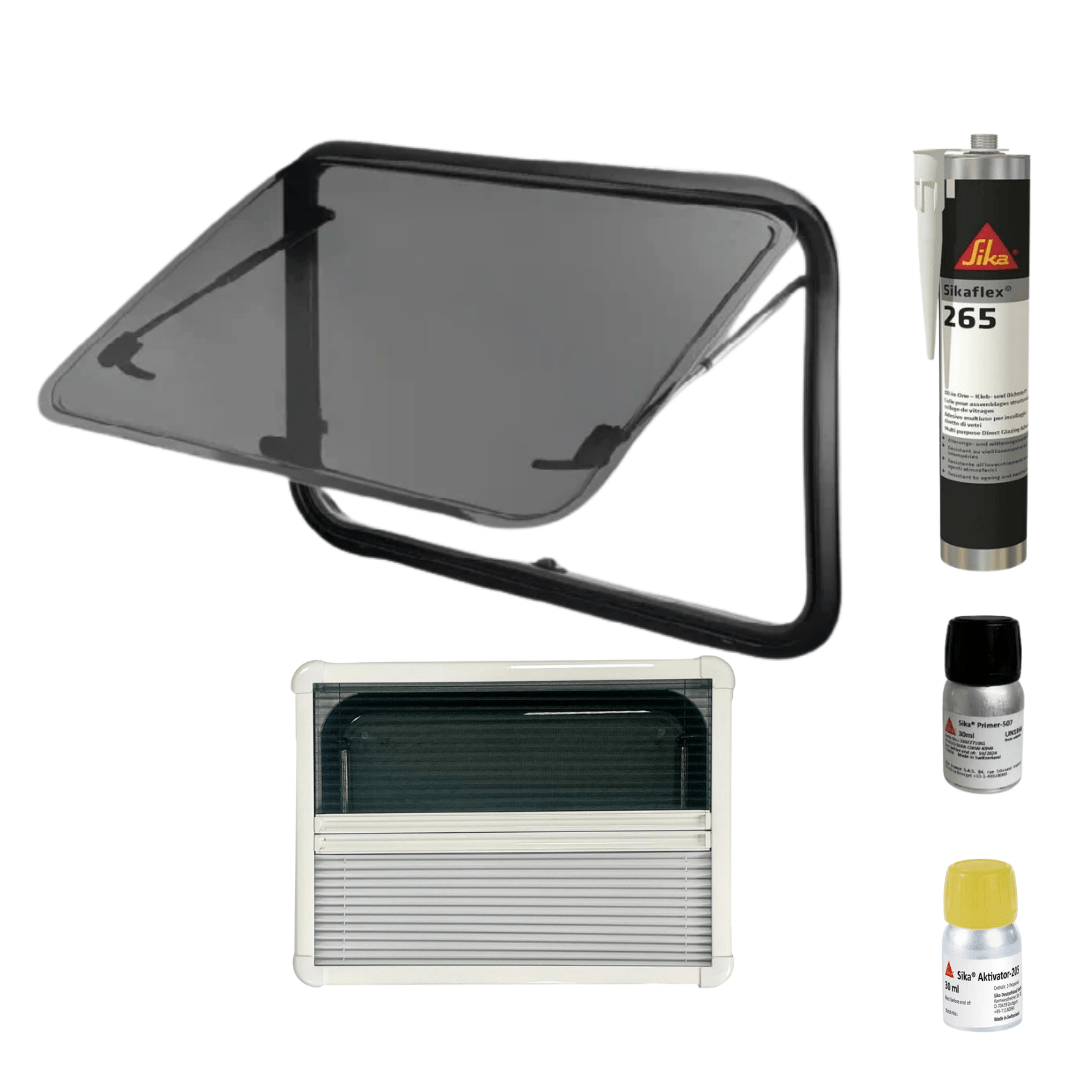
What equipment to use to install a skylight on a Campervan?
If you are installing the skylight yourself, here is a list of the necessary equipment:
- Skylight adapted to your vehicle (see selection above)
- Drill and bits to drill the first hole before cutting the sheet metal
- A jigsaw to cut the outlines in the sheet metal
- Waterproof sealant (type Sikaflex 552AT)
- Masking tape and file
- Screws provided with the skylight
- Measuring tape, pencil, ruler to mark the template before cutting the sheet metal
- Anti-rust paint for cut edges
Installation steps for a 40x40 skylight (to be confirmed)
1. Choosing the location
- Prefer a flat and clear area of the roof.
- Check for absence of cables, reinforcements, or existing equipment.
2. Marking and cutting
- Precisely mark the opening to the size of the skylight (e.g., 40x40 cm).
- Drill the corners then cut with a jigsaw.
- File and protect the edges with anti-rust paint.
3. Preparing the waterproofing
- Apply a bead of sealant around the perimeter of the opening.
- Place the skylight and screw it in without overtightening to avoid deforming the frame.
- On the curved roof, compensate with sealant to ensure waterproofing.
4. Interior finishes
- Install the supplied interior frame.
- Check the proper operation of the opening and the mosquito screen/blackout.
5. Waterproofness test!
- Important: Always water the skylight generously to check for leaks.
Tips to optimize ventilation (12V fan)
To optimize ventilation inside your Motorhome or Campervan, it is advisable to combine a classic skylight with a model equipped with a 12V fan.
This setup is particularly effective for extracting hot air or cooking odors. Installing two skylights, one at the front and one at the rear of the vehicle, also creates a very efficient cross airflow, thus improving air circulation throughout the cabin.
Models equipped with a 12V fan are highly recommended for hot regions or for Campervans with enhanced insulation, as they ensure optimal ventilation even when the vehicle is stationary.
Recommended skylight selection
- 40x40 Style Skylight: the universal standard, easy to install, ideal for most Campervans and Motorhomes.
- Panorama LED Skylight 70x50: for a panoramic view and maximum brightness, perfect for large spaces.
- 40x40 Fan Skylight: includes a 12V fan, perfect for the kitchen or bathroom.
- VanVent Skylight 400x400: robustness and simplicity, excellent value for money.
Find these models on Vanlife Store (category Skylights) and discover other accessories on sale for fitting your Campervan or Motorhome.
In conclusion
In summary, installing a skylight on your Motorhome, Campervan, or caravan is an accessible project that significantly improves onboard comfort.
If you cannot install a 50x70 (which is a real daily asset in your fitted vehicle), favor a 40x40 skylight for its versatility, or choose a model with a 12V fan for active ventilation.
Follow carefully the cutting, sealing, and fixing steps to ensure a durable and leak-free installation.
To go further, discover our complete guide on Campervan fitting and our other articles: Fitting a Campervan in France: Our advice for fitting your Campervan
For any questions or personalized advice, contact our Vanlife Store expert fitting team!
Why install a skylight?
Installing a skylight (also called Vasistas or sometimes Skydome) on a Motorhome or a Campervan offers many advantages.
Installing a skylight (also called Vasistas or sometimes Skydome) on a Motorhome or a Campervan offers many advantages.
It also improves ventilation.
The different types of skylights for Motorhomes and vans
Depending on your needs and budgets, you can choose the best skylight for your vehicle, whether it is a Motorhome or a Campervan: (See our comparison table above)
What equipment to use to install a skylight on a Campervan?
- Skylight adapted to your vehicle (see selection above)
- Drill and bits to drill the first hole before cutting the sheet metal
- A jigsaw to cut the outlines in the sheet metal
- Sealant (type Sikaflex 552AT)
- Masking tape and file
- Screws provided with the skylight
- Measuring tape, pencil, ruler to mark the template before cutting the sheet metal
- Anti-rust paint for cut edges
Installation steps for a 40x40 skylight
1. Choosing the location
2. Marking and cutting
3. Preparing the waterproofing
4. Interior finishes
5. Waterproofness test!