Do you dream of transforming the interior of your van or Motorhome with more natural light and better ventilation? Adding a special Motorhome and Campervans window can completely change your travel experience. But for this installation to be a real asset, you still need to choose the right window and install it correctly. Here is a detailed and educational guide to assist you in this process.

Our Vanlife layout experts are here for you! Whether you have a question about our products or are looking for advice to transform your van into a true nomadic cocoon, contact us – we will be happy to guide you!
Why include a window in your conversion project?
First of all, take the time to lay the foundations of your project. A well-placed window can not only brighten your space but also improve ventilation and thermal comfort. However, if poorly chosen or positioned, it can cause inconveniences: heat loss, excessive humidity, or interior clutter.
Something to consider:
- Would you like a window near the cooking area to eliminate odors?
- Do you prefer a window at the back of the van to enjoy the view upon waking up?
- How many openings are really necessary without compromising thermal insulation?
Once these details are defined, let's move on to choosing the opening system.
Fixed, sliding, or push: which to choose?
Each type of window corresponds to specific uses. Here are their main characteristics to help you make the right choice:
1. Fixed windows
These are the simplest and least expensive. They add light and an aesthetic touch but remain non-opening, so they are very poorly suited for life in a van, as they provide no ventilation and are often delivered without blackout blinds.
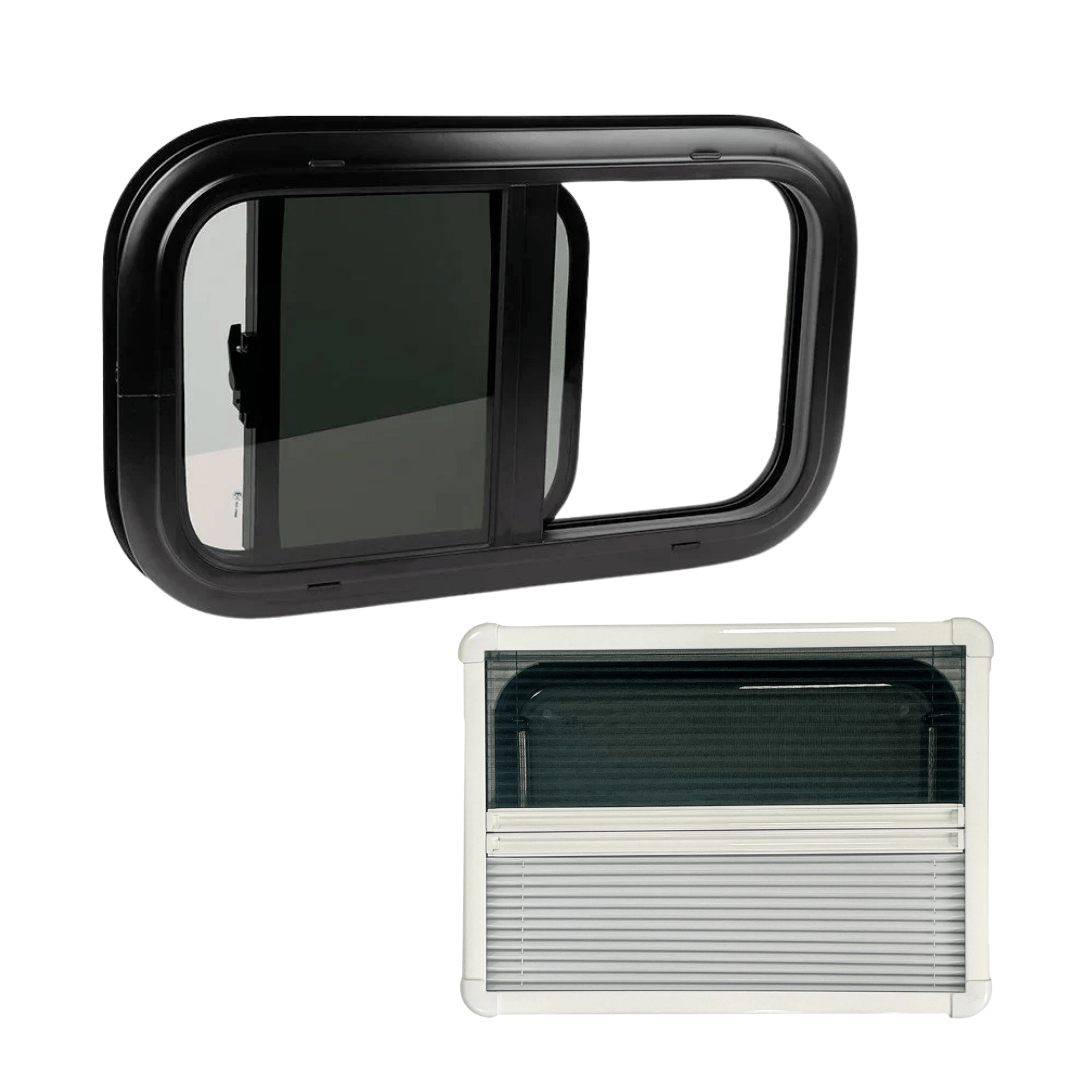
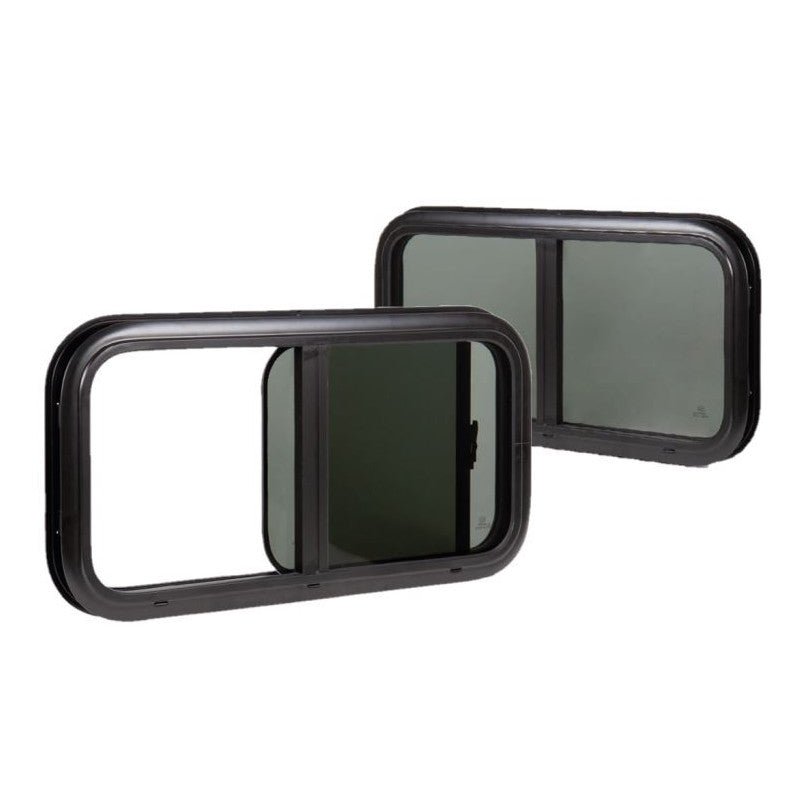
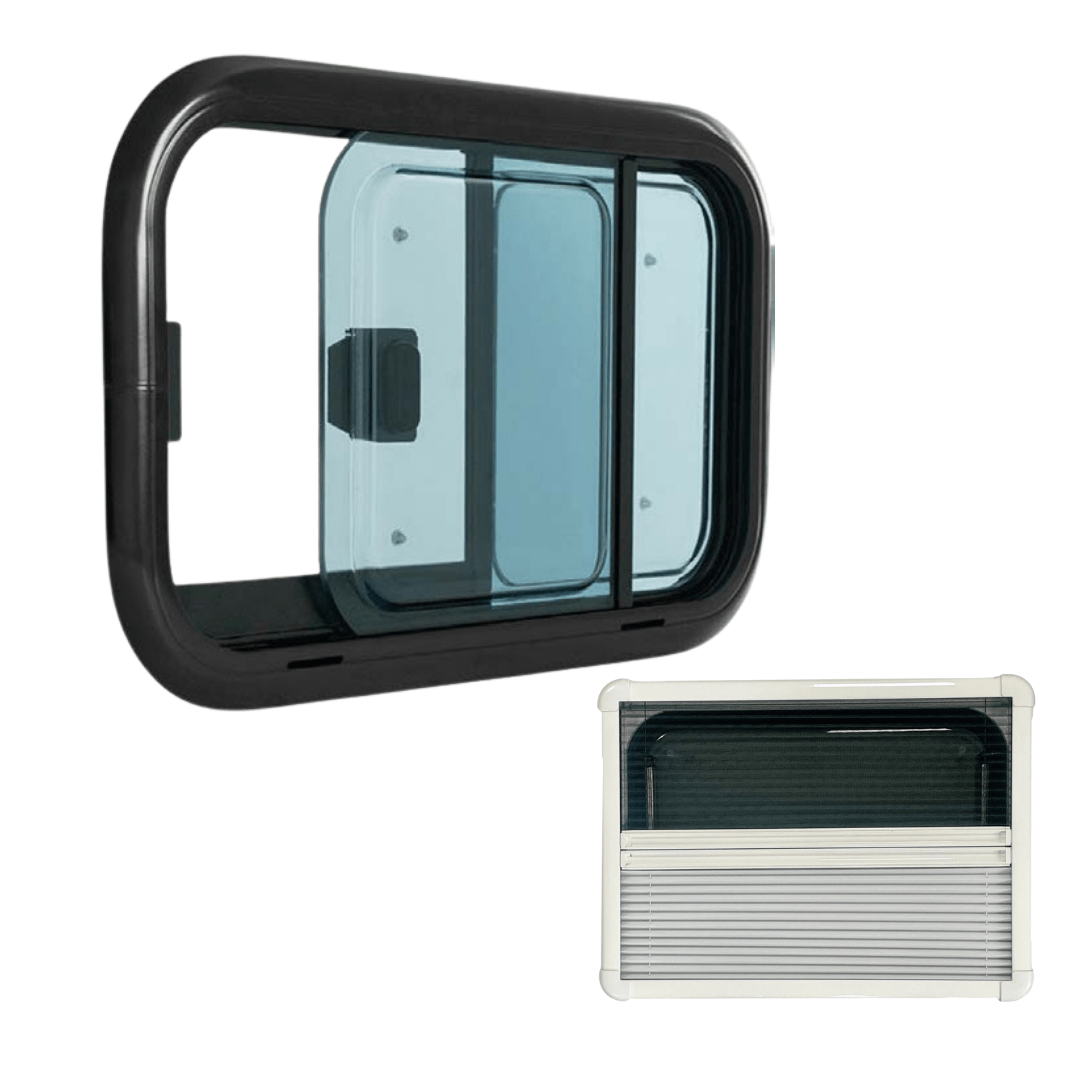
2. Sliding windows
Ideal for mixed use (road + parking), they integrate discreetly and offer good ventilation without wind risk. Their mechanism is robust, and they are particularly suitable for areas where outdoor space is limited.
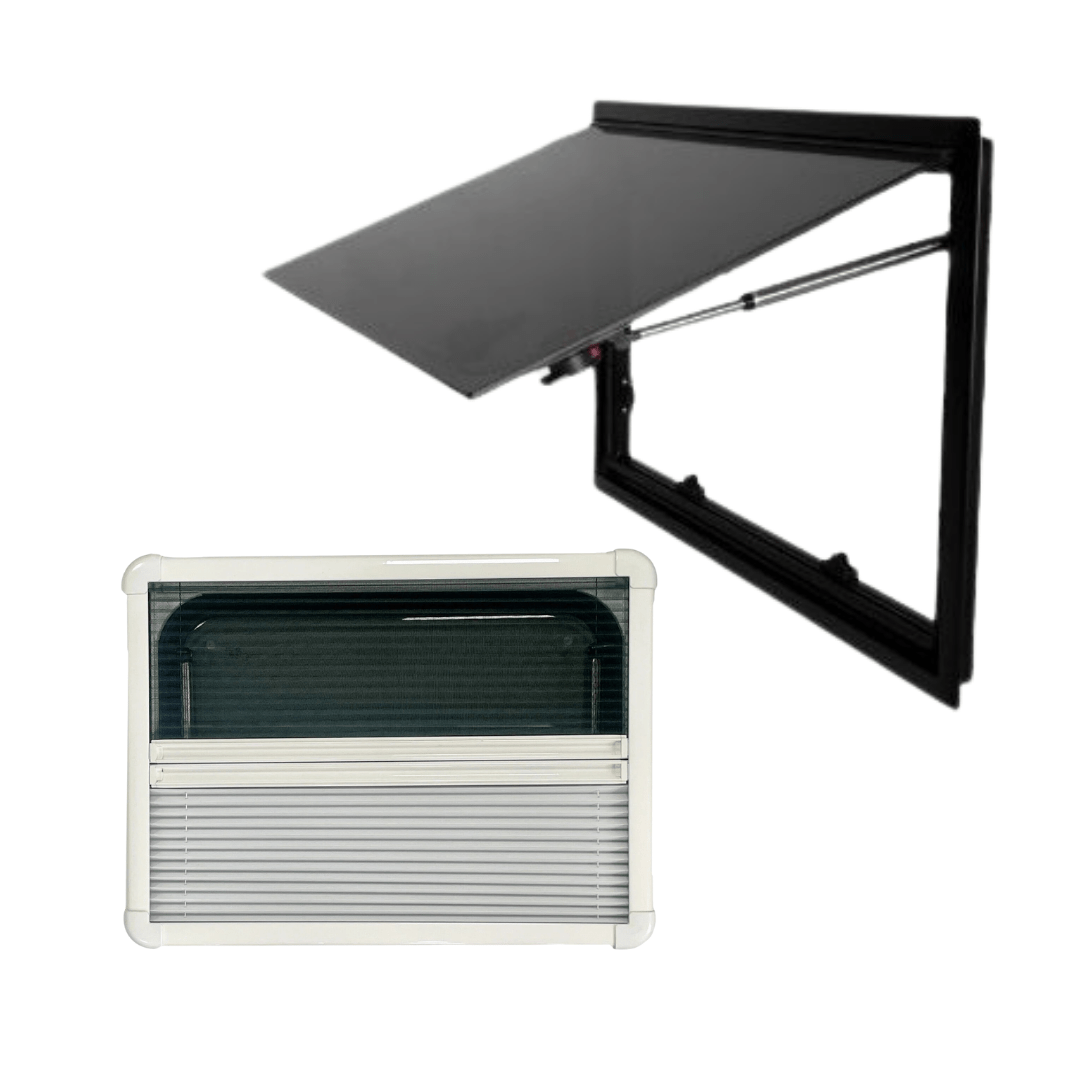
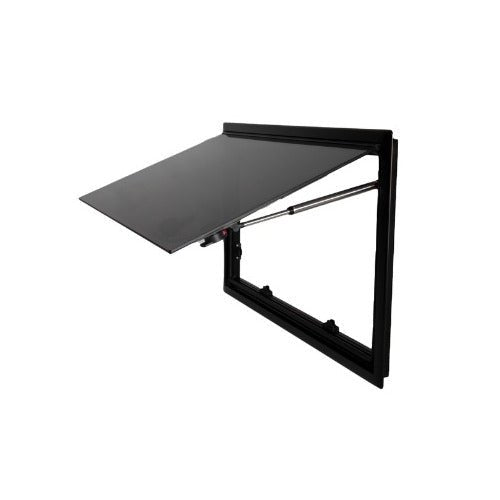
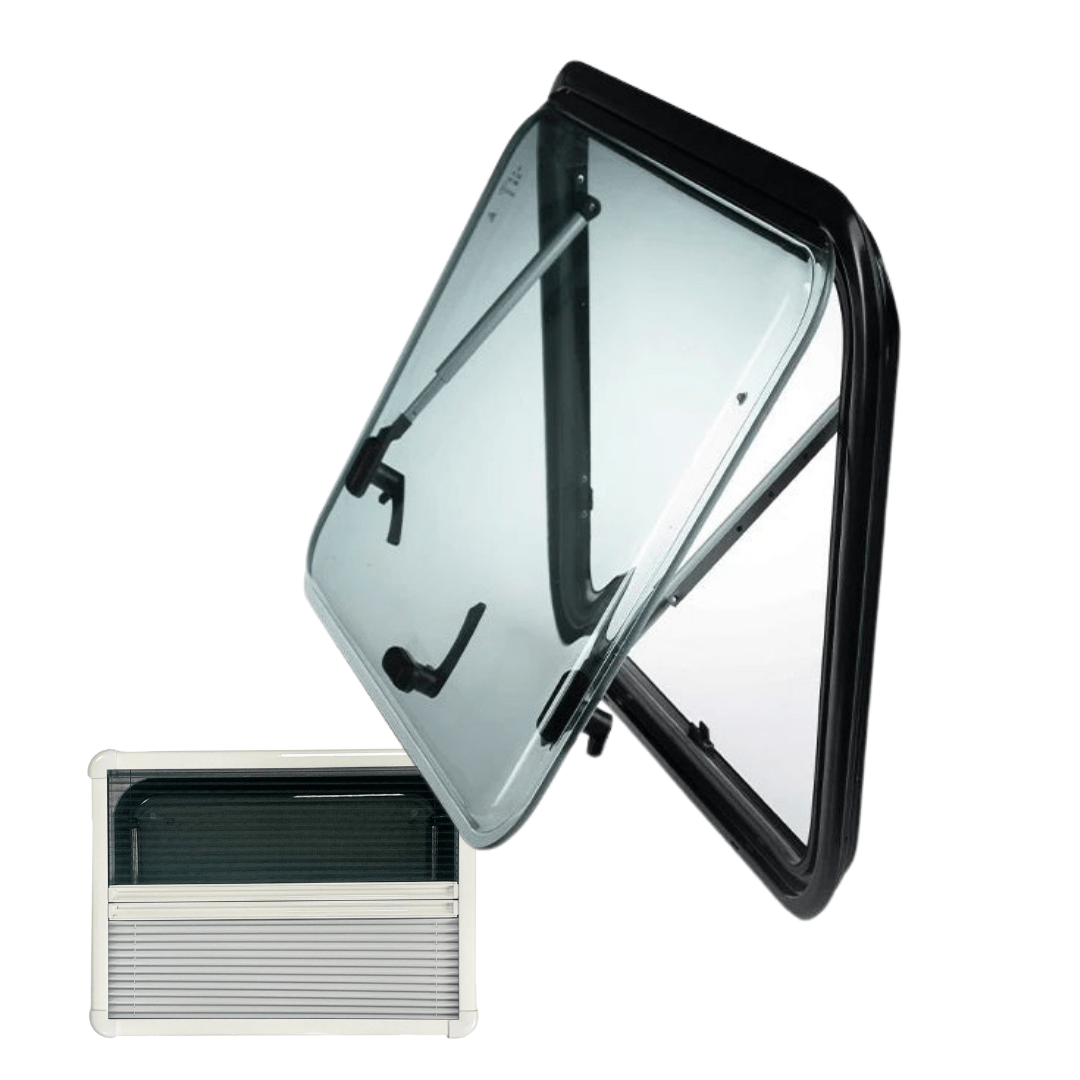
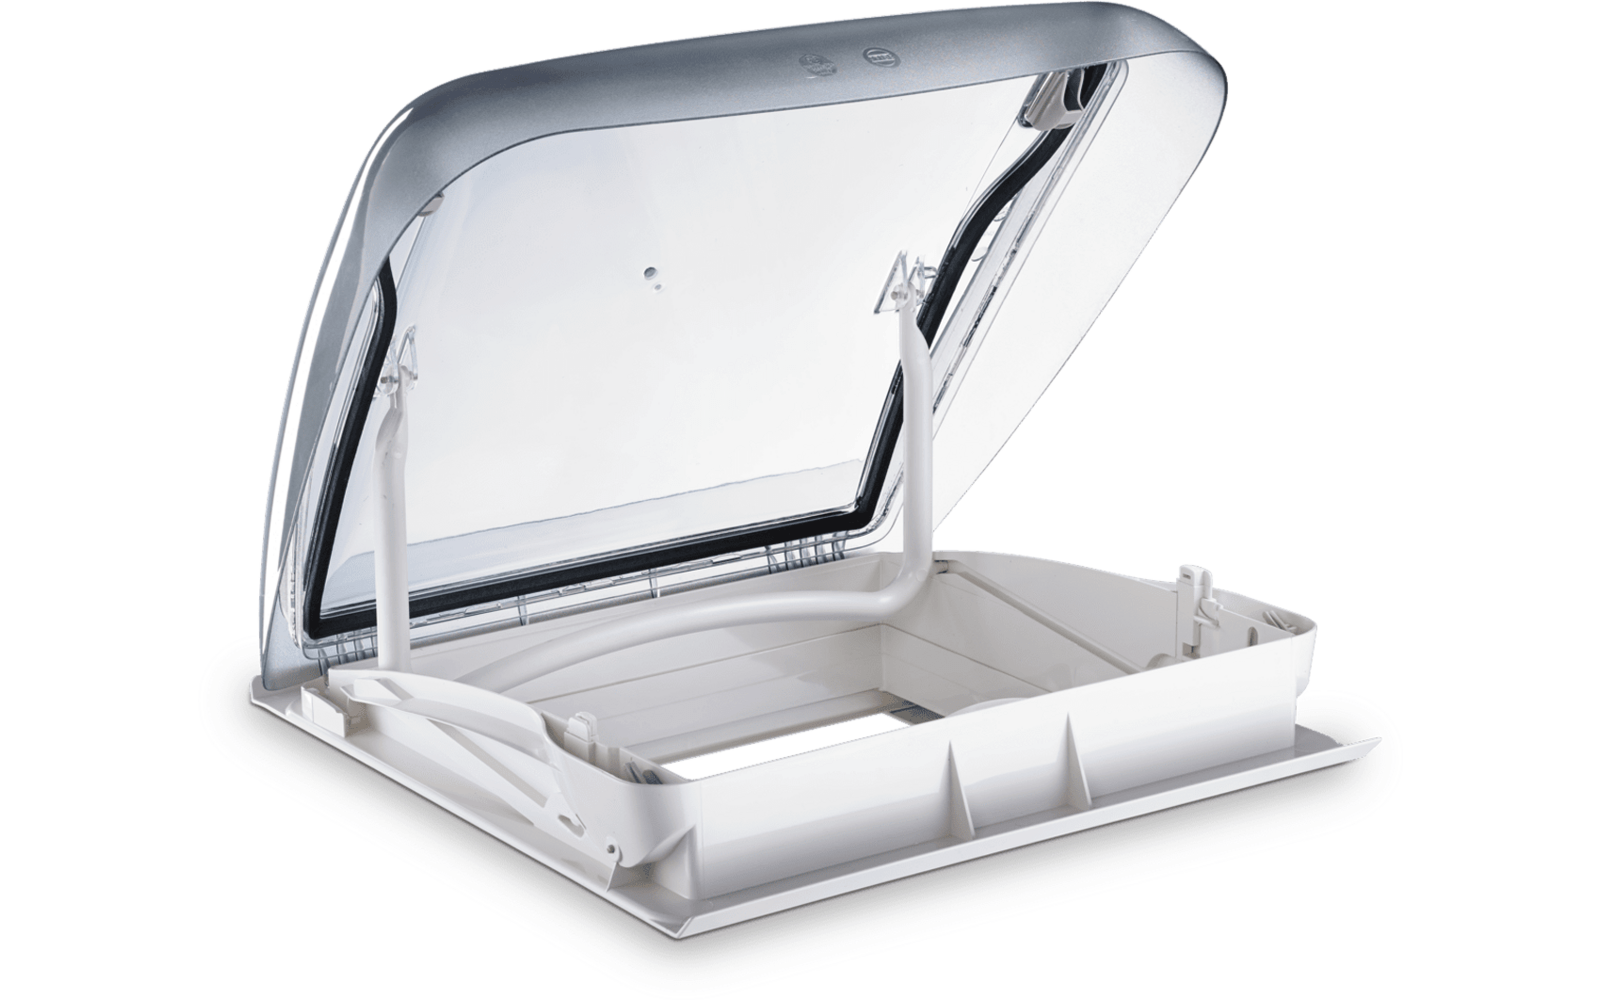
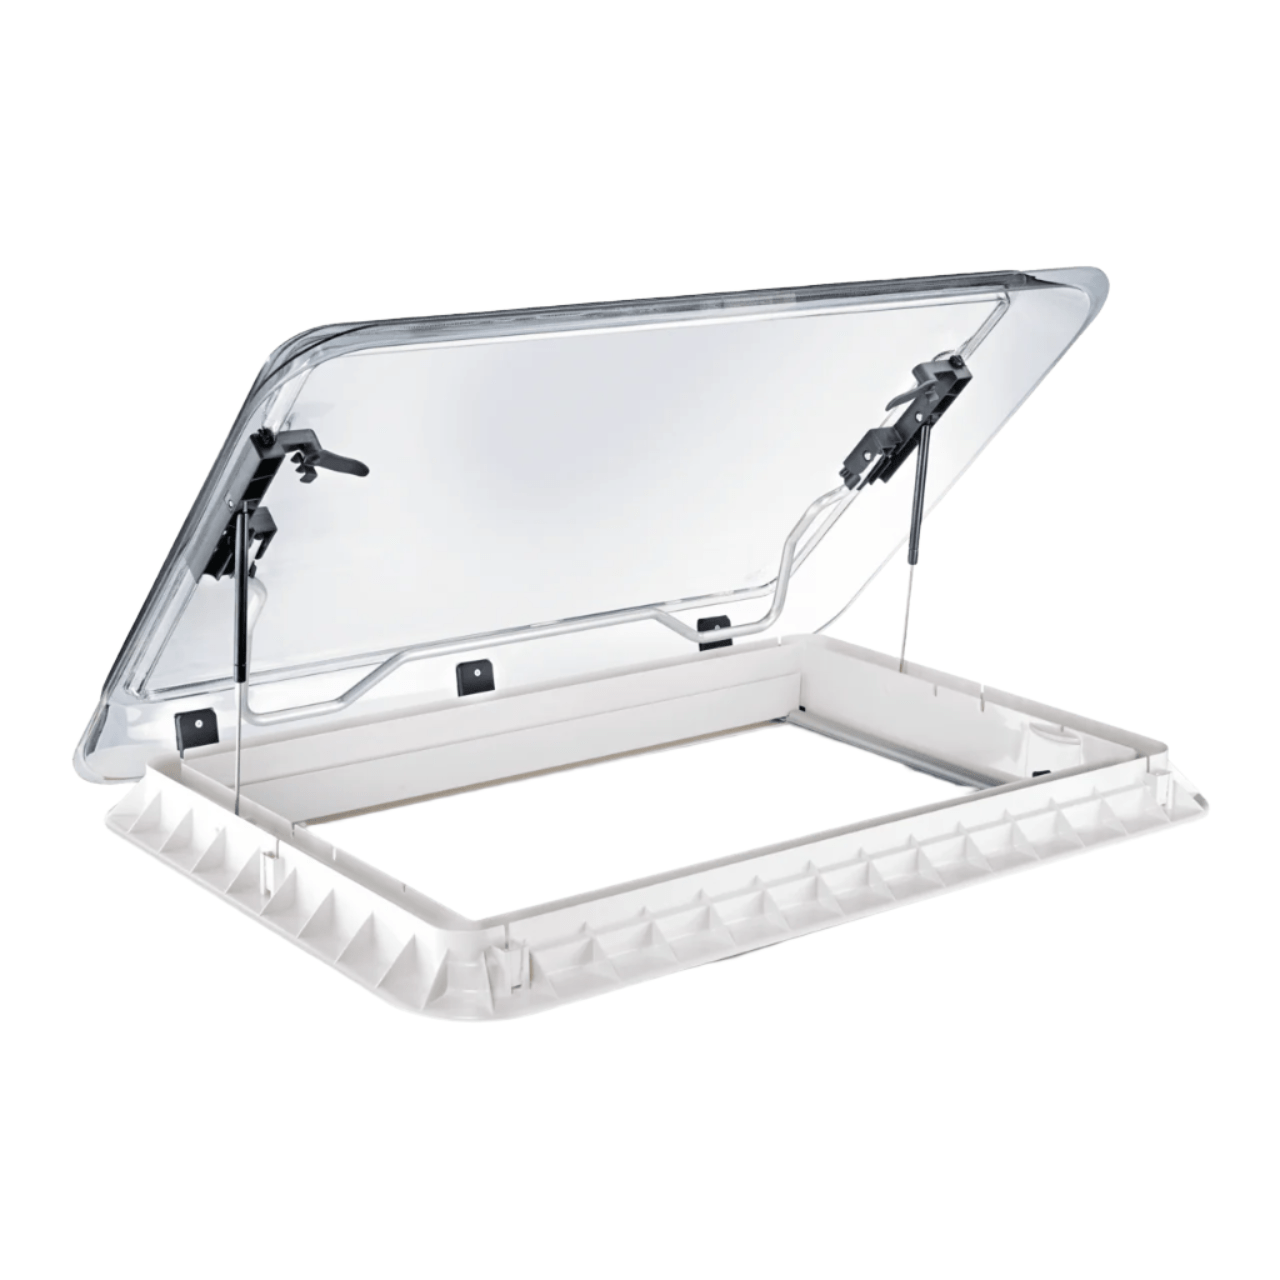
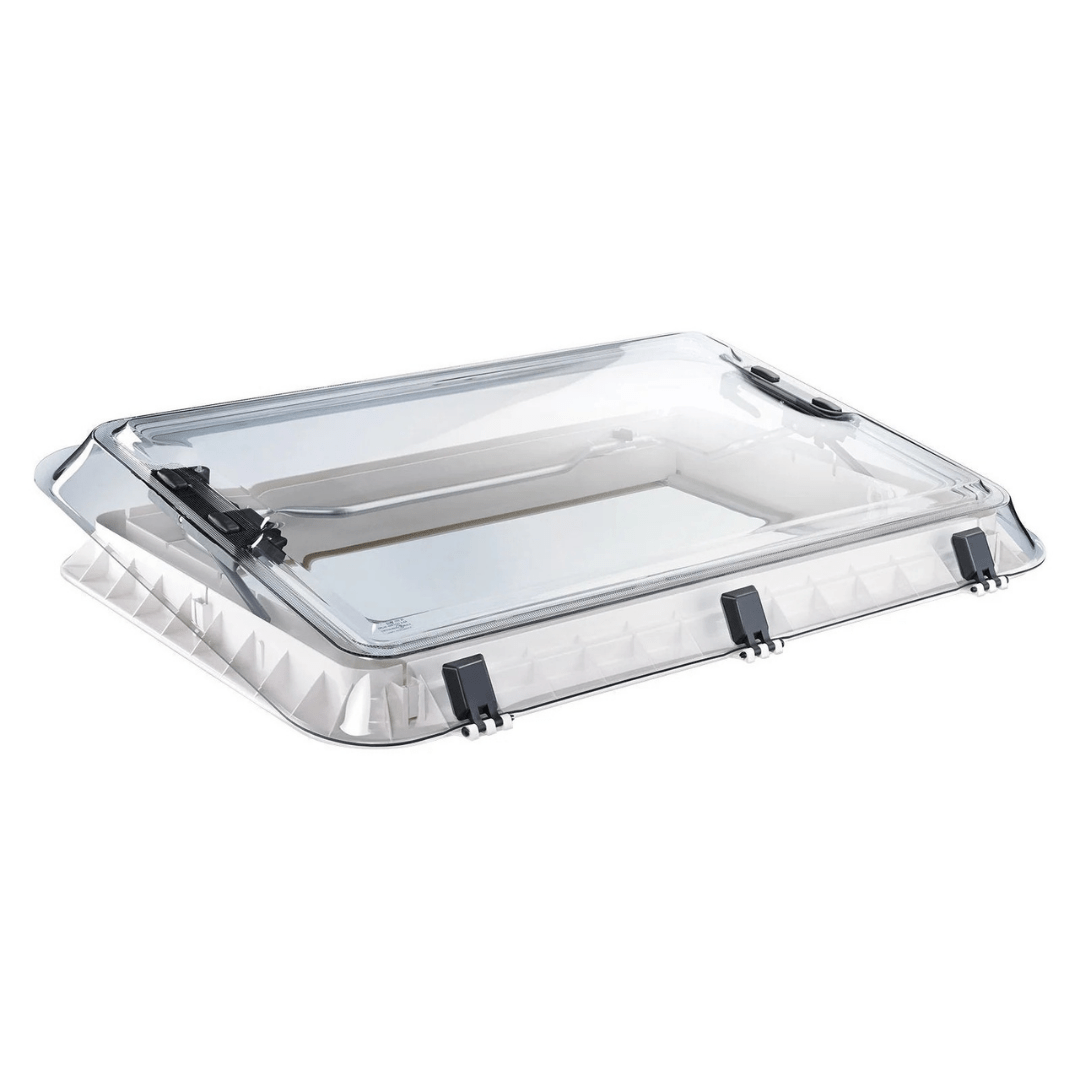
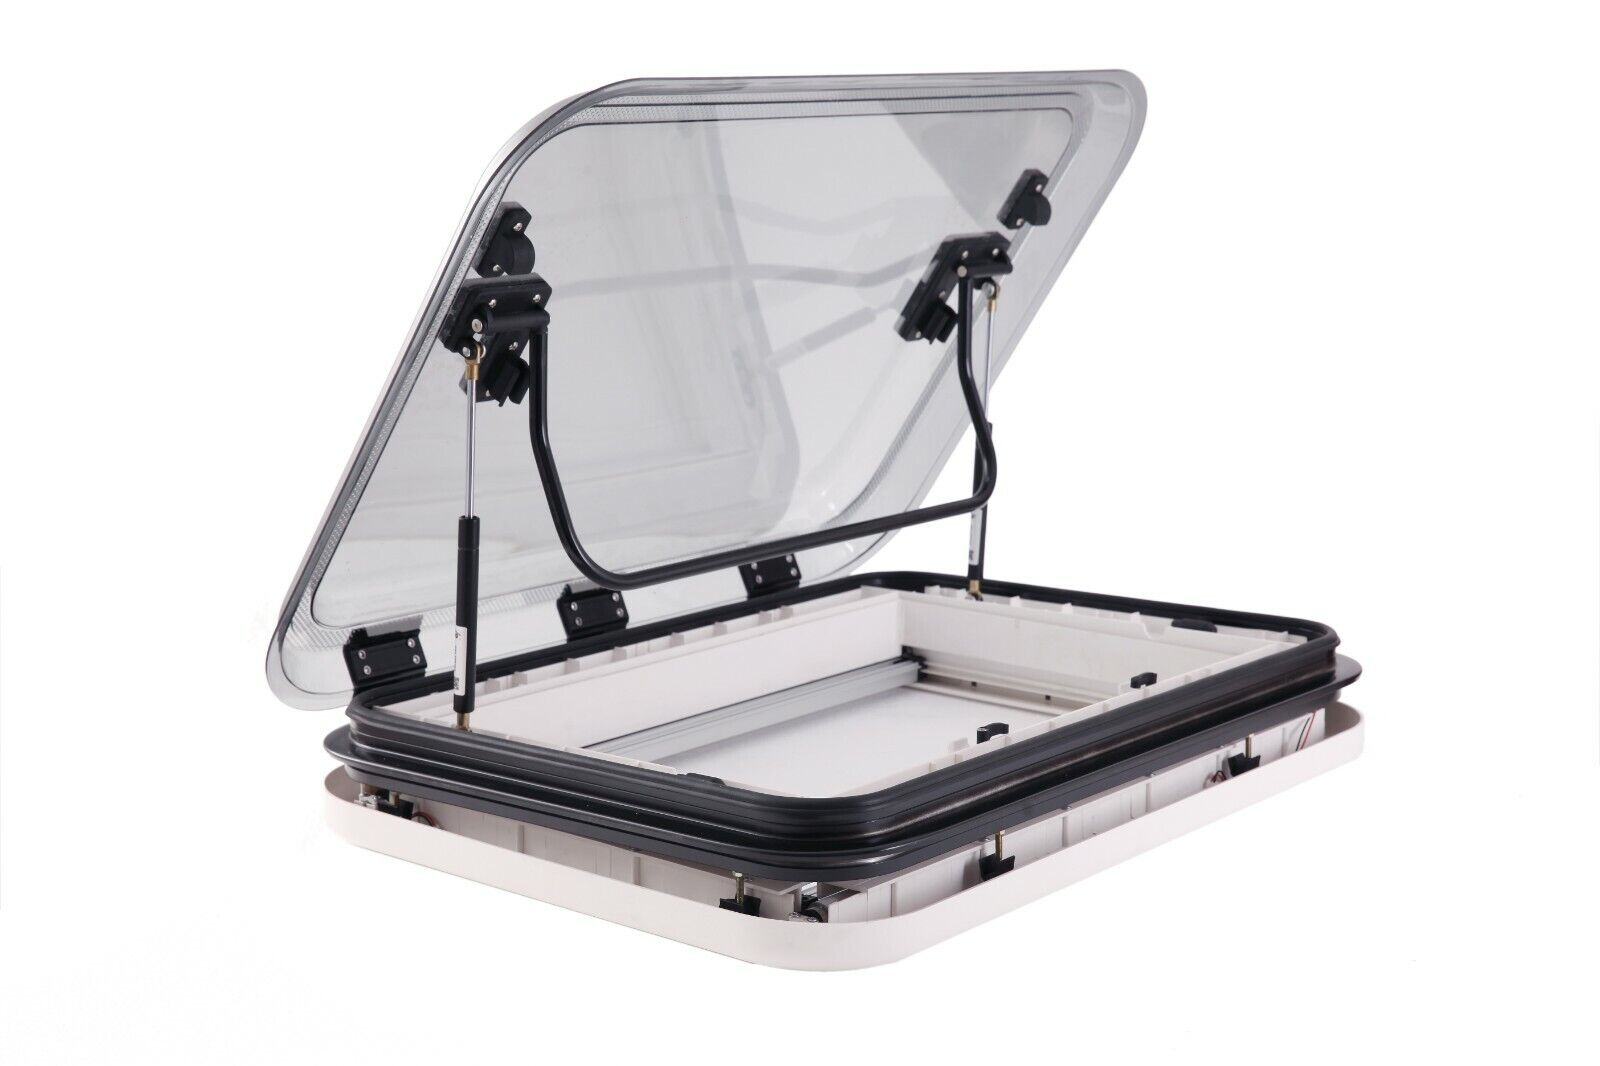
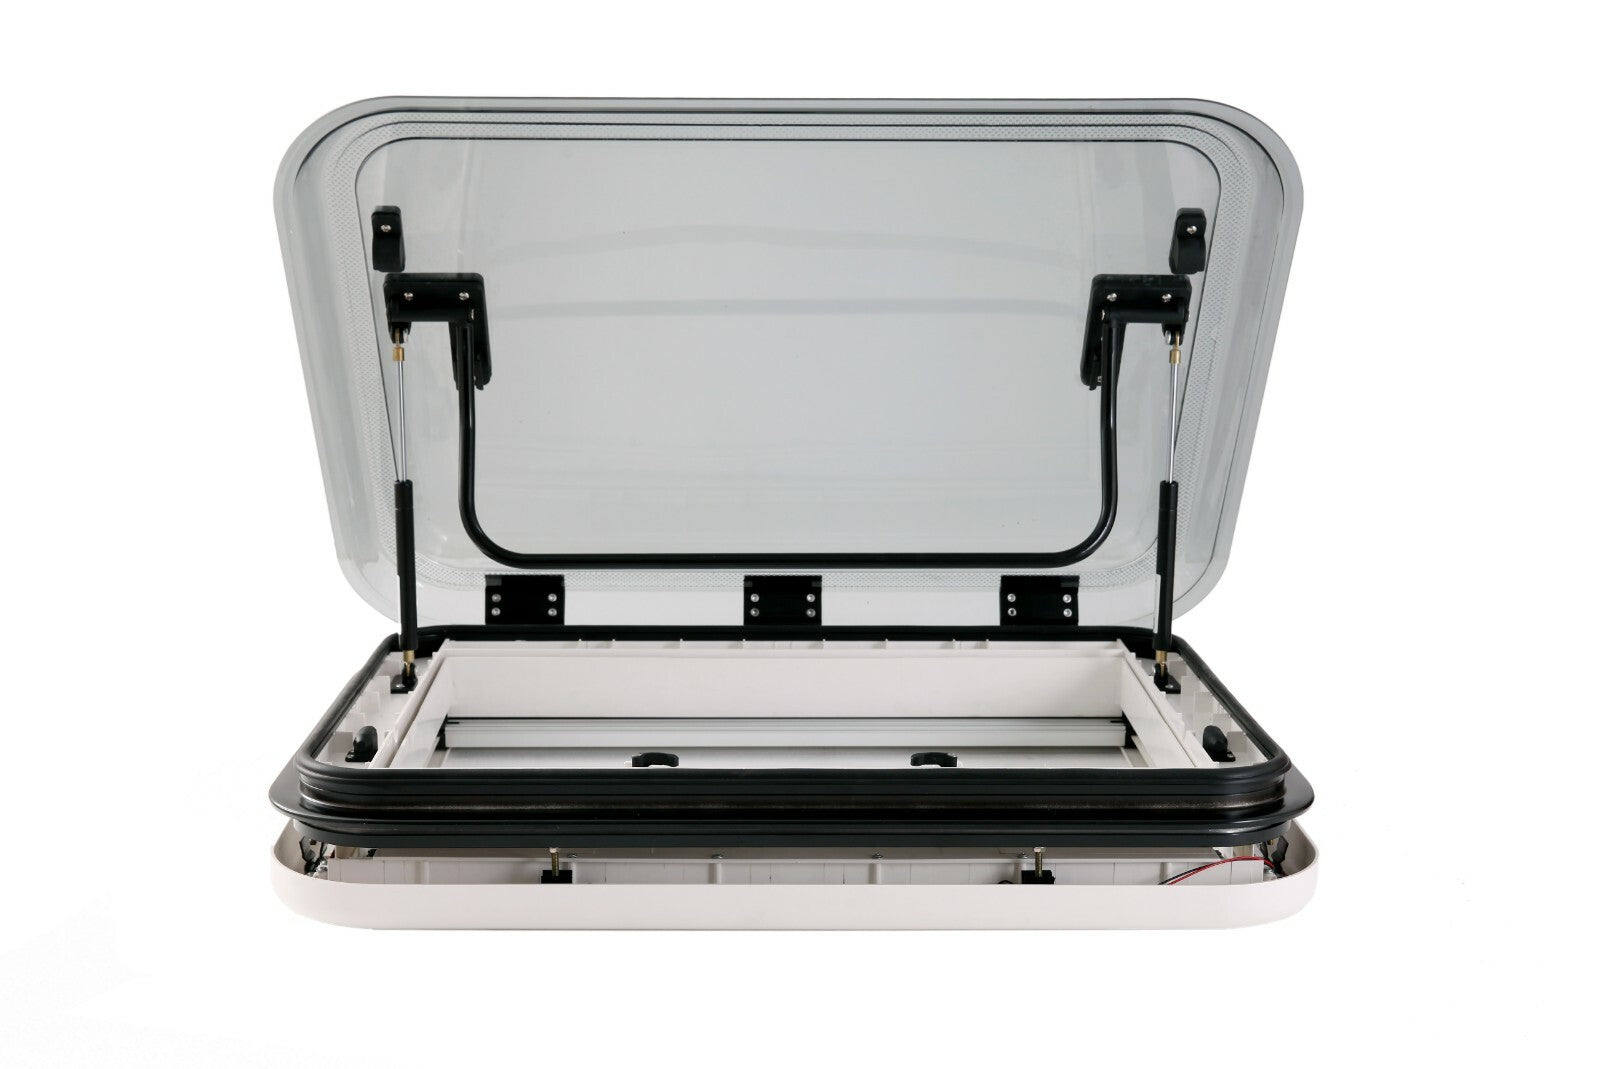
3. Push windows (our favorites!)
Versatile and practical, they allow ventilation even in the rain, thanks to their inclined openings that prevent water infiltration. Perfect for areas like the kitchen or long trips in all weather conditions.
Often sold with an interior frame including blind and blackout, they represent the best option for converted vehicles (and are often those used in motorhomes and Campervans by major manufacturers)
👉 Tip: If you plan off-road or frequent trips, favor models resistant to vibrations and shocks.
Choose the tint and glazing
When choosing the window, you will also need to define:
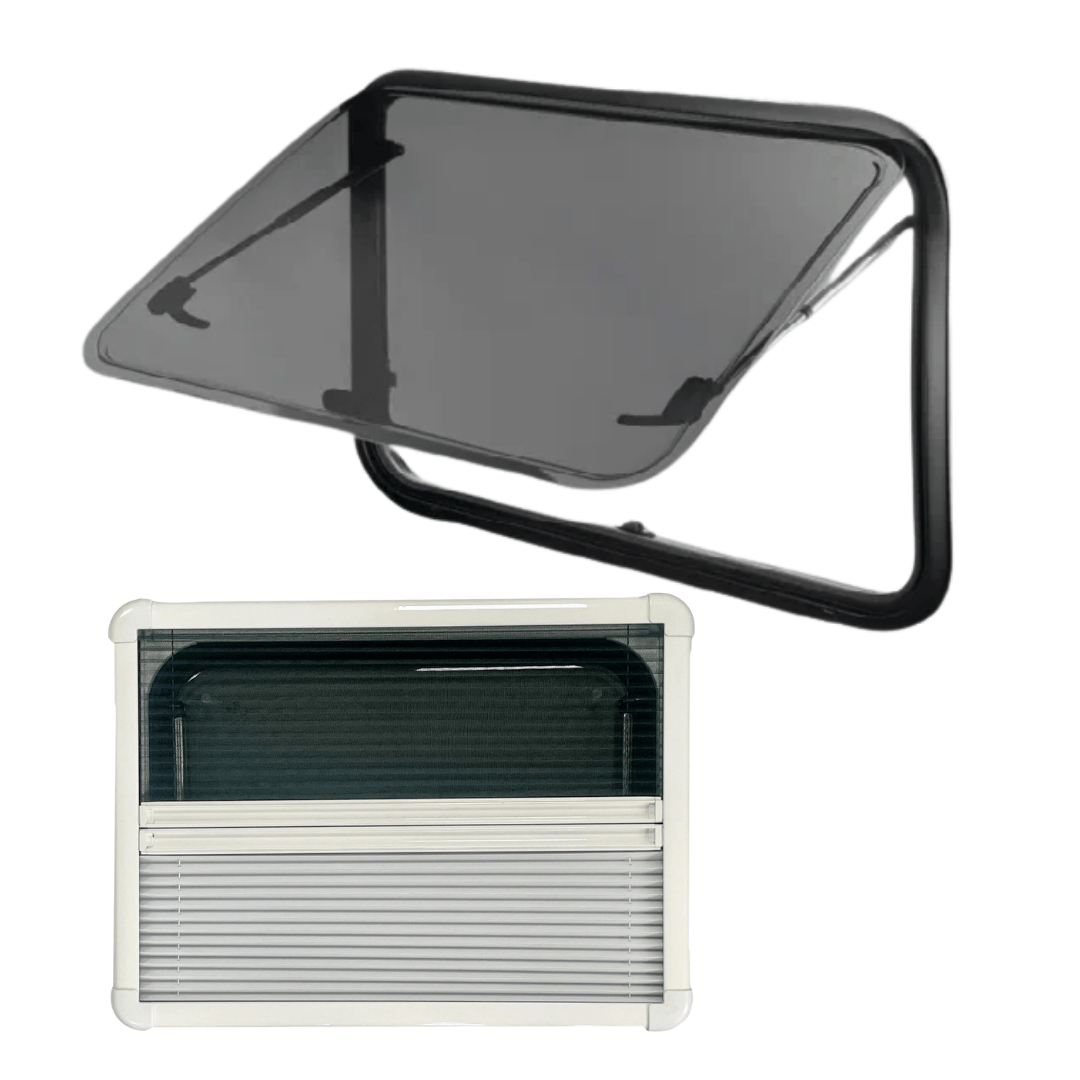
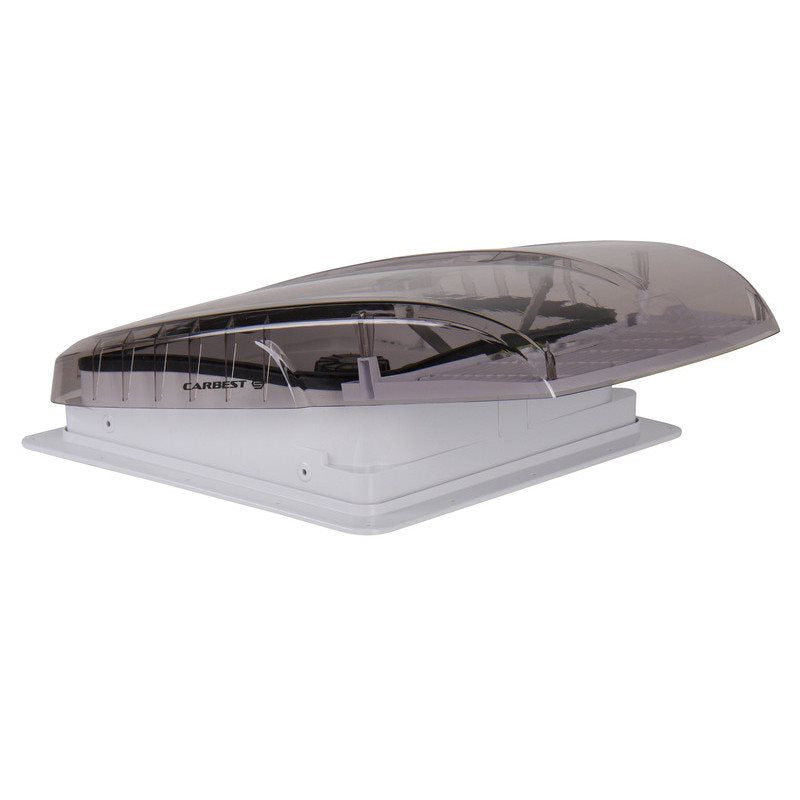
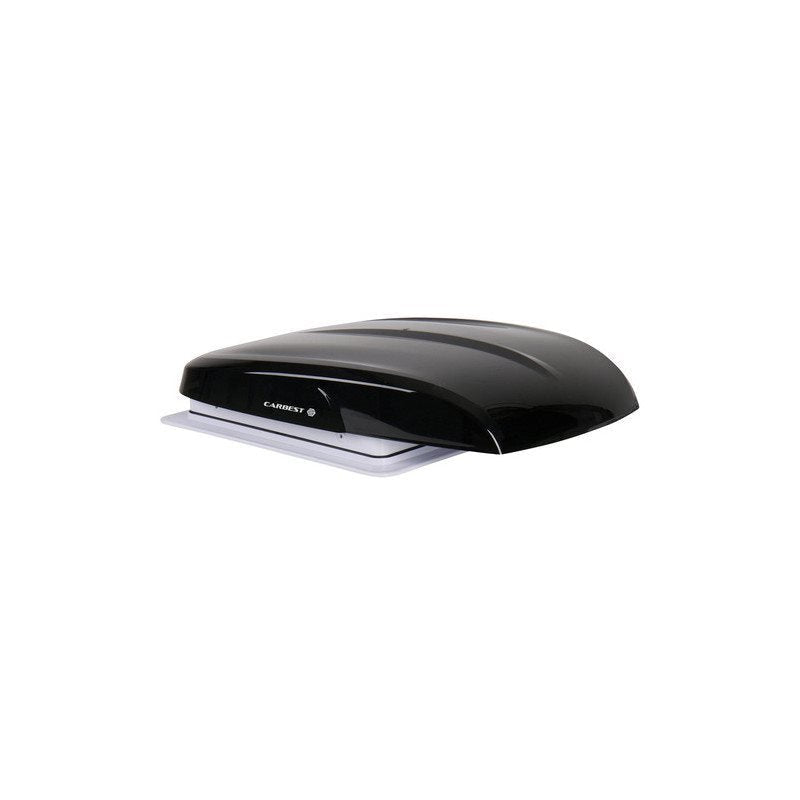
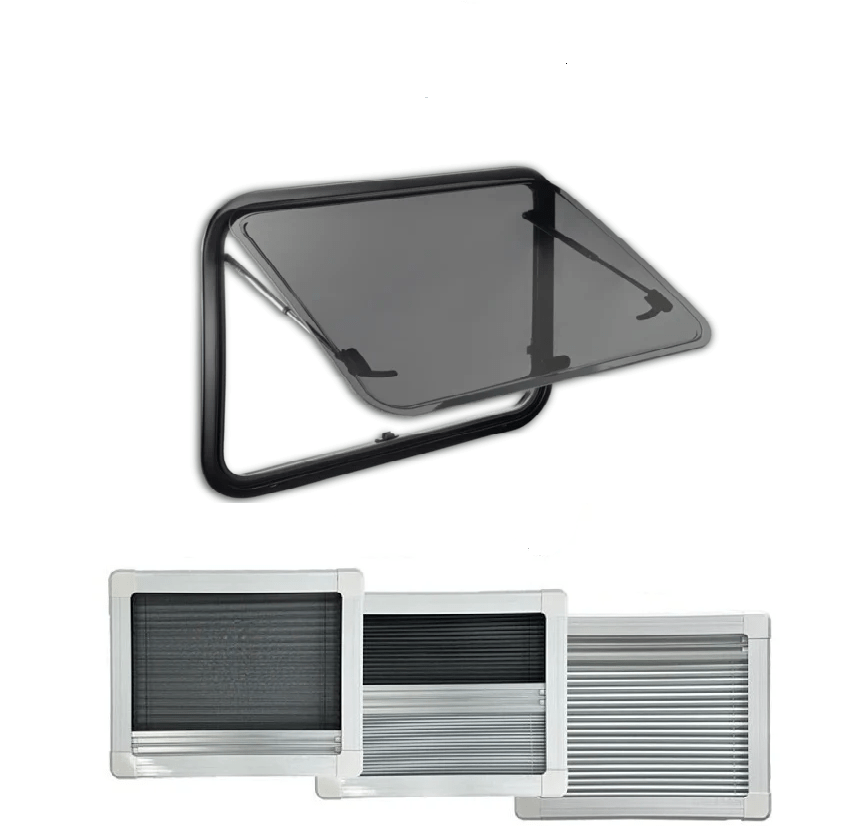
- Glass tint: Clear, smoked or black tinted. The tint not only guarantees better privacy but also protects against solar heat.
- Glazing: Single glazing is more economical but offers limited insulation, or double glazing for optimal thermal and acoustic protection.
Tip: If you travel in winter or cold climates, double glazing is your best choice.
Ensure compatibility with the bodywork
The curvature of the window and its dimensions must perfectly fit the lines of your vehicle. Adaptations are sometimes necessary using specific seals to perfect waterproofing and optimize aesthetics.
For certain vehicle models like Fiat Ducato, VW Transporter or Renault Trafic, you will find pre-cut windows perfectly adapted. These models simplify installation and offer a neat finish.
Note: At Vanlife Store, we specialize in vans and Campervans. All our windows are therefore compatible with all panel vans (for example Ducato, Master, Crafter, Sprinter, Vito, Transporter, etc.)
Add practical accessories
Accessories can significantly improve the comfort and functionality of your window:
- Integrated mosquito nets: Perfect for ventilating in summer without worrying about insects.
- Blackout blinds: Ideal for blocking light and preserving your privacy.
- Rain protection: Recommended for sliding windows exposed to the elements.

Main steps for installing or replacing a Push window for Campervan
- Preparation of the work area
Make sure the area where the window will be installed is clean and free of rust or dirt. Carefully remove the old window, if there is one, and clean the edges of the opening to ensure a smooth surface ready to receive the new window.
- Checking dimensions and adjustments
Take measurements of the existing opening to ensure the new Push window fits perfectly. If necessary, adjust the opening using appropriate tools, being careful to remain precise to avoid any poor fit or sealing issues.
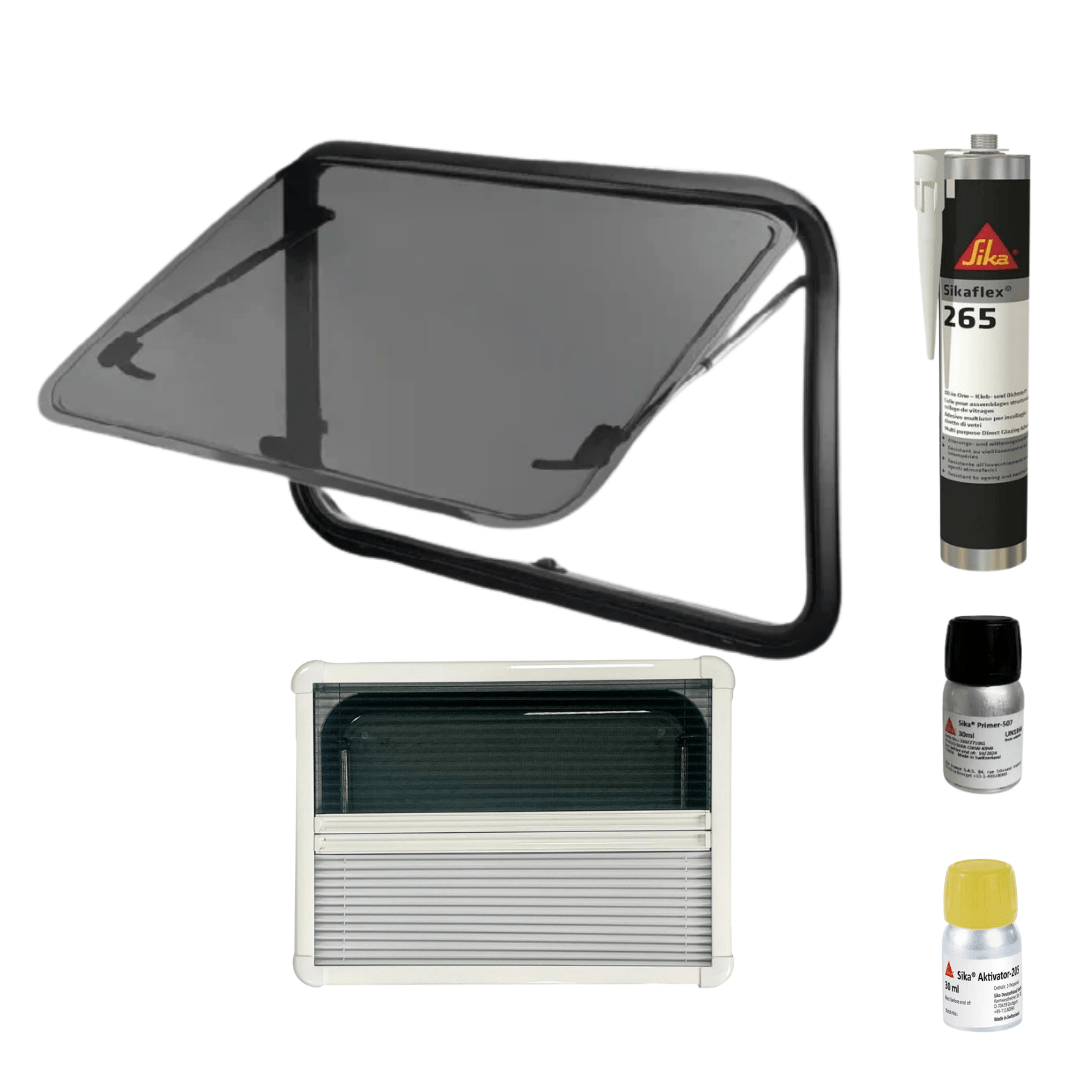
- Application of the sealant
Apply a high-quality sealant around the perimeter of the opening. This will ensure a watertight installation and protect your van from water infiltration.
- Installation of the Push window
Position the new Push window in place. Check that it is properly aligned and adjust if necessary. Secure it firmly using the screws provided or recommended by the manufacturer.
- Adjustments and tests
Once the window is in place, test its opening and closing mechanism to ensure it works properly. Also check that the window is watertight by performing a water test.
- Finishing
Proceed with finishing by cleaning excess sealant and ensuring the installation is clean and professional. You can add screw covers or aesthetic covers for a flawless finish.
By following these steps, you ensure a successful and durable installation of your Push window, perfectly adapted to road conditions and weather hazards.
Practical summary for choosing your window
- Type of opening: Fixed for light only, Push window for more versatility, and sliding for multifunctional spaces.
- Options: Plan for mosquito nets, blinds, and rain protection according to your needs.
- Installation: Attention to compatibility with the bodywork and necessary tools.
By following this guide, you will be able to install a window that combines aesthetics, comfort, and functionality. And for even more ideas or personalized advice, do not hesitate to consult our other guides or contact our expert technical team.
Ready to bring your project to life?
Discover our carefully selected windows and accessories to meet your needs right here.
Also discover our Step-by-step installation guide for push windows for Campervan and Motorhome
Are you converting a van? Discover our double acrylic glazing windows with blinds and blackout for your vans and Campervans (compatible with all panel vans)
Why include a window in your conversion project?
First of all, take the time to lay the foundations of your project. A well-placed window can not only brighten your space but also improve ventilation and thermal comfort. However, if poorly chosen or positioned, it can cause inconveniences: heat loss, excessive humidity, or interior clutter.
Fixed, sliding, or push: which to choose?
1. Fixed windows:
These are the simplest and least expensive. They add light and an aesthetic touch but remain non-opening, so they are very poorly suited for life in a van, as they provide no ventilation and are often delivered without blackout blinds.
2. Sliding windows:
Ideal for mixed use (road + parking), they integrate discreetly and offer good ventilation without wind risk. Their mechanism is robust, and they are particularly suitable for areas where outdoor space is limited.
3. Push windows (our favorites!):
Versatile and practical, they allow ventilation even in the rain, thanks to their inclined openings that prevent water infiltration. Perfect for areas like the kitchen or long trips in all weather conditions.
How to choose the tint and glazing?
- Glass tint: Clear, smoked, or black tinted. The tint not only ensures better privacy but also protects against solar heat.
- Glazing: Single glazing is more economical but offers limited insulation, while double glazing provides optimal thermal and acoustic protection.