
We address a crucial topic: the installation of push windows and sliding windows on your campervan or Motorhome!
In this article, we show you how to install fixed sliding windows!
-
Installation supplies for push window on campervan
- Step 1: Cut the internal reinforcement
- Step 2: Polish the cut edges
- Step 3: Prepare the walls before cutting the bodywork
- Step 4: Cut the window hole with a jigsaw
- Step 5: Measure and install the appropriate wooden reinforcements for your window
- Step 6: Cut the wooden support frame with a hole saw and a jigsaw
- Step 7: Optional: Add butyl tape to the window trim
- Step 8: Clean the contact surface and install the window
- Step 9: Installation of the inner frame
- Step 10: Gently screw the subframe onto the wooden frame and the window.
- Step 11: Waterproofness test (IMPORTANT!!)
- Step 12: Warning: Make sure to remove the drainage plugs before testing the watertightness.
- Step 13: New waterproofness test
- Step 14: Admire your work
Our Vanlife layout experts are here for you! Whether you have a question about our products or are looking for advice to transform your van into a true nomadic cocoon, contact us – we will be happy to guide you!
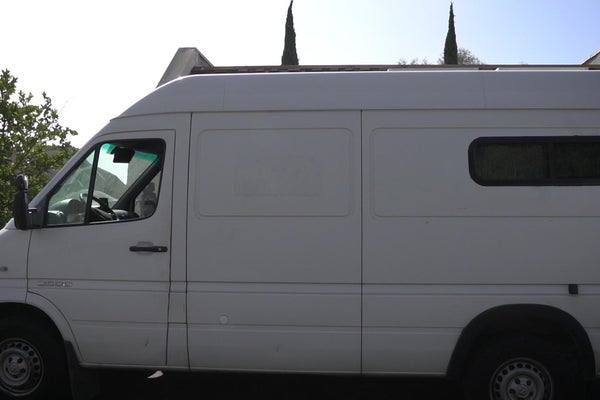
Although we are installing the windows on a Sprinter, the steps and preparation can be applied to almost all campervans and windows of the same type, including Ducato, Crafter, Renault Master, Combi T5 campervans, etc.
We chose windows intended for a Motorhome with a wall thickness of 35mm because they are a bit cheaper than windows specially designed for a Sprinter, but they did not require more work on our part to be installed correctly. In the end, we come out ahead, as given the cost it was really worth it.
Below you will find links to the windows.
Installation supplies for push window on campervan
Below you will find links to the items we used for this project.
Push window 30×90 (identical to the fixed one we used): Link
Sealant glue: Sikaflex 710 TX
Step 1: Cut the internal reinforcement
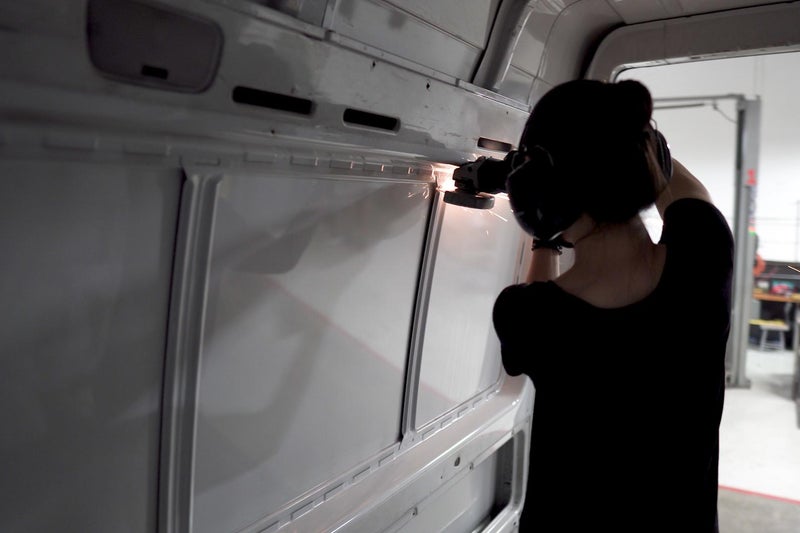
When installing your Push window, you must ensure there is enough distance from another air circulation source to maximize airflow throughout the van.
In our case, a roof fan was installed just behind the driver’s area, so we positioned the Push window to install at the rear of the van.
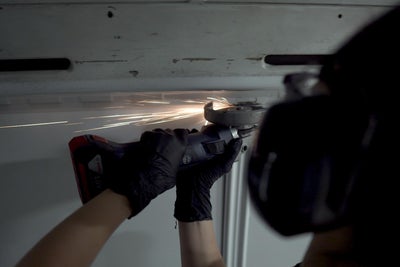
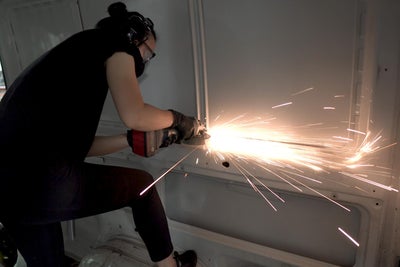
Before we could cut the window hole, we had to remove the vertical reinforcement inside the van. We carefully used an angle grinder on the reinforcement trying not to hit the van’s sheet metal.
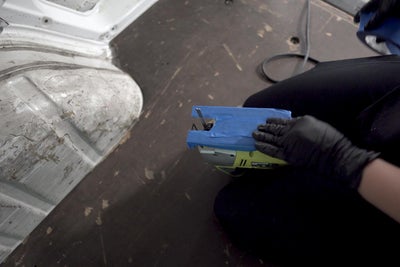
Step 2: Polish the cut edges

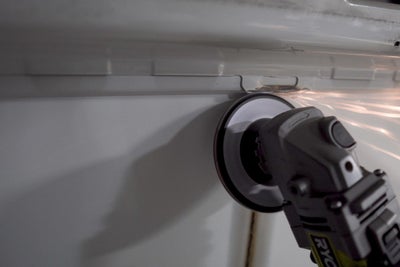
Once we cut the reinforcement, it was held on the van wall by a foamy adhesive, and we simply used a pair of pliers to remove the reinforcement.
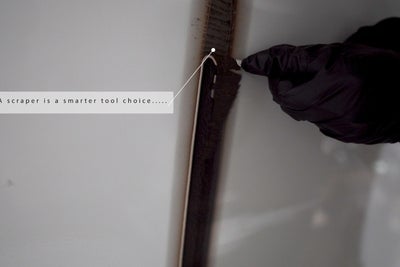
Next, we used our angle grinder to round and polish the sharp corners and scraped off the adhesive with a flathead screwdriver. Although a scraper would have been smarter to use.
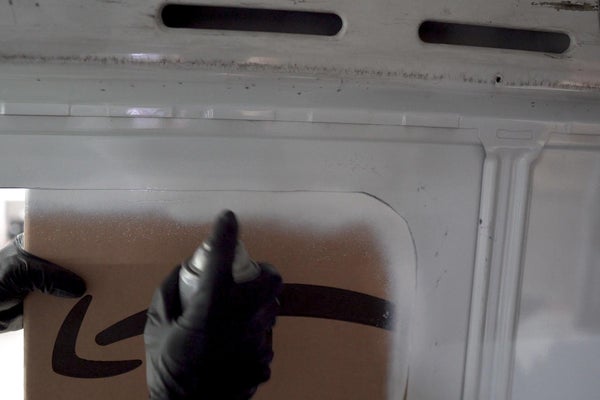
Step 3: Prepare the walls before cutting the bodywork
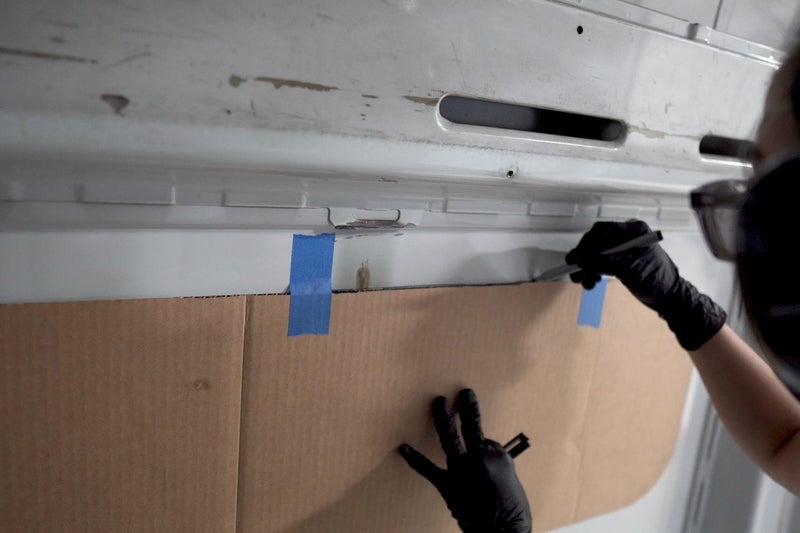
We traced the perimeter of the window on a piece of cardboard and cut it out to make a template. We stuck the template on the van wall and traced the perimeter with a marker. We positioned it by eye and then measured to the nearest reference point to copy the position on the other side.
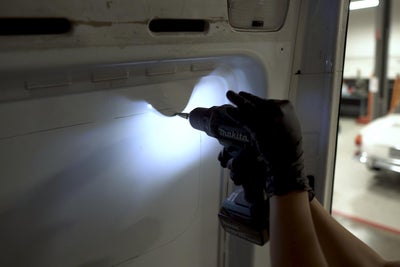
After removing the template, we drilled holes near each corner to insert the jigsaw blade. To minimize scratches on the van’s paint, we applied adhesive tape to the bottom of the jigsaw. You can also apply tape on the part to be cut on the bodywork to reduce debris.
Step 4: Cut the window hole with a jigsaw
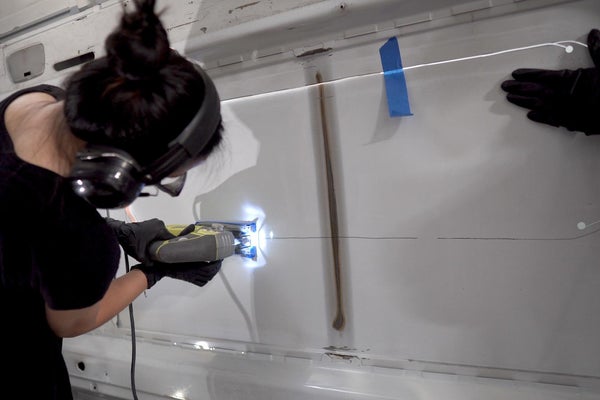
Using a jigsaw blade for cutting metal, we started from one of the holes we drilled and cut around the marking line.
The first two sides are easy to cut, but once you get to the third side, the structural integrity of the cut sheet metal is almost nonexistent, making it very wobbly during cutting.
We tried to stabilize it with adhesive tape by sticking the cut sheet metal to the rest of the bodywork, but it wasn’t very helpful, so one of us held the cutout to keep it in place, and it worked relatively well.
Once we cut the window opening, we smoothed the edges and spray-painted anti-rust along the edges to protect the bare metal.
Step 5: Measure and install the appropriate wooden reinforcements for your window
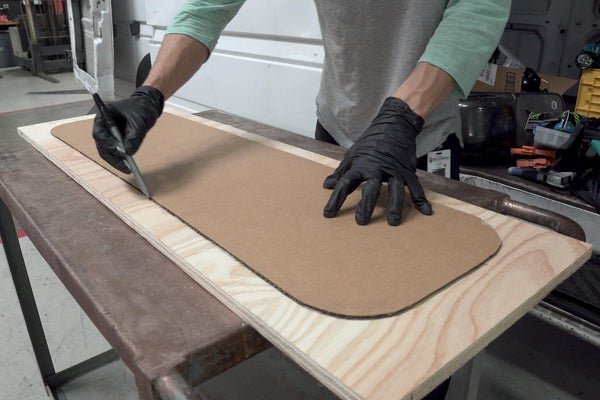

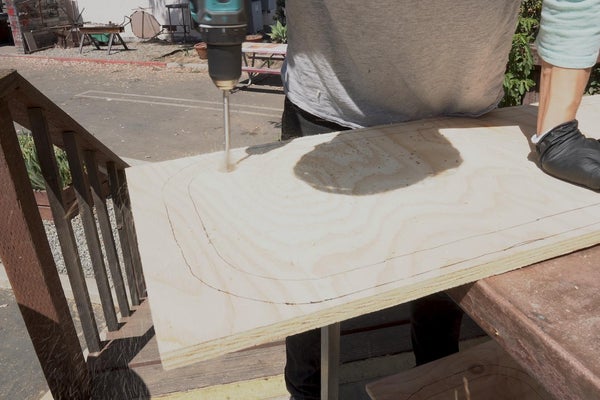
As we mentioned earlier, the windows we purchased are intended for Motorhomes with a wall thickness of 35mm. To bridge the gap, we traced the perimeter of the template we made earlier onto a 10mm plywood sheet, then used a 2.5cm space to draw a wider frame border around the same template.
We cut the interior and ended up with a rectangular frame that we will use to place between the window and the window subframe.
Step 6: Cut the wooden support frame with a hole saw and a jigsaw
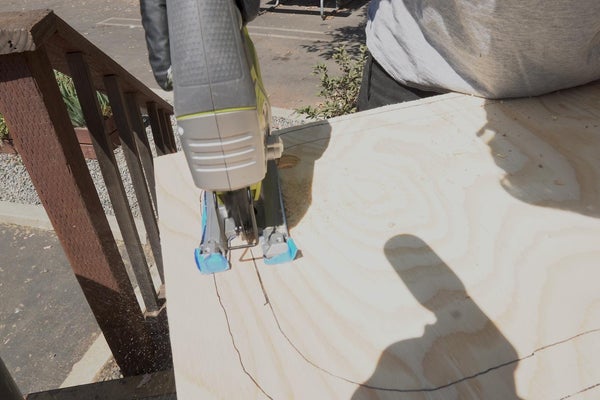
We cut the interior and ended up with a sort of donut/rectangular frame that we can use to place between the window and the subframe (inner frame) of the Push window.
Step 7: Optional: Add butyl tape to the window trim
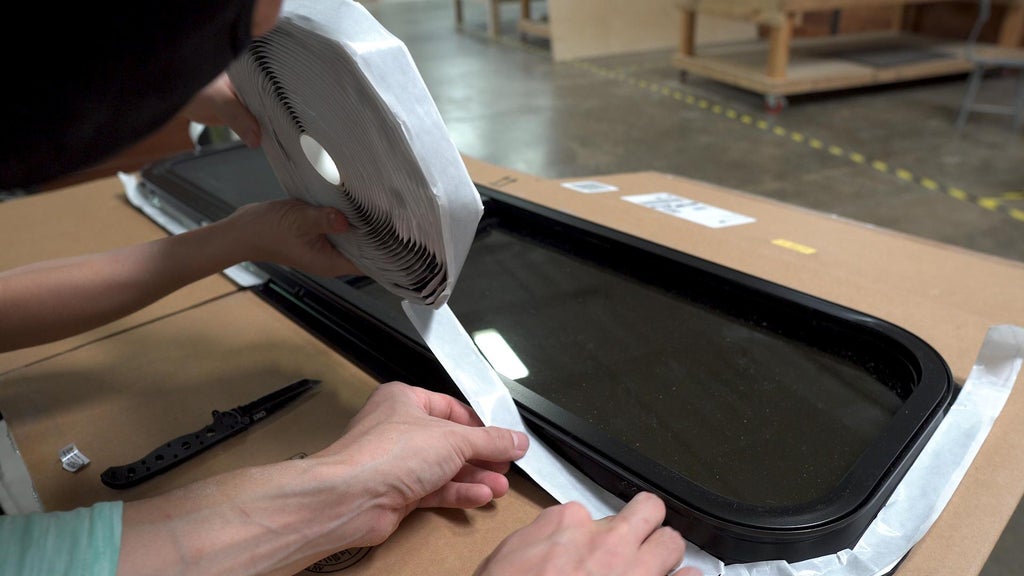
An alternative to mastic glue is to apply Butyl Tape. The same step can be done with a Sikaflex 710 TX type mastic glue.
Now that we have made the hole for cutting the window and the spacer, all that remains is to apply the sealant on the window so it stays watertight.
We pressed the butyl tape around the window flange. One thing we didn’t consider is that the flange has a slightly rolled edge, so we should have doubled the butyl tape to ensure there is enough sealant between the window and the van body.
Step 8: Clean the contact surface and install the window
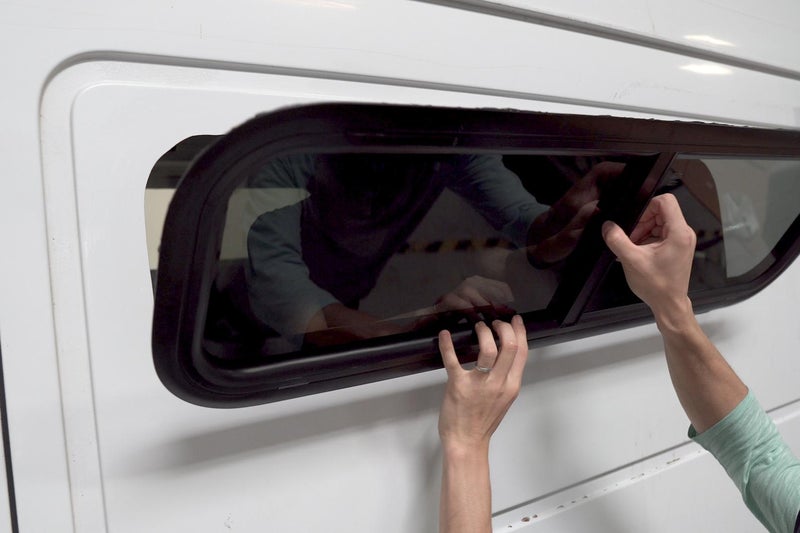

Fortunately, we cut the hole large enough for the window to fit without any additional trimming.
After dry fitting, we cleaned the contact surface to ensure there is no debris that could hinder watertightness.
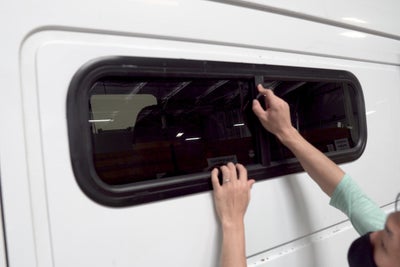
Next, we install the window from the outside. One of us stepped back a few meters to confirm that the installation is perfectly level.
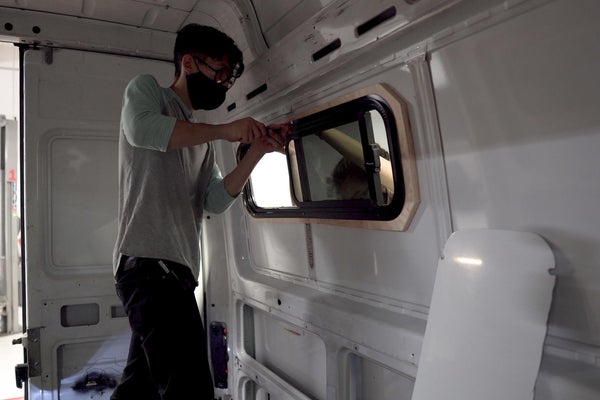
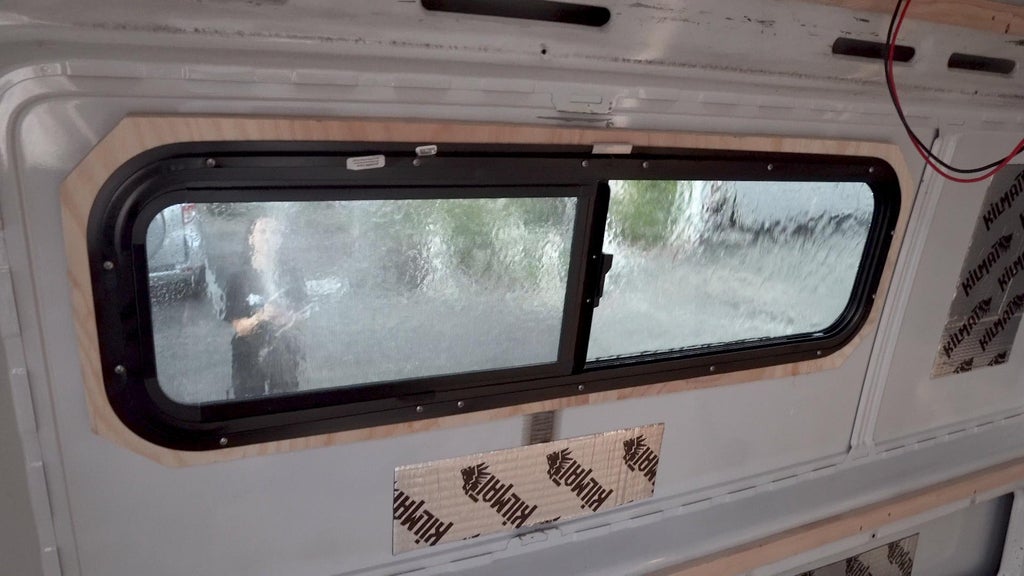
Step 9: Installation of the inner frame

With one of us holding the window from the outside, we install the wooden donut frame then the subframe of the Push window.
We used long No. 8 self-tapping screws to secure the window in place.
Step 10: Gently screw the subframe onto the wooden frame and the window.
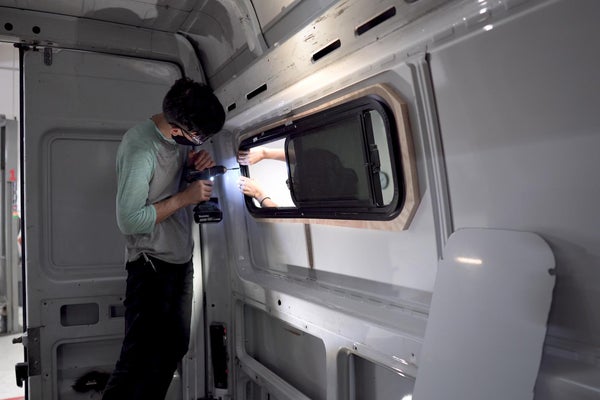
We recommend using a bit of lubricant on the self-drilling screws before driving them in as some might break. This will save you from having to drill new holes in the subframe. After learning our lesson on the first window, the installation of the second window went much more smoothly.
We suggest you start by screwing by hand, then lightly use your drill until the screws are properly inserted.
Step 11: Waterproofness test (IMPORTANT!!)
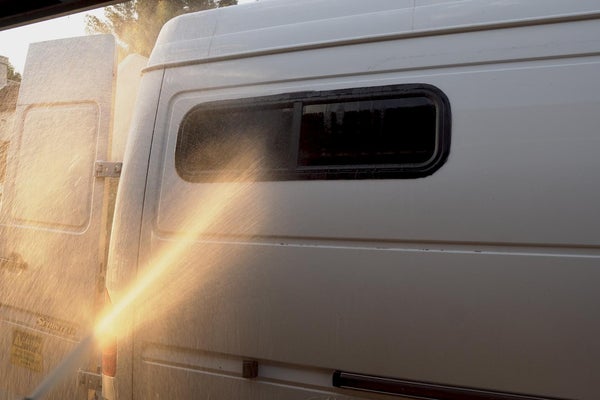
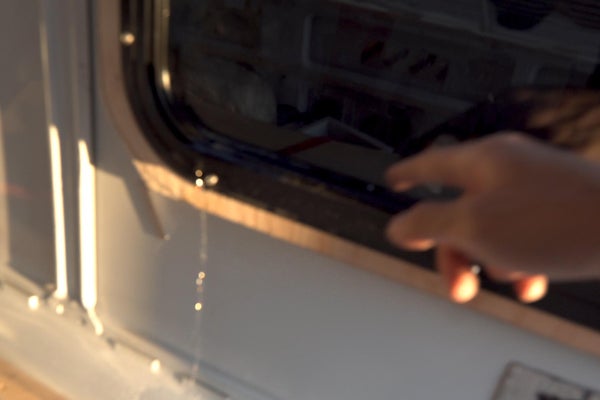
To ensure everything was installed correctly, we tested it with water from the garden hose... And then surprise... we found many leaks.
Step 12: Warning: Make sure to remove the drainage plugs before testing the watertightness.
After a more thorough inspection, we realized that part of the water infiltration was due to tiny gaps in the butyl tape. So we filled the perimeter with Sika Flex type silicone sealant.
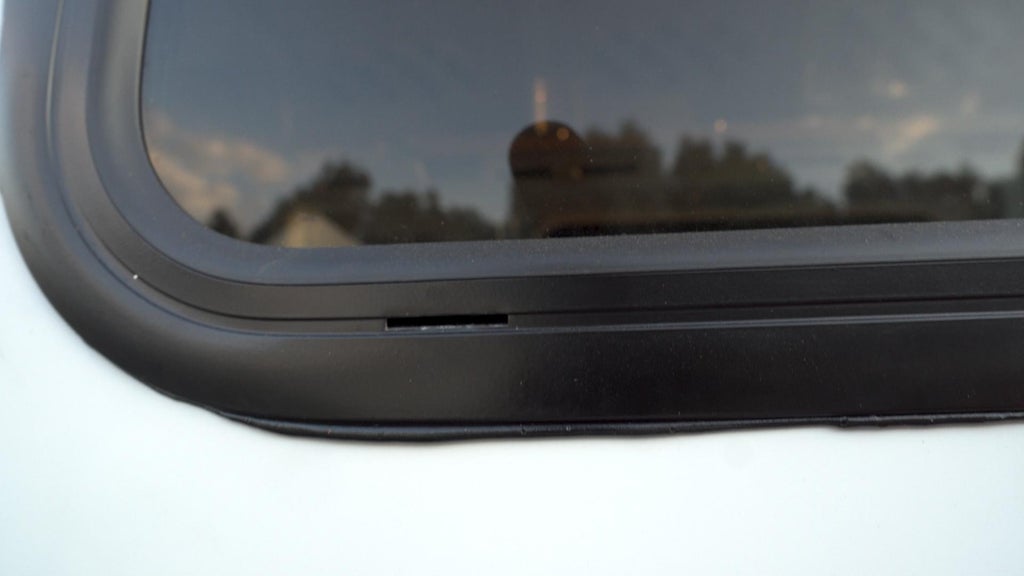
But most importantly, we forgot to remove these drainage plugs, which are precisely used to evacuate water that gets into the window frame. So... remove the drainage plugs before testing the waterproofness of your window.
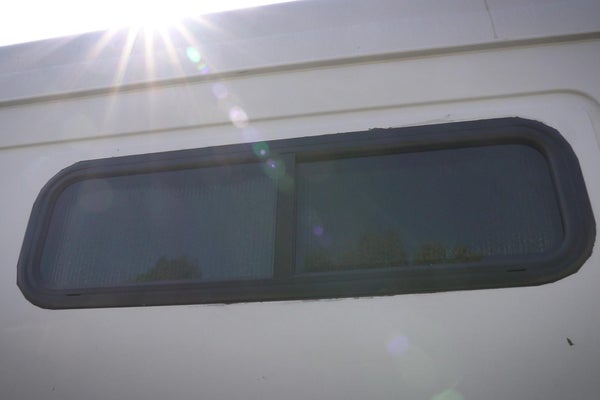
Step 13: New waterproofness test
After fixing these small mistakes, we sealed the windows! It will be great to have these windows to look through when we hang out inside the van and to have the option to open them for a little breeze inside.
Step 14: Admire your work
Note that this installation method applies to all types of windows (Push, sliding) with an aluminum frame. You can find here our windows in stock and here all our sealants and promotional items.
The installation steps for Push windows and sliding windows on converted van or Motorhome
- Step 1: Cut the internal reinforcement
- Step 2: Polish the cut edges
- Step 3: Prepare the walls before cutting the bodywork
- Step 4: Cut the window hole with a jigsaw
- Step 5: Measure and install the appropriate wooden reinforcements for your window
- Step 6: Cut the wooden support frame with a hole saw and a jigsaw
- Step 7: Optional: Add butyl tape to the window trim
- Step 8: Clean the contact surface and install the window
- Step 9: Installation of the inner frame
- Step 10: Screw the counter-frame gently onto the wooden frame and the window
- Step 11: Waterproofness test (IMPORTANT!!)
- Step 12: Warning: Make sure to remove the drainage plugs before testing the waterproofness
- Step 13: New waterproofness test
