A step-by-step guide to planning your campervan conversion 🚐🛠️
Several elements to consider when planning your campervan conversion. What tools will I use? What materials should I buy? It can be hard to know where to start! If you wonder how to begin, you can use this step-by-step guide as your ultimate checklist for building your van. Building a van is a big (and fun 🎉) project that requires a lot of time and dedication. Preparation and planning are essential, which is why we have compiled a list of everything you need to consider before starting.
Our Vanlife conversion experts are here for you! Whether you have a question about our products or are looking for advice to transform your van into a true nomadic cocoon, contact us – we will be happy to guide you!
Where to start when converting a van? 🤔
Choosing a van 🚚
Before buying anything for the interior of your campervan, you will need to decide which base van you will use. Think carefully about the size, shape, and type of van that suits you best. If you have never bought a van before, choosing from the available vehicles can be overwhelming.
Here are some questions to ask yourself:
- How many people should my van carry? 👨👩👧👦
- Is it important that I can stand up inside? 🏠
- What is my budget? 💰
- What age and mileage of van would I be willing to accept? 🛠️
- Do I want to take my van off-road? 🌄
Check out our guide to the best vans for a van conversion here.
Setting your budget 💸
Before starting your van conversion, it’s important to be realistic about what you can afford. You’ll probably want to allocate about two-thirds of your overall budget to the base van and the rest to the conversion. For example, with a budget of €10,000, that would mean spending €6,600 on the van and €3,300 on the conversion. Keep in mind that a cheaper van probably won’t last as long, so you might not want to invest too much in the van conversion.
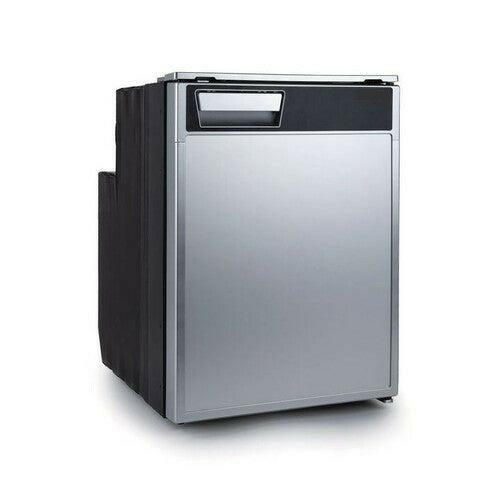
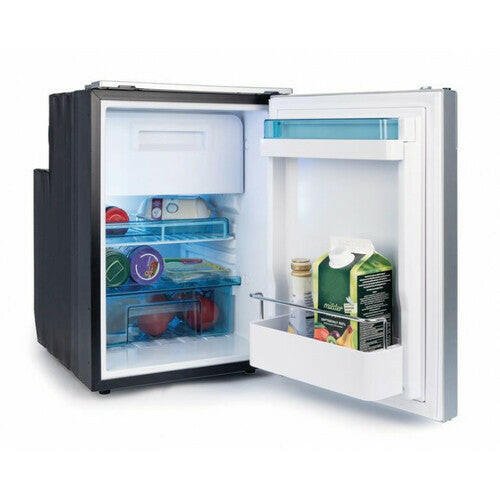
Decide upfront on the big purchases and create a summary table of everything you plan to buy. For example, if you know you want to spend a lot on an expensive fridge, include it immediately in your budget, then determine how much you can spend on the rest of the conversion.
When buying materials and appliances for your van conversion, be sure to compare prices to get the best deals. Check out our Best Sellers / Promotions section, where we select the best equipment deals for van! 💡
Planning the layout 🛋️
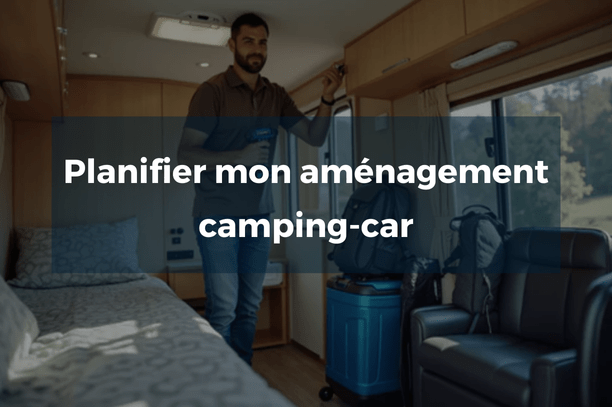
Planning your van layout is an important step and you’ll need to spend time thinking about it. Make sure your van is both functional and comfortable, using every centimeter of space for storage and leaving room for a cozy sleeping area 🛏️. It’s helpful to look at other van layouts for inspiration and to determine your priorities.
Getting the right tools 🧰
There are some basic tools you’ll want to invest in to make your conversion easier. A good drill, screwdrivers, wrenches, and a jigsaw are a good starting point. Of course, the more power tools you have, the easier it will be to build quickly and accurately. Try to get second-hand tools or borrow those you’ll only use rarely.
Finding a workspace 🏠
Depending on the season, try to find a dry and warm place to set up your van. All van builders dream of a secure and covered shelter to carry out their conversion, but you can build your van on the street if necessary. Remember that working in winter, under snow ❄️ and rain 🌧️, can make the task even more difficult! Also make sure the space you work in is large enough to move material panels.
How to plan a van conversion? 📋
Step 1 – Research 🔍
If you already follow vanlifers on Instagram or YouTube, you have probably already started researching your dream van. Get into the habit of saving images you like – or even create a Pinterest board with all your favorite ideas. Once you have established which interiors, layouts, and styles you like, you are ready to start the rest of the planning! 📸
Step 2 – Plan your van layout 🛠️

Designing your van is a visual process. It’s helpful to experiment with different layouts before deciding on a final design. Start by taking tape in your van and marking where you think the bed, kitchen 🍳, and seating areas should be. This will give you a good sense of the vibe of your layout and allow you to move elements around until you are satisfied.
Once you have settled on your layout, it is important to take plenty of measurements 📏 to ensure everything fits. Measure the space and draw your design, either by hand or using 3D modeling software like SketchUp.
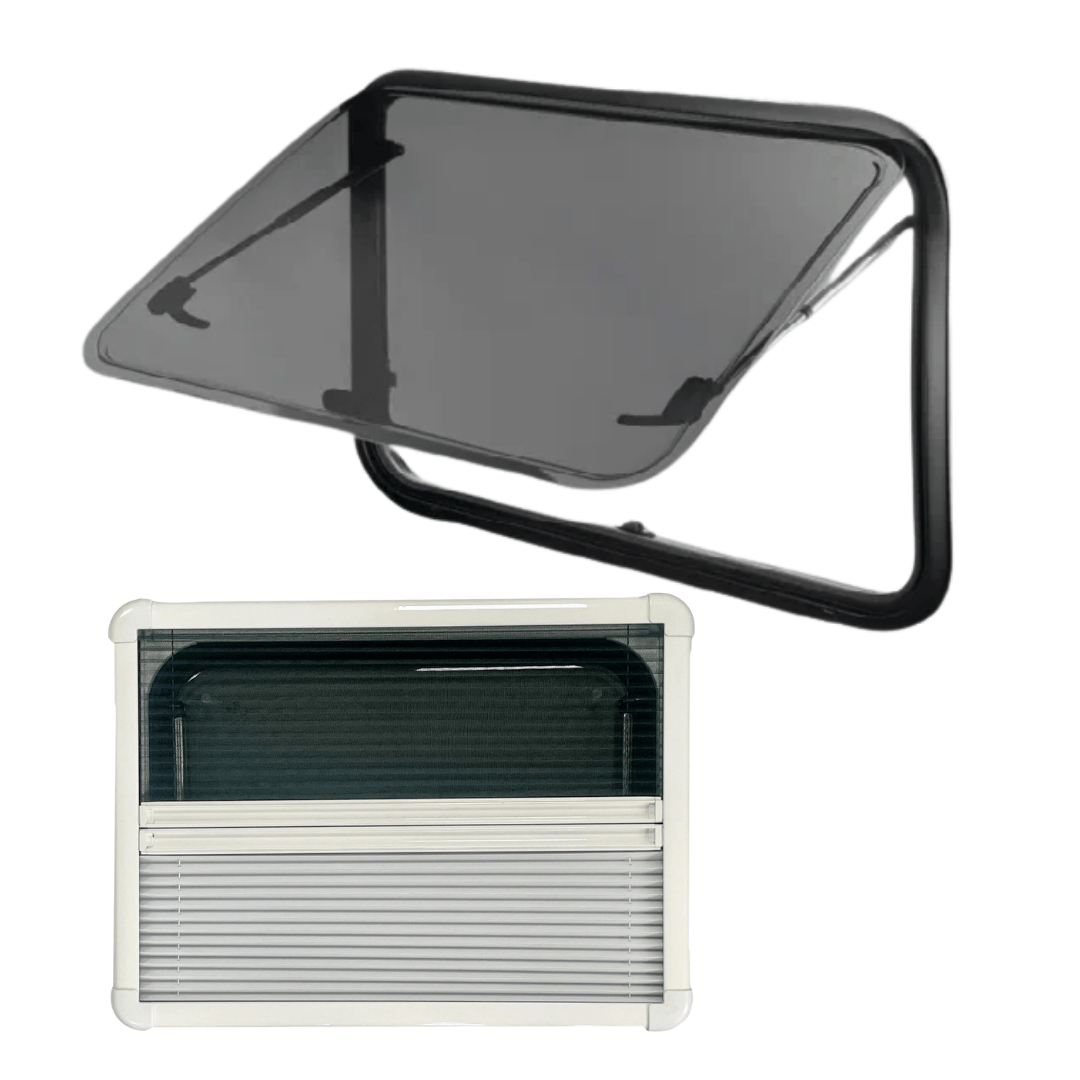
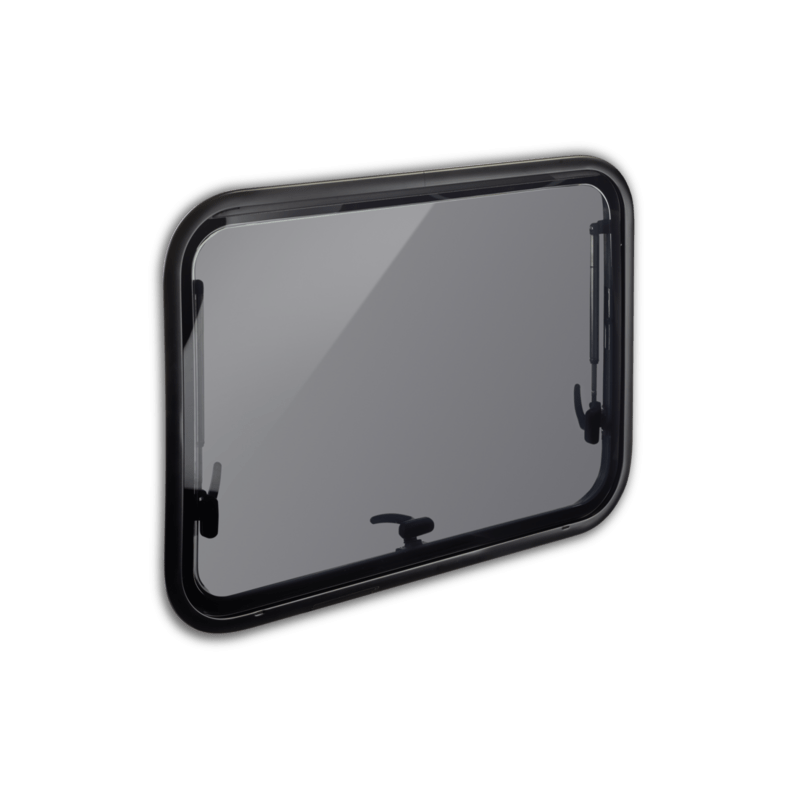
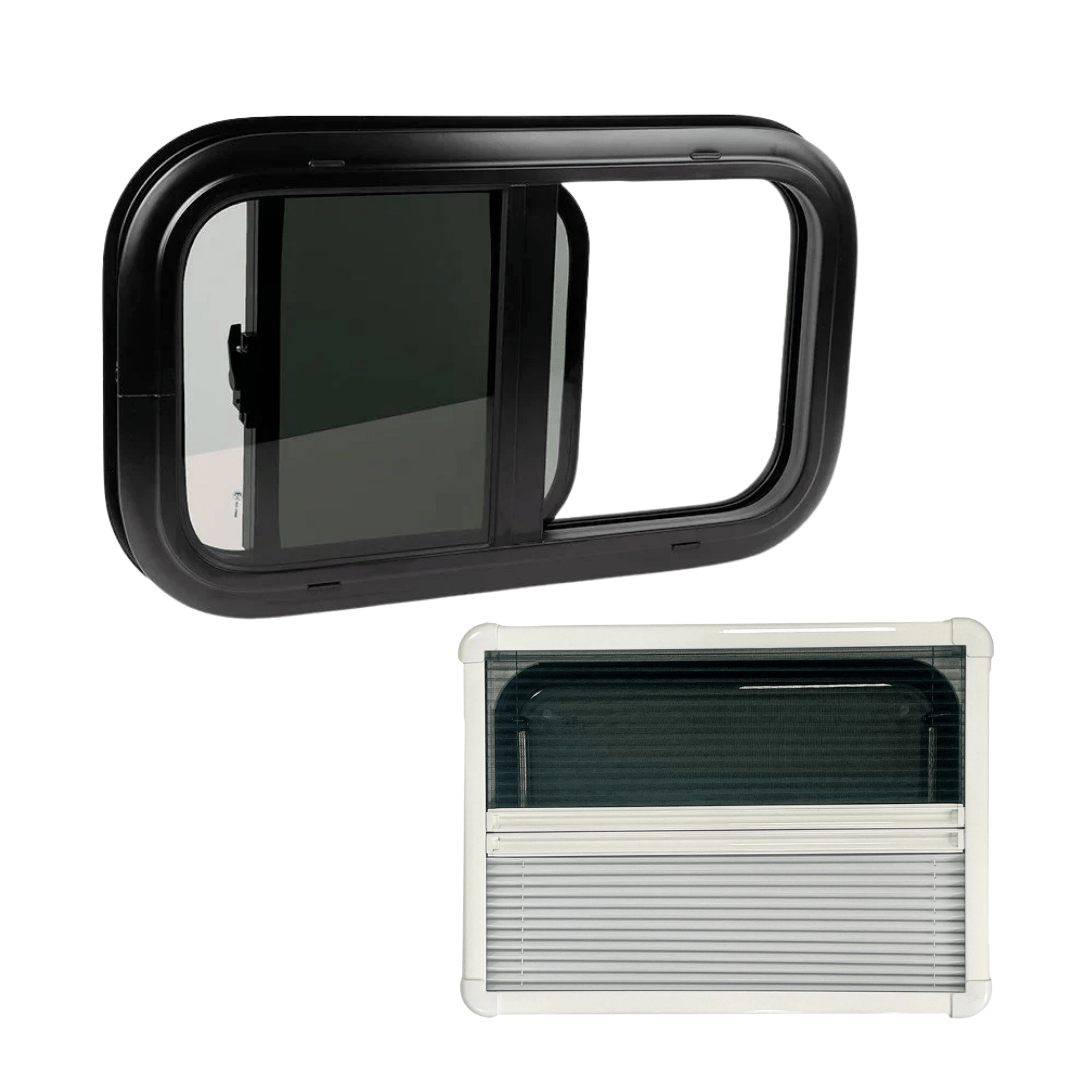
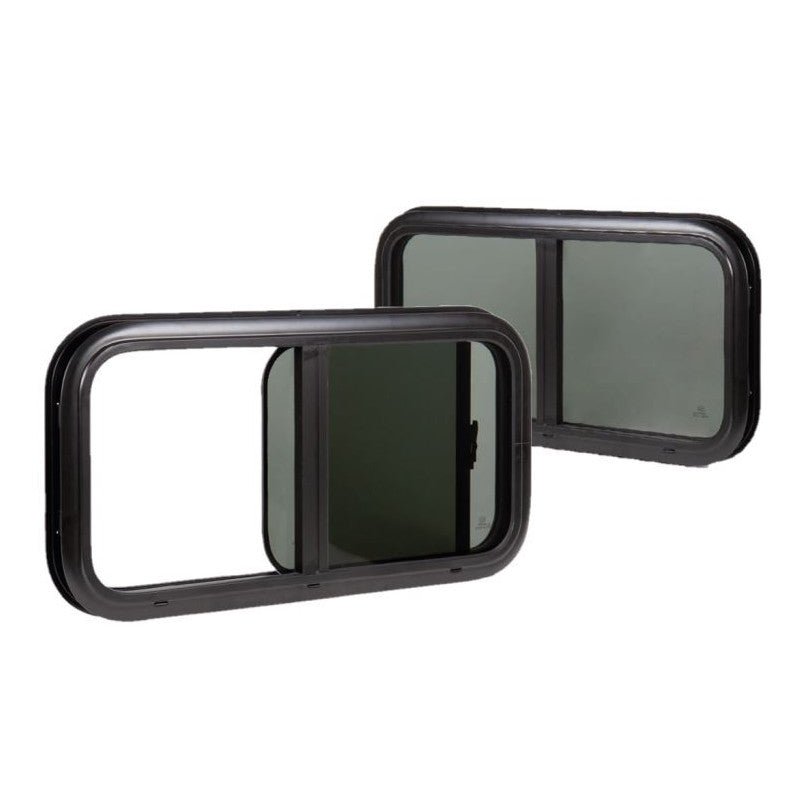
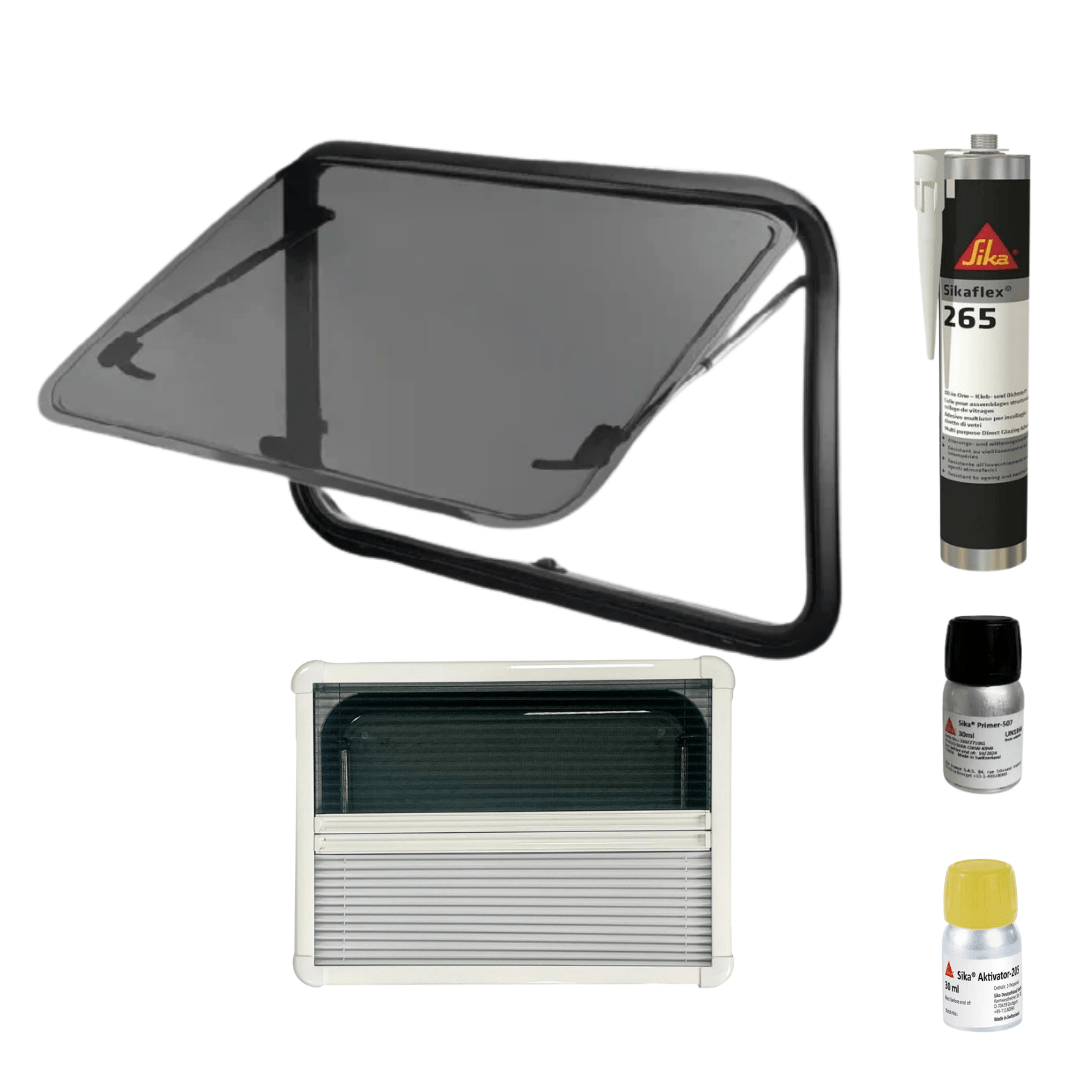
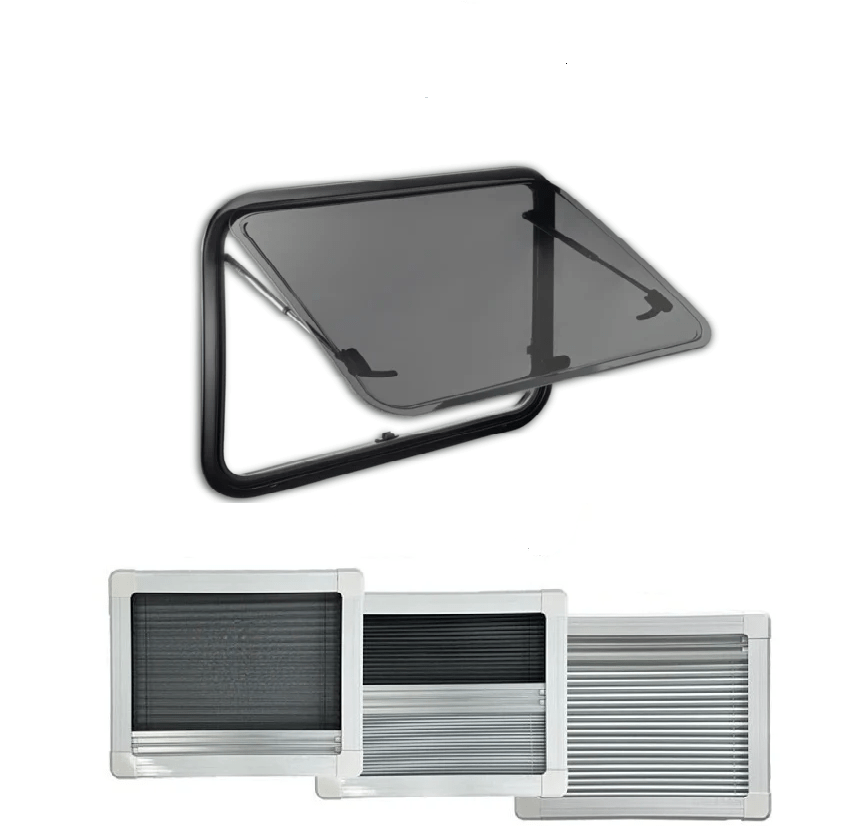
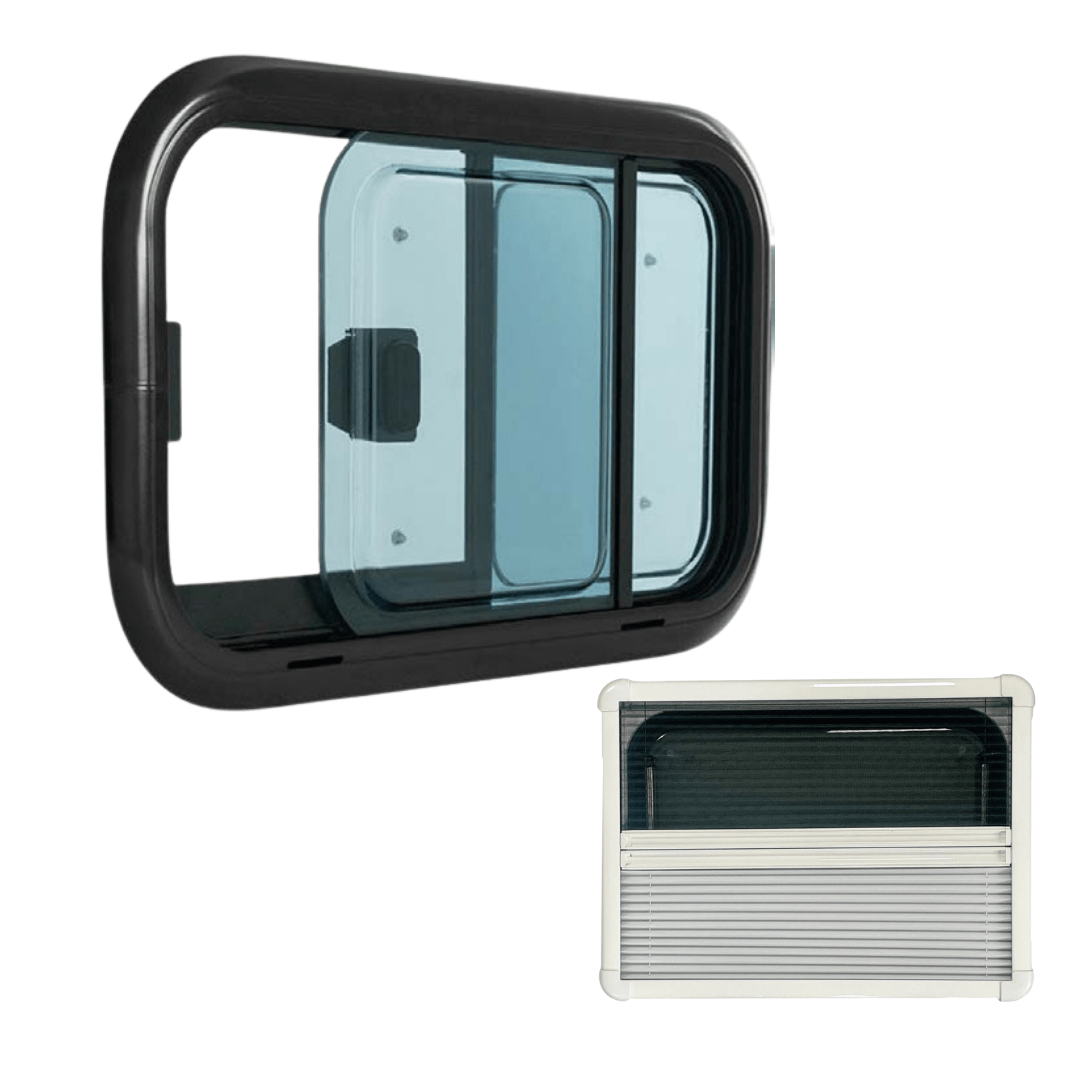
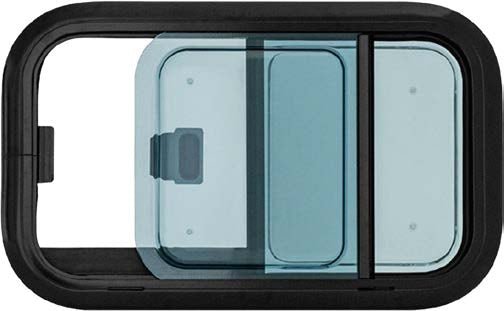
Step 3 – Windows and ventilation

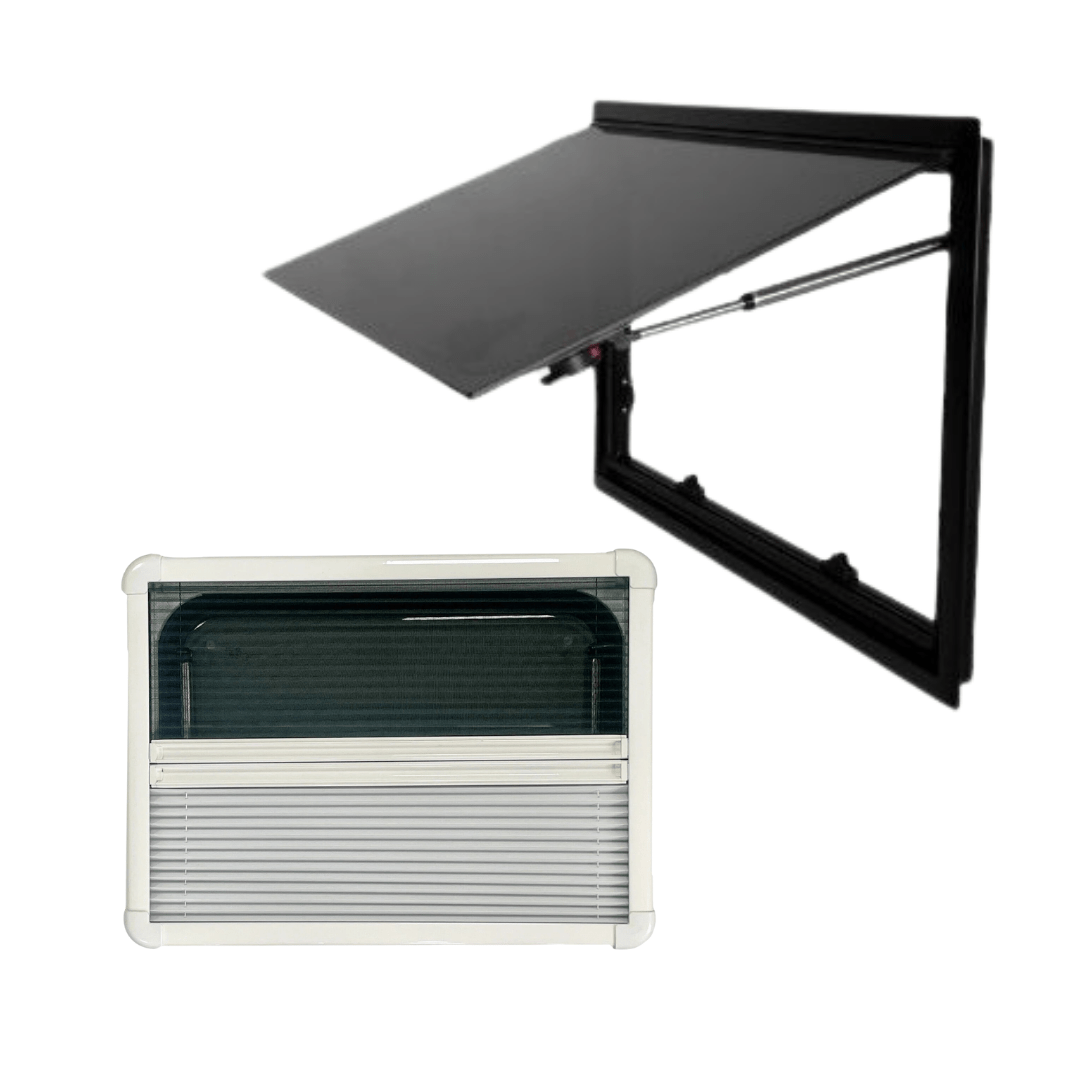
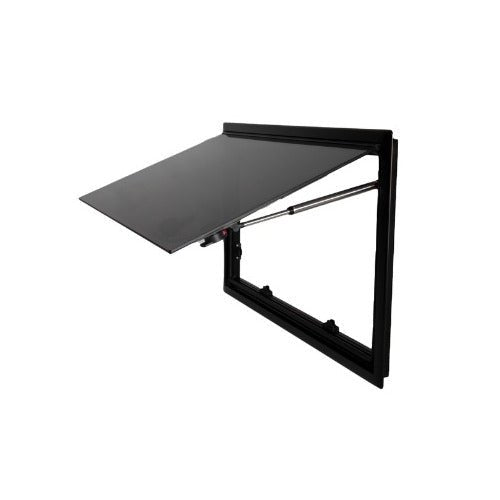
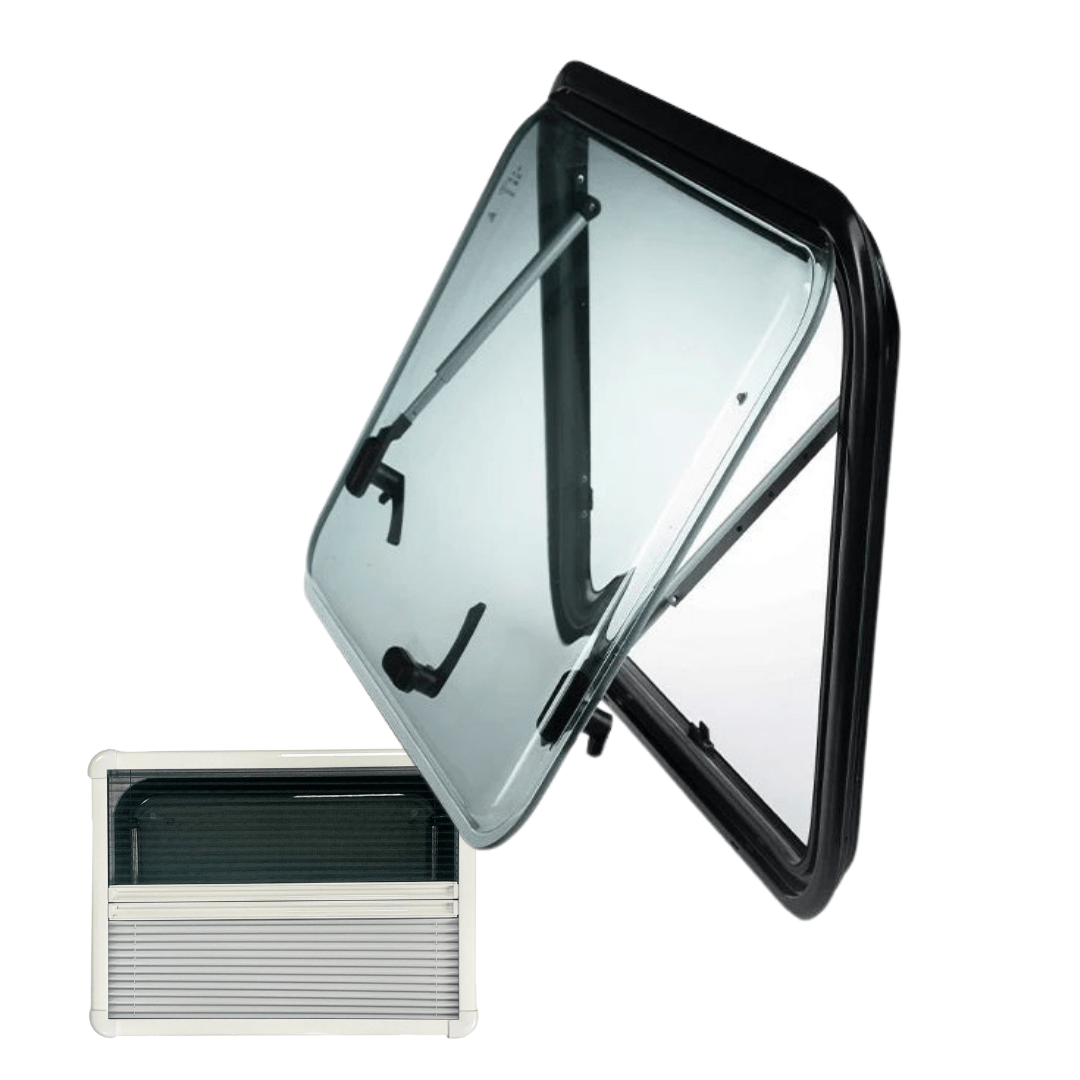
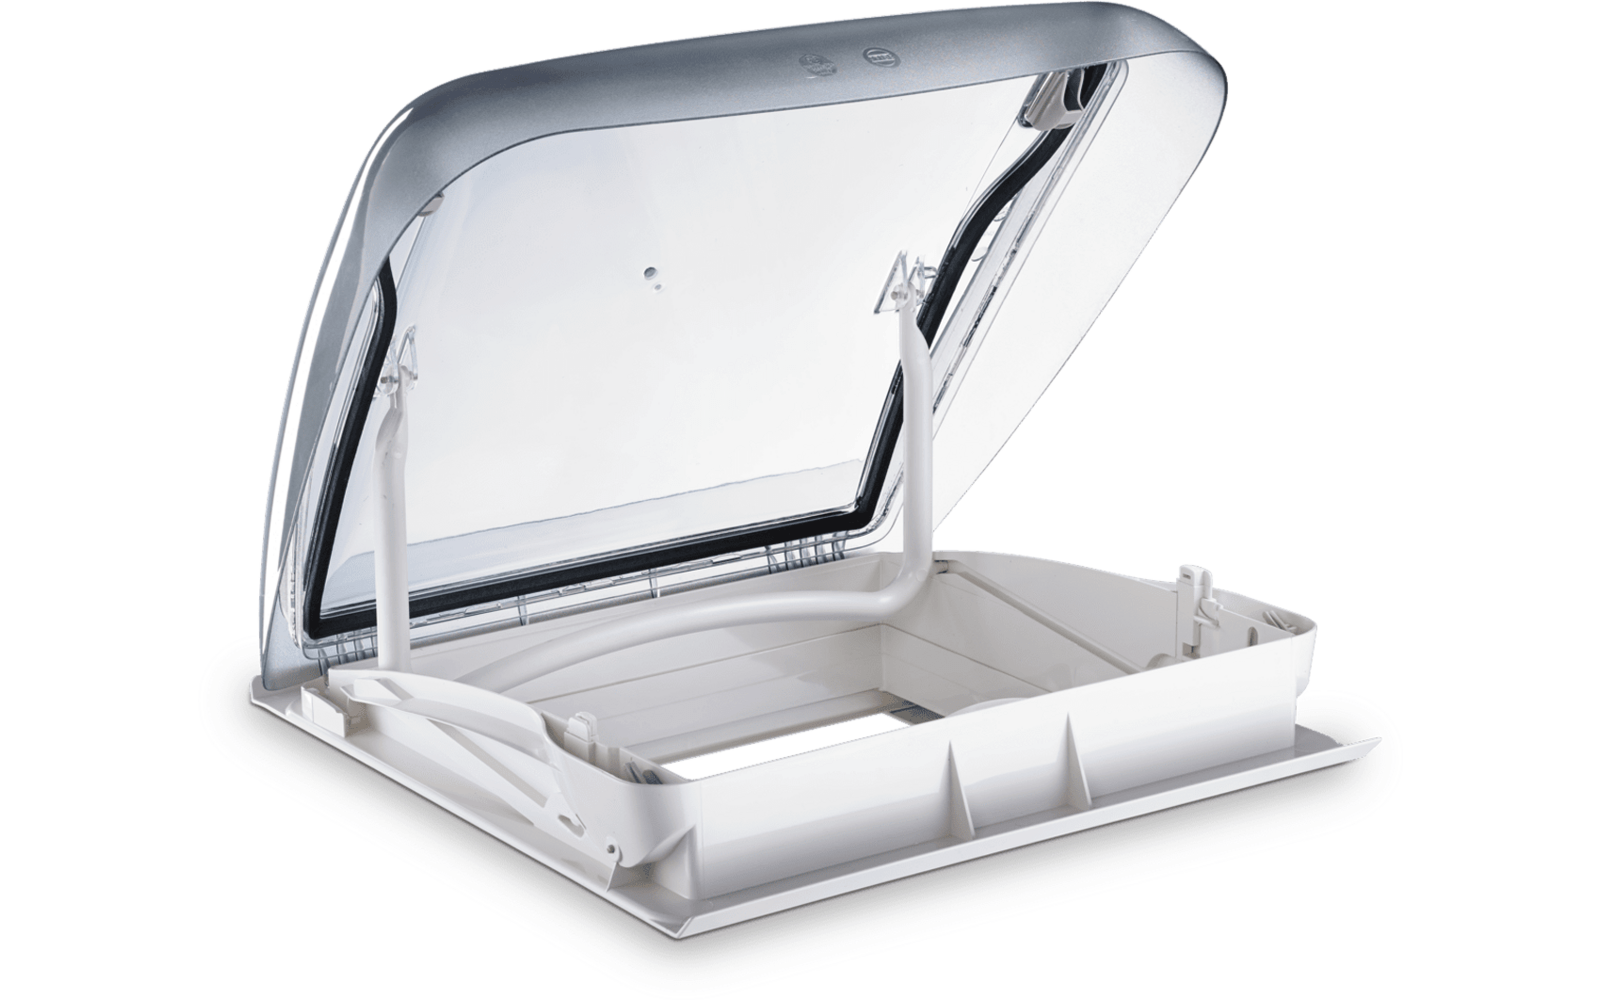
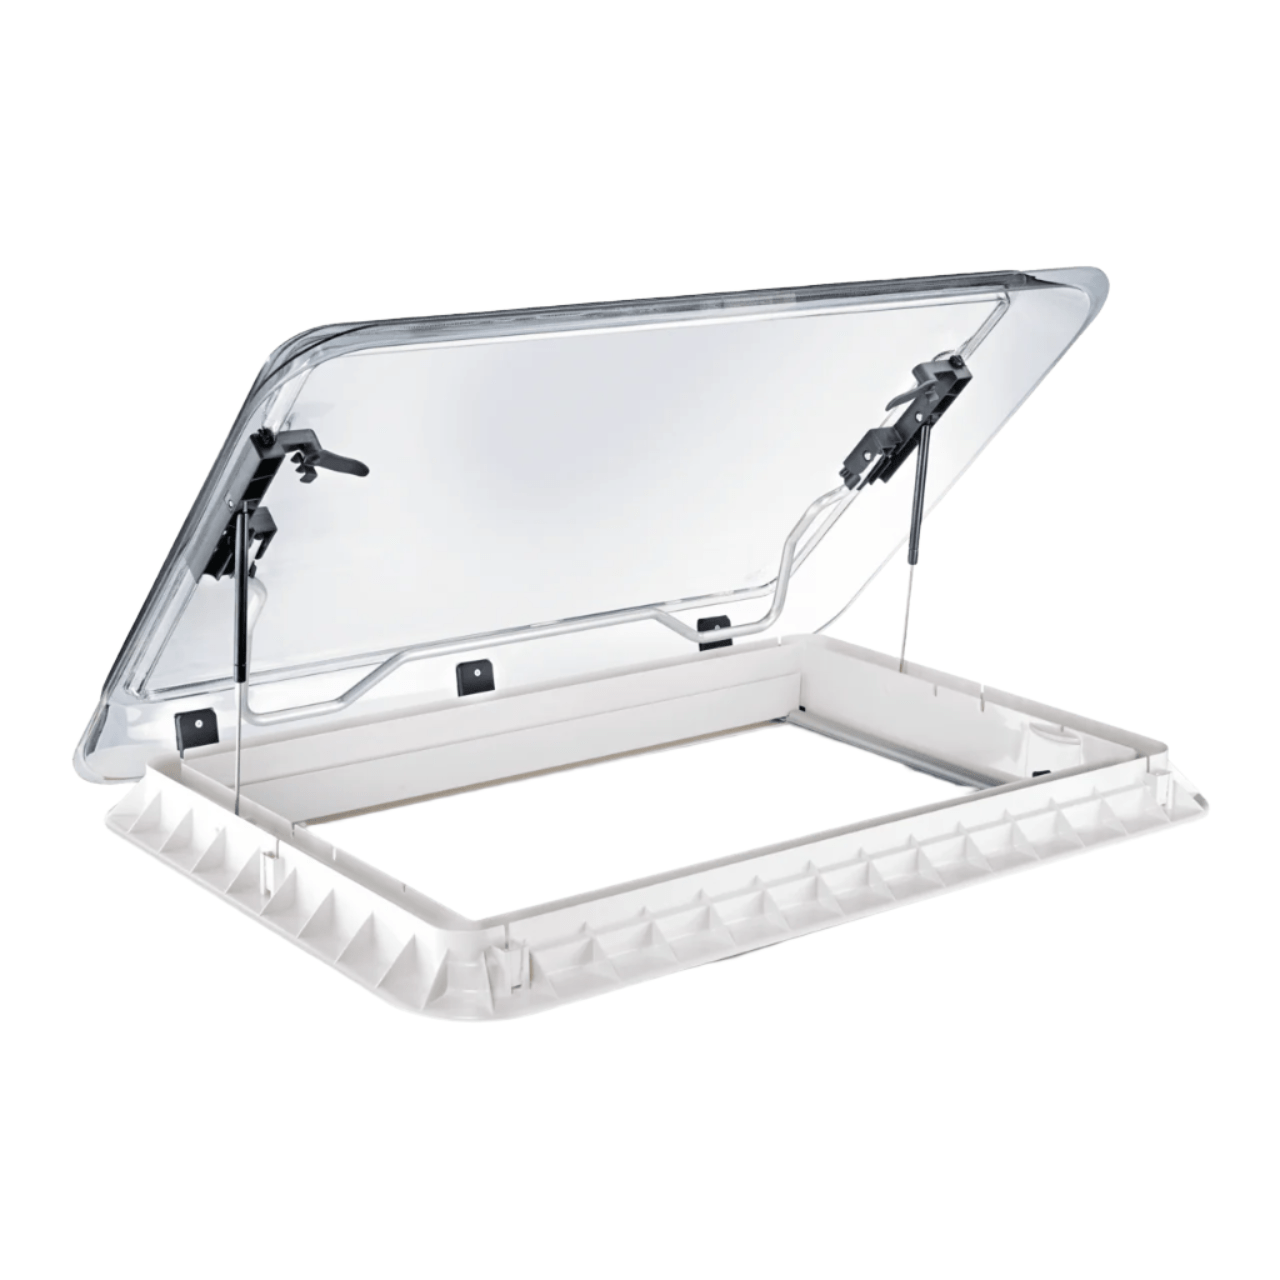
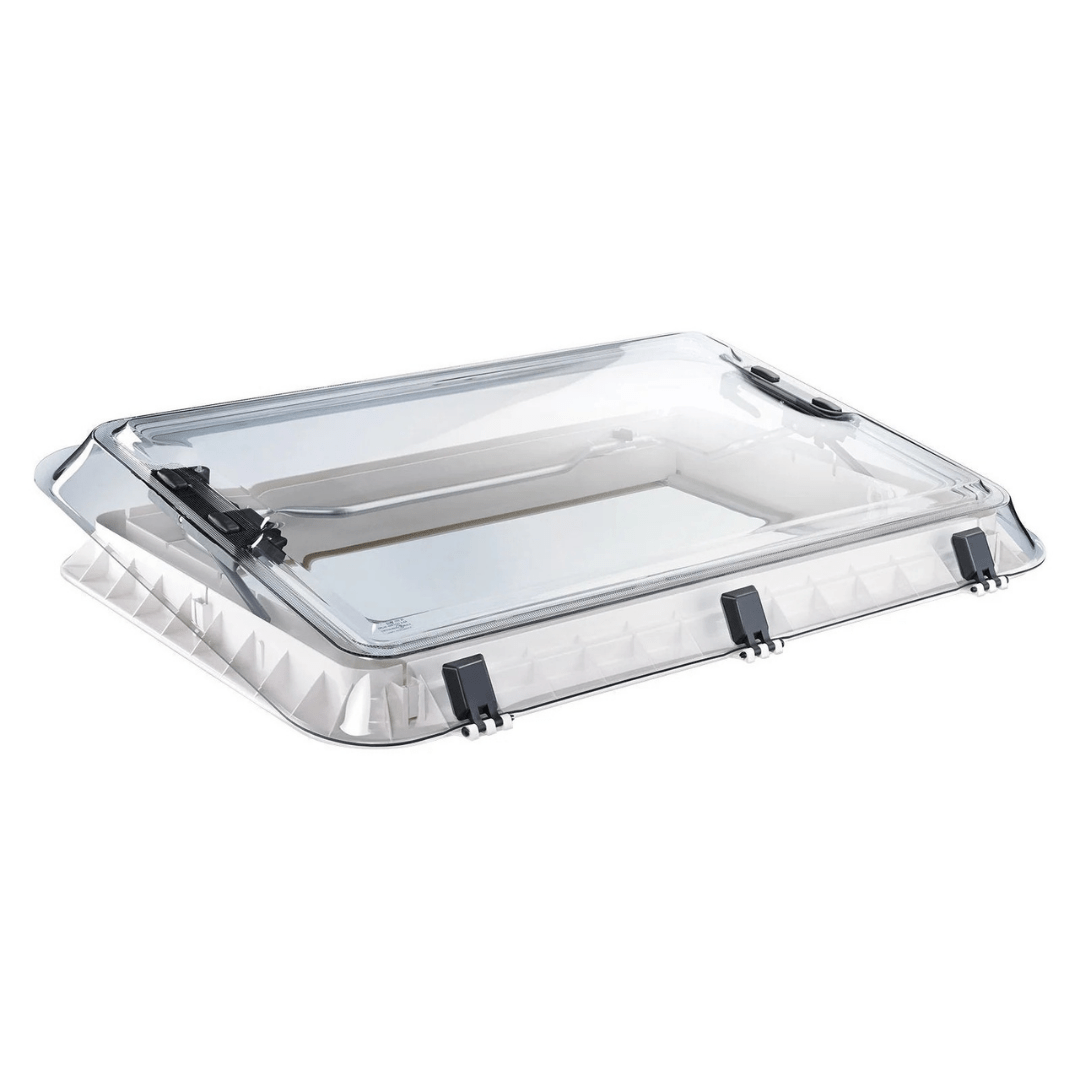
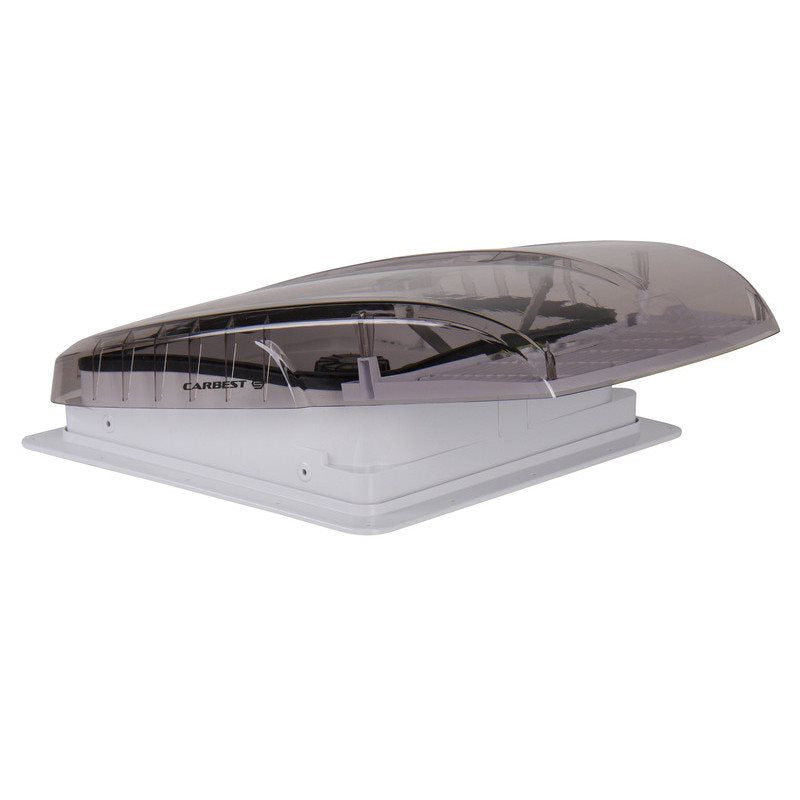
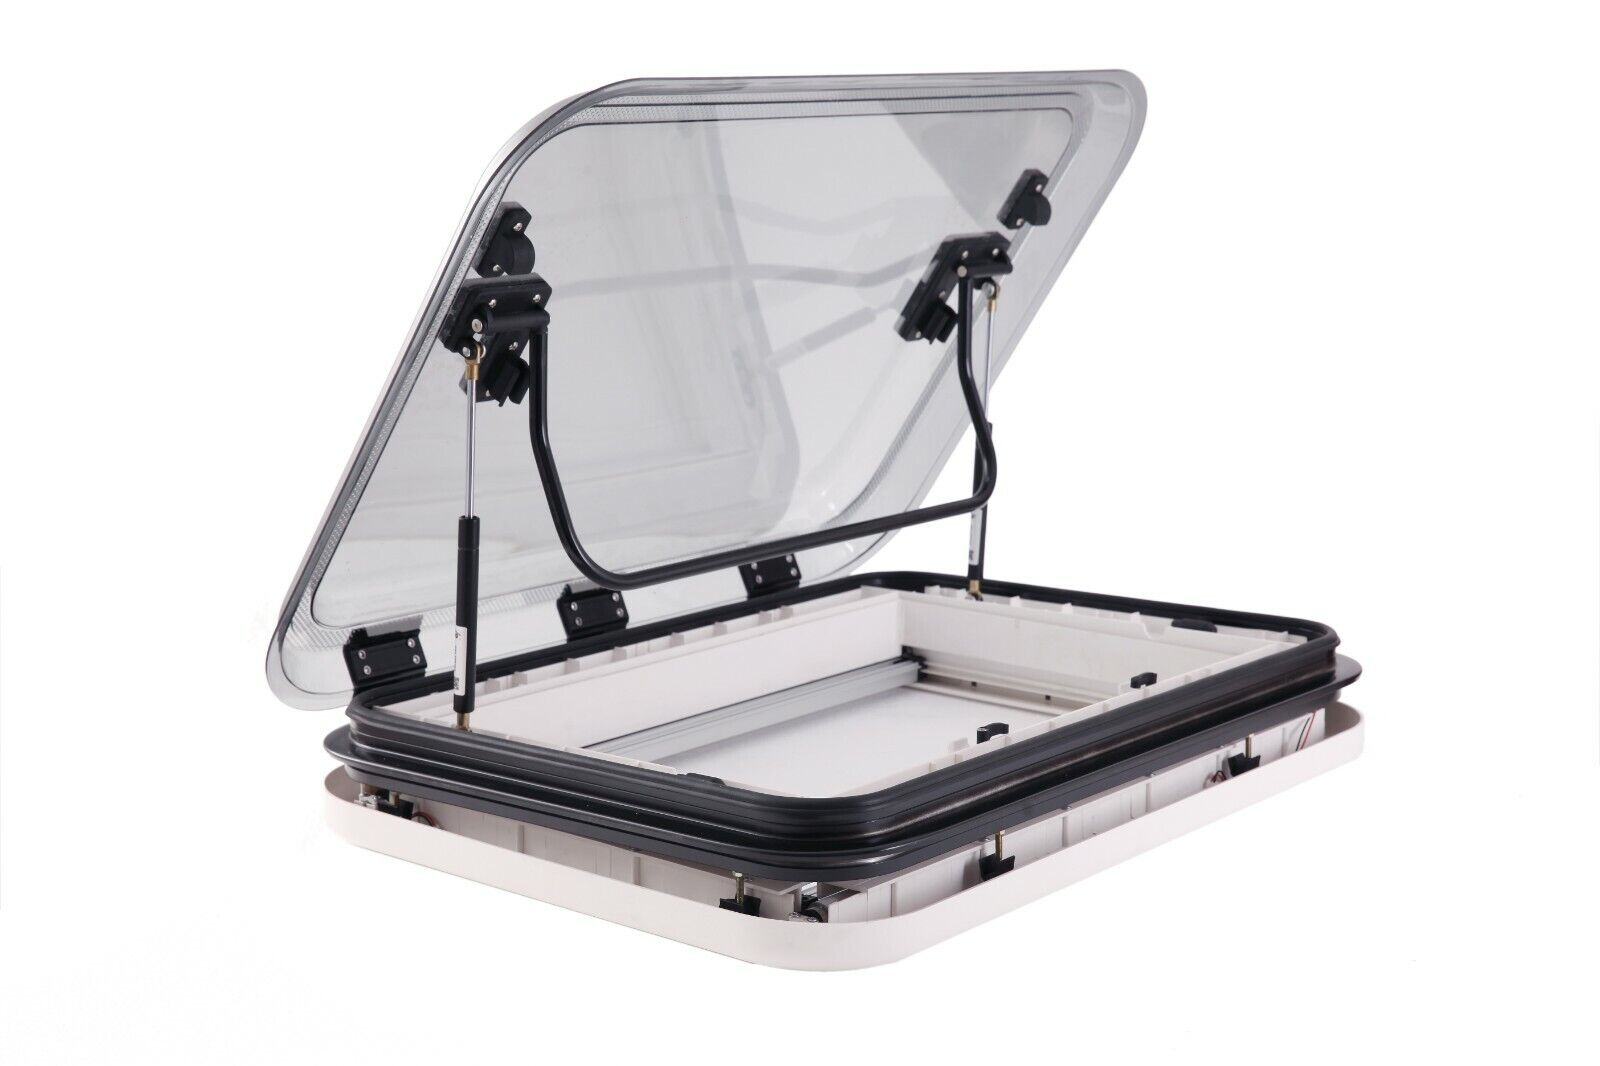
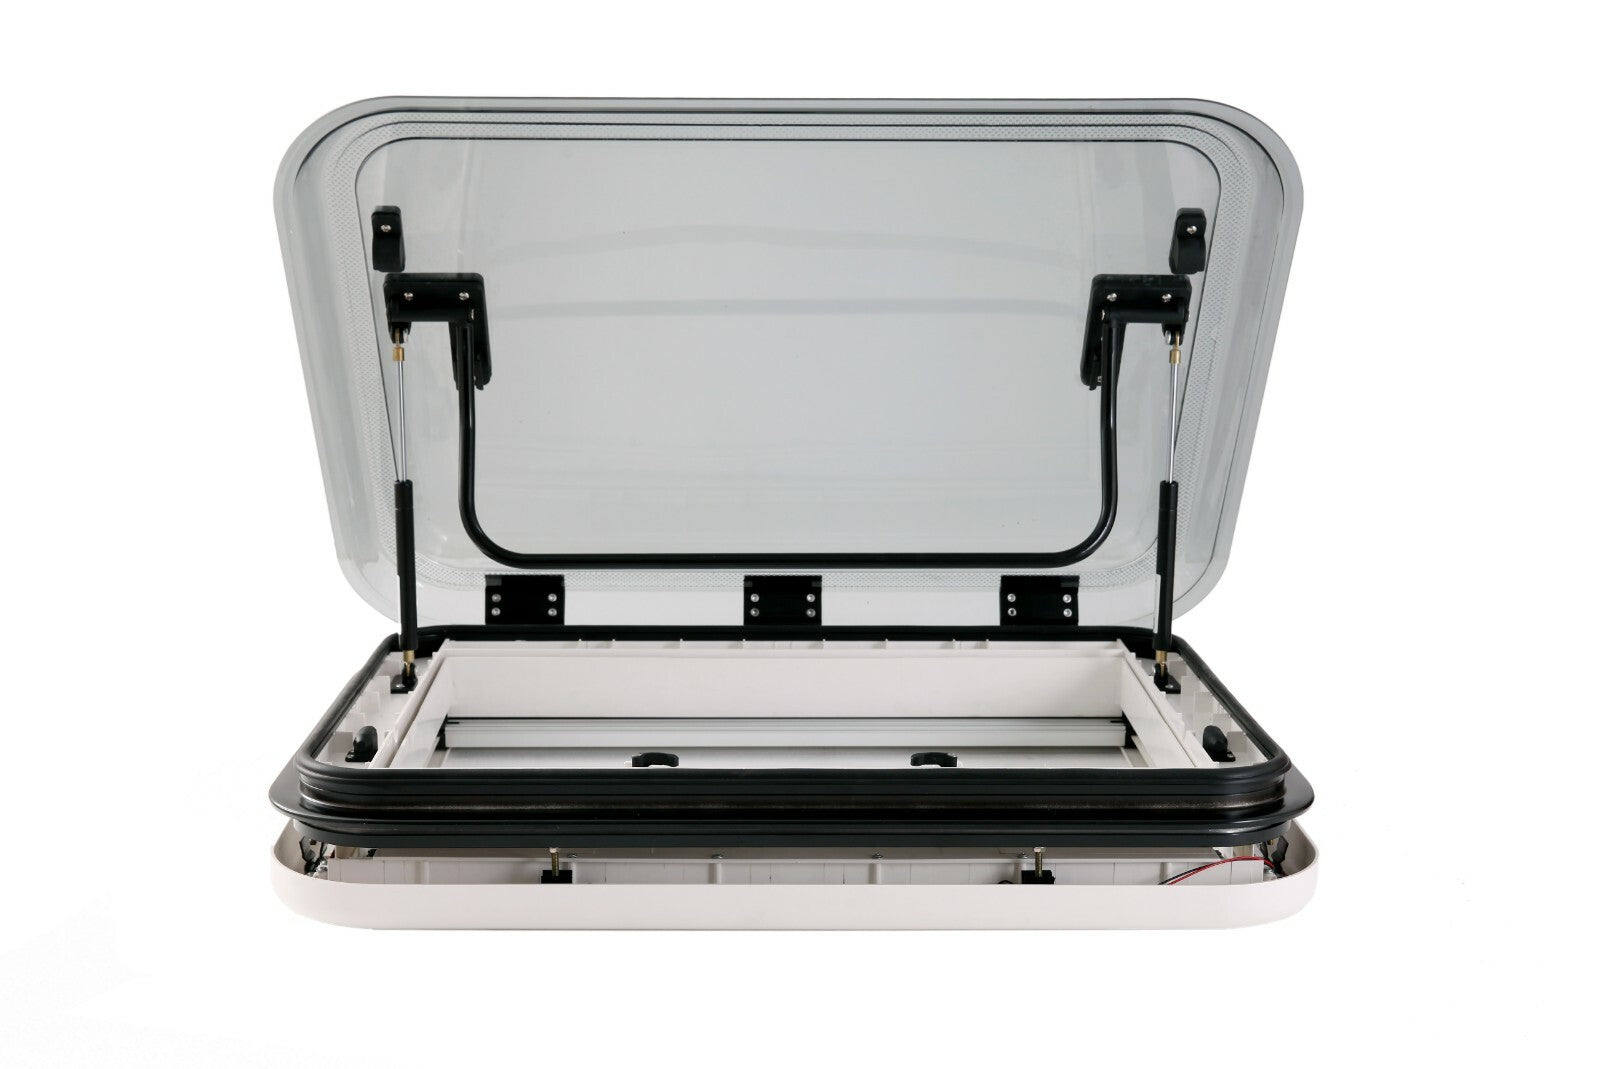
Before continuing with the rest of the build, it’s time to cut openings in your van! This moment is always intimidating, but once the light ☀️ and fresh air come in, your van will already start to feel like a home.
Step 4 – Insulation and soundproofing ❄️
Next, you will need to prepare your van by adding soundproofing and insulation. We offer excellent solutions in the Skylights and roof openings section to make your van more soundproof inside and out. Be sure to add a vapor barrier over the insulation to prevent condensation.
Step 5 – Gas and heating 🔥

When planning the gas and heating installation, you will need to decide which appliances you will use. Gas can be used to power your stove 🍳, space heater, and water heater. It is important to note that you must use a "room-safe" gas water heater if you want to use it inside your van. These are more expensive than standard gas water heaters used for outdoor showers.
Rechargeable LPG gas tanks can be installed under the van (below) or inside in a sealed gas locker. You must install a filling point outside the van, in a safe place, away from the exhaust and open windows. If you do the installation yourself, it is important to have everything checked by a gas safety engineer.
Step 6 – Electricity ⚡
Before installing the walls and floor, you will need to run cables through the van for lighting and appliances. If you use solar energy ☀️ to power your van, you will need a solar charge controller to convert the energy into a usable voltage to charge your batteries. Many van appliances run on 12V, like lights and refrigerators. However, if you want to power a standard household appliance that uses 230V, like a blender 🍹, you will need to run additional cables and install an inverter to convert 12V to 230V.
Step 7 – Floors and walls 🛠️
Choose a durable material for your van floor. Once the insulation is installed, you will want to cover it with plywood or OSB panels to create a solid base, before covering it with an easy-to-clean surface like vinyl, linoleum, or laminate. For the walls, cover the insulation with something lightweight, like plywood or cladding. You may need to cut openings in the walls or cladding for electrical cables or outlets.
Step 8 – Kitchen 🍳

Installing your kitchen can be very simple or fully equipped, depending on how much you like to cook. Some vanlifers settle for a portable stove and a jerrycan of water, while others prefer to have a sink with fixed plumbing and a permanent gas stove.
Step 9 – Bed design 🛏️
The biggest decision when planning your bed is whether you want a permanent fixed bed. You can also opt for a convertible seating area that turns into a bed, which saves space during the day, but you will have to fold the bed every morning.
Step 10 – Shower and toilets 🚿🚽

Toilets or no toilets? It’s a controversial debate that often divides vanlifers! While some don’t like the idea of having toilets in their small home, if you plan to live full-time in your van, you will probably want to install one.
Is converting a van difficult? 🤷♂️
There is no doubt that converting a van into a campervan takes time and commitment. Depending on your DIY experience, you may need to learn some new skills, but you can definitely convert a van, even without prior experience. 💪
How to plan a van conversion? 📋
- Step 1 – Research 🔍
- Step 2 – Plan your van layout 🛠️
- Step 3 – Windows and ventilation
- Step 4 – Insulation and soundproofing ❄️
- Step 5 – Gas and heating 🔥
- Step 6 – Electricity ⚡
- Step 7 – Floors and walls 🛠️
- Step 8 – Kitchen 🍳
- Step 9 – Bed design 🛏️
- Step 10 – Shower and toilets 🚿🚽

