Converting a Motorhome or a Campervan is an exciting but sometimes complex project. Between time, budget, and many decisions to make, it’s easy to overlook some details. Don’t worry! Here are some conversion tips and conversion advice to successfully complete your project without stress, even if you want to convert on a budget. 🛠️✨
- 1. 1️⃣ Forgetting to insulate the floor of your van ❄️
- 2. 2️⃣ Not planning for heating from the start 🌡️
- 3. 3️⃣ Poorly distributing the weight in the van 🚛⚖️
- 4. 4️⃣ Lacking functional storage 📦
- 5. 5️⃣ Neglecting the budget for exterior improvements 💸
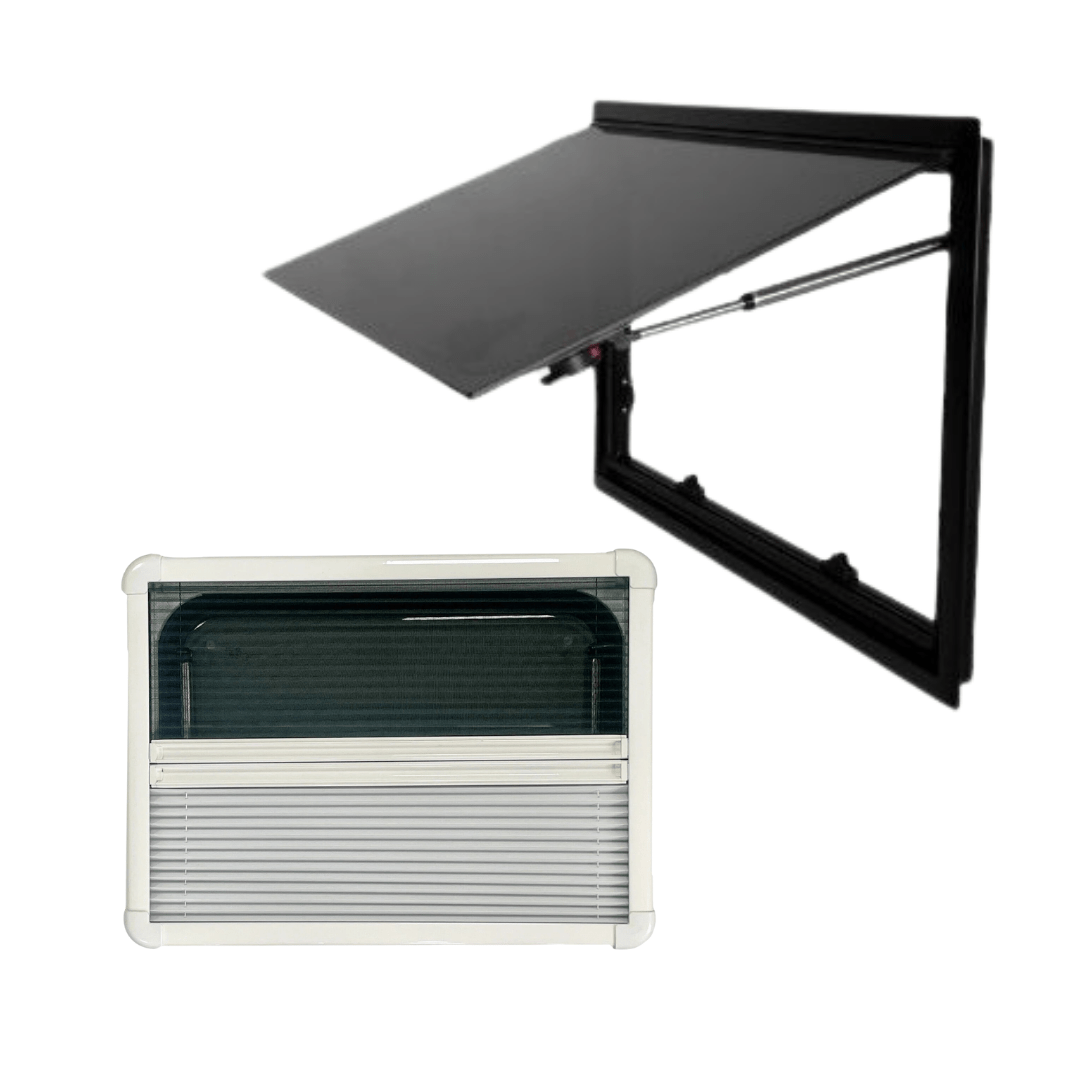
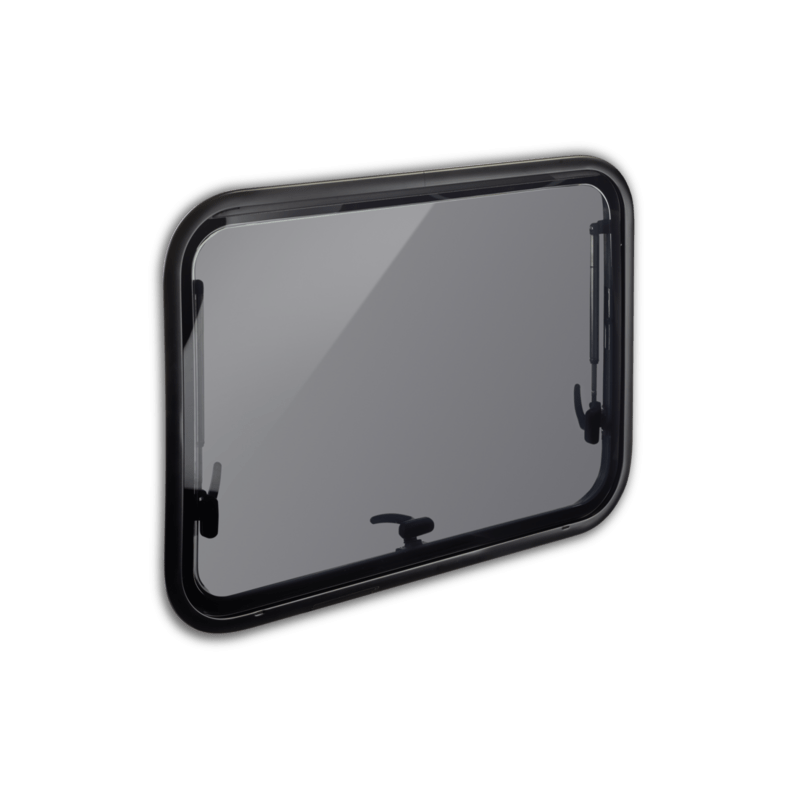
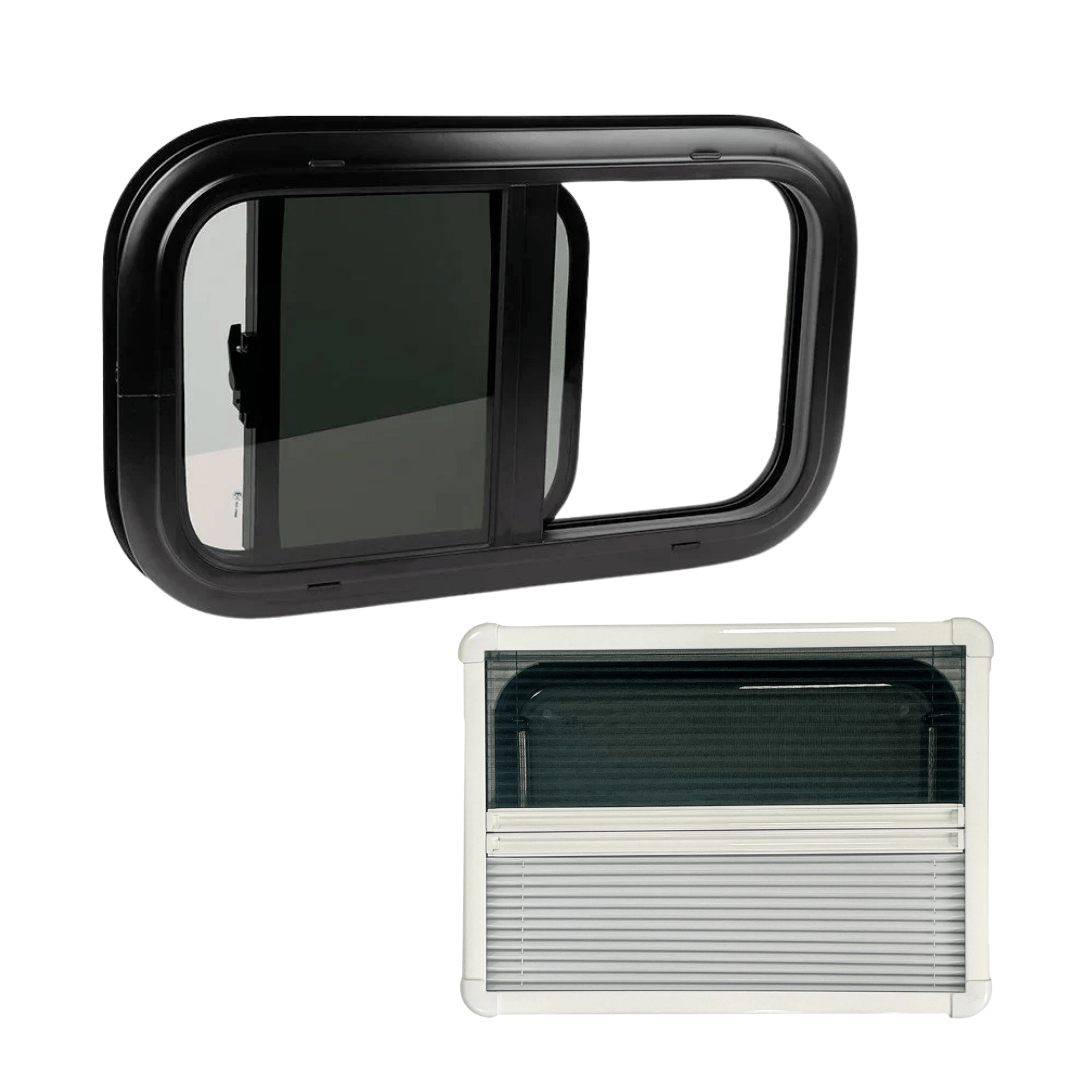
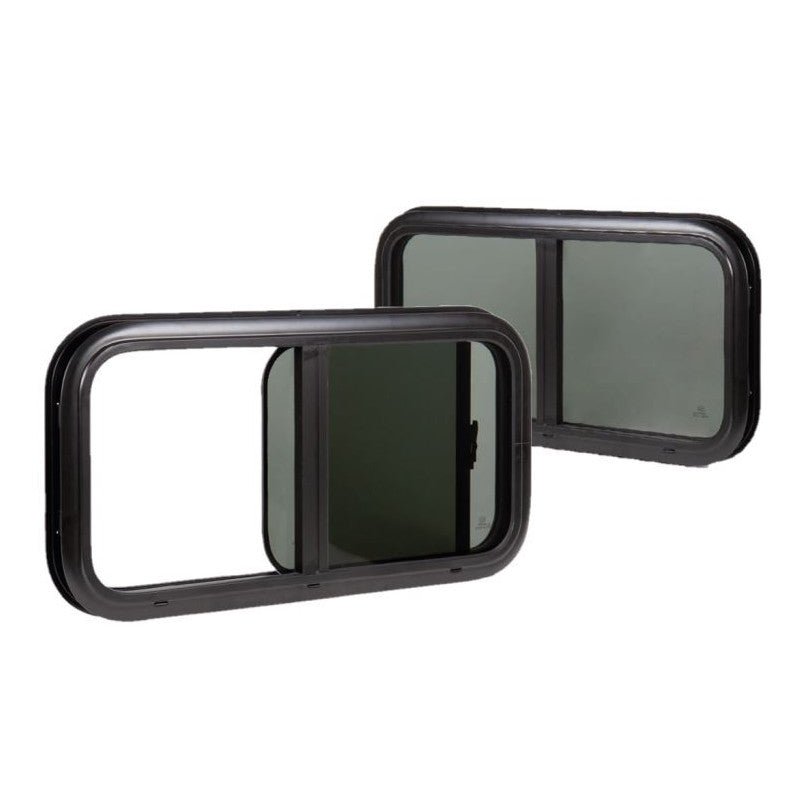
- 6. 6️⃣ Underestimating the importance of bays and windows
- 7. 7️⃣ Neglecting the installation or choice of roof vents 🌬️
First of all, a few words about Vanlife Store
At Vanlife Store, we are above all passionate about Vanlife and adventure! After years on the road living our dream, we love sharing our tips, ideas, and good deals to help you transform your van into a true home on wheels.
We are also conversion experts, which allows us to offer you relevant advice and products for your Campervan or Motorhome projects or repairs, always at the best prices.
Subscribe to our newsletter to receive our best tips, inspiration for your next getaways, and top deals to equip your van. Ready to set off on an adventure with us? 🚐✨ Let’s go!
Our Vanlife conversion experts are here for you! Whether you have a question about our products or are looking for advice to transform your van into a true nomadic cocoon, contact us – we’ll be happy to guide you!
1️⃣ Forgetting to insulate the floor of your van ❄️

👉 Why is it important? In a Motorhome conversion or a Campervan, insulation is one of the essential first steps for a comfortable living space, whether in winter or summer. If you only insulate the walls and roof while neglecting the floor, you create a thermal bridge 🧊. This means the floor will become a pathway for outside temperatures, making your van much colder in winter and limiting the effectiveness of your entire insulation.
👉 The consequences of an uninsulated floor:
- Significant heat loss: Warm air rises, but if the floor remains cold, overall thermal comfort will be greatly reduced.
- Condensation: An uninsulated floor promotes condensation, which can cause mold and damage your equipment or structures.
- Permanent discomfort: Your feet will be directly exposed to the cold, making winter evenings unpleasant, even with heating on board.
2️⃣ Not planning for heating from the start 🌡️

👉 Why is this a mistake?
In a Motorhome or a Campervan, the common misconception that heating is unnecessary in mild climates is widespread. Yet, even in southern France or Europe, nights can be surprisingly cool 🌙, especially off-season. A well-installed heater from the start makes all the difference for comfortable Vanlife living. Plus, it saves you administrative and technical hassles if you need to add it after VASP certification 🚐✔️.
👉 The complications of a late installation:
- Repassing the VASP certification: If your vehicle is already registered as VASP (auto-caravan), adding a heater afterward will require you to retake the inspection to comply. This can lead to additional costs and delays.
- Installation complexity: Once your Motorhome layout is complete, adding a heating system may require dismantling parts like furniture or flooring, making the process costly and laborious.
Discover the AUTOTERM AIR 2D, a certified autonomous diesel heater, ideal for warming your Campervan or Motorhome and enjoying your adventures all year round!
3️⃣ Poor weight distribution in the Campervan 🚛⚖️

An unbalanced van or Motorhome causes rapid wear on suspensions and tires 😱. For a well-thought-out layout:
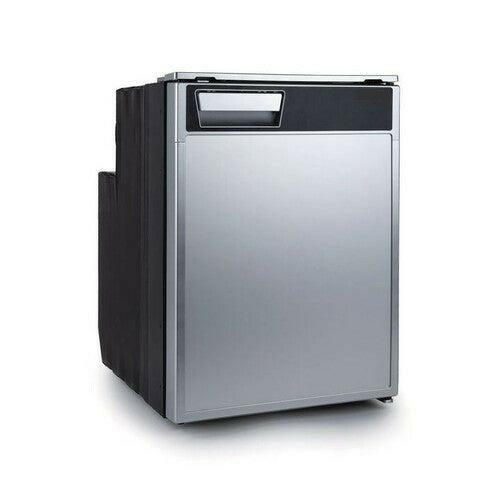
✅ Distribute heavy loads (batteries, water tanks, fridge) evenly between the front and rear, and also between the sides.
📦 To watch out for in your Motorhome or Vanlife layout:
- Fresh water tank: 1L of water = 1 kg, so an 80L tank weighs… 80 kg 💧.
- Batteries: Up to 50 kg depending on the type ⚡.
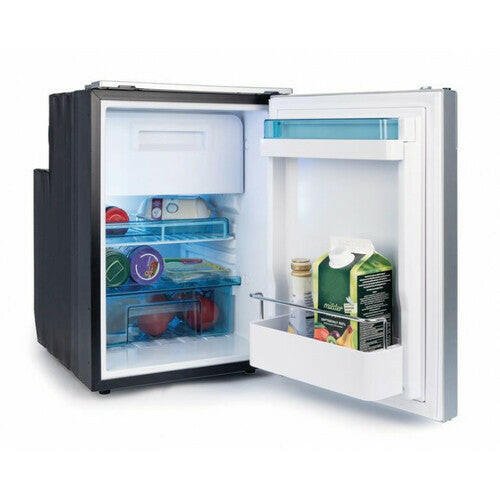
- Fridge: Even empty, it can weigh up to 20 kg 🥶.
- Furniture: The choice of materials (light wood) is crucial to avoid unnecessarily weighing down your space! 🚪
4️⃣ Lack of functional storage 📦

👉 Why is this a mistake?
Life in a Motorhome or a Campervan is synonymous with simplicity and minimalism. But if your storage is not practical or accessible, it risks becoming useless, turning your adventures into a real headache 🌀. Whether you are a Vanlife enthusiast or a nomadic adventurer, carefully planning your storage spaces is essential to maximize the comfort and efficiency of your Motorhome fit-out.
🔑 The key principles for effective storage
1️⃣ Accessibility above all:
- Your storage must be designed for easy and quick access to your belongings.
- Prefer sliding drawers, hinged doors, or rail storage systems that allow you to reach every corner without hassle.
2️⃣ Organize by categories:
- Divide your spaces into dedicated zones: clothes, kitchen, tools, toiletries, etc. This makes daily life easier and avoids disturbing everything to find an item.
- Add bins or storage pockets to compartmentalize.
3️⃣ Optimize lost spaces:
- Make use of every nook in your van: under the benches, above the doors, or even behind panels.
- Hidden spaces can become valuable storage, provided they remain accessible.
5️⃣ Neglecting the budget for exterior improvements 💸

When you want to fit out on a budget, you often focus on the interior. However, the exterior elements are just as essential for a safe and comfortable Motorhome trip.
✅ To include in your Motorhome or Campervan layout budget:
- Reinforced suspension and suitable tires: If your GVWR (gross vehicle weight rating) approaches 3.5 tonnes, reinforce your suspension to improve driving and safety 🚙.
- Recovery equipment: Straps and shovels are essential to get out of tricky situations (mud, sand, snow) 🌍.
- Security system: Alarm or GPS tracker to protect your rolling home 🕵️.
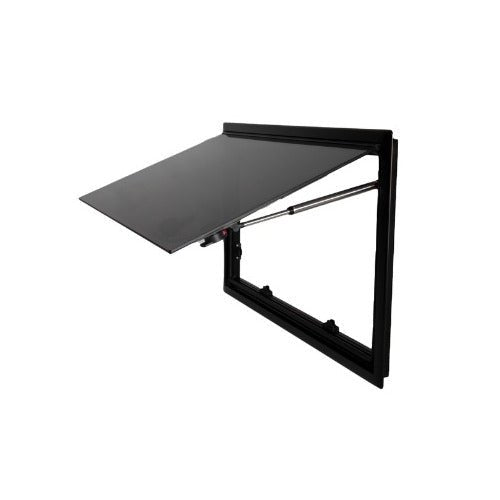
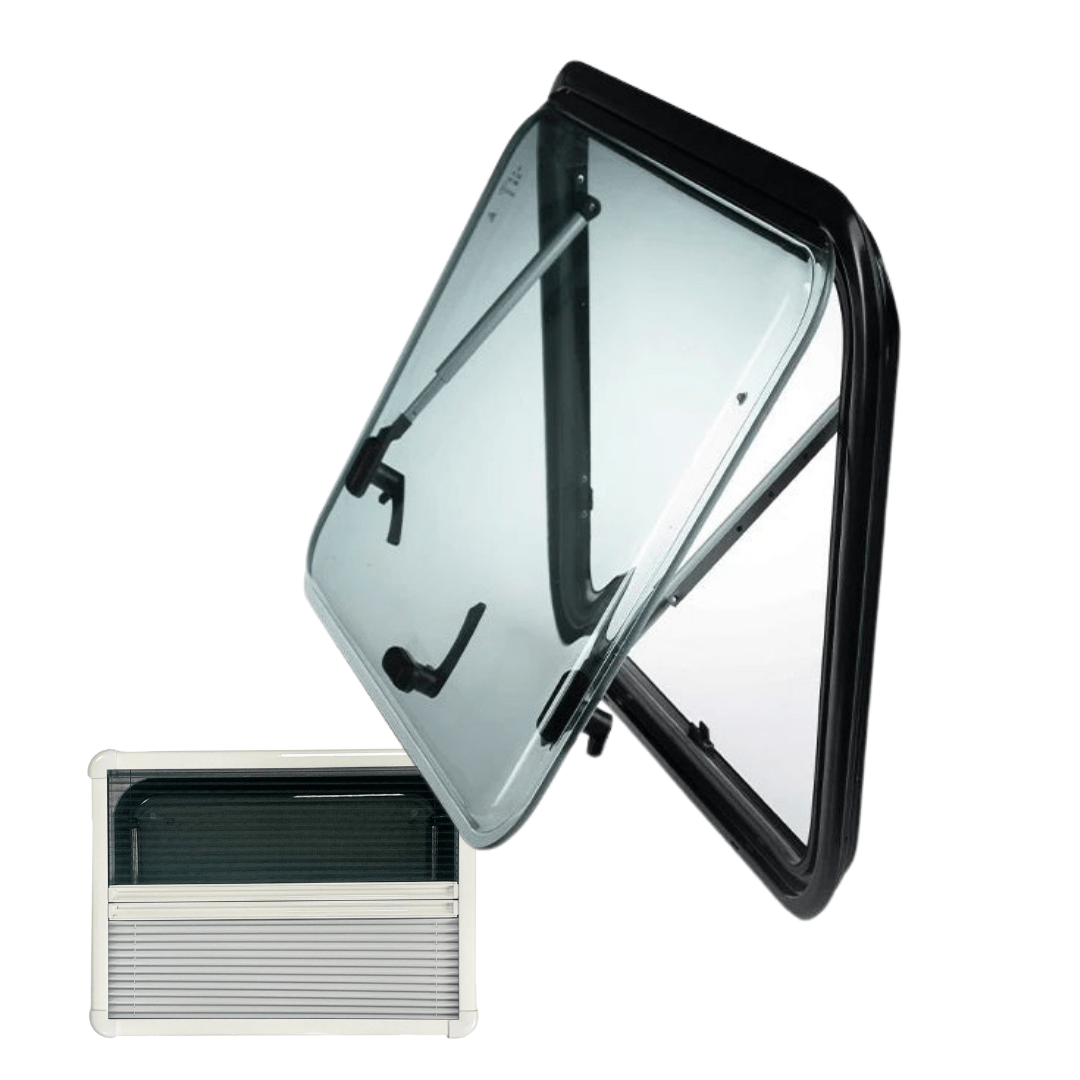
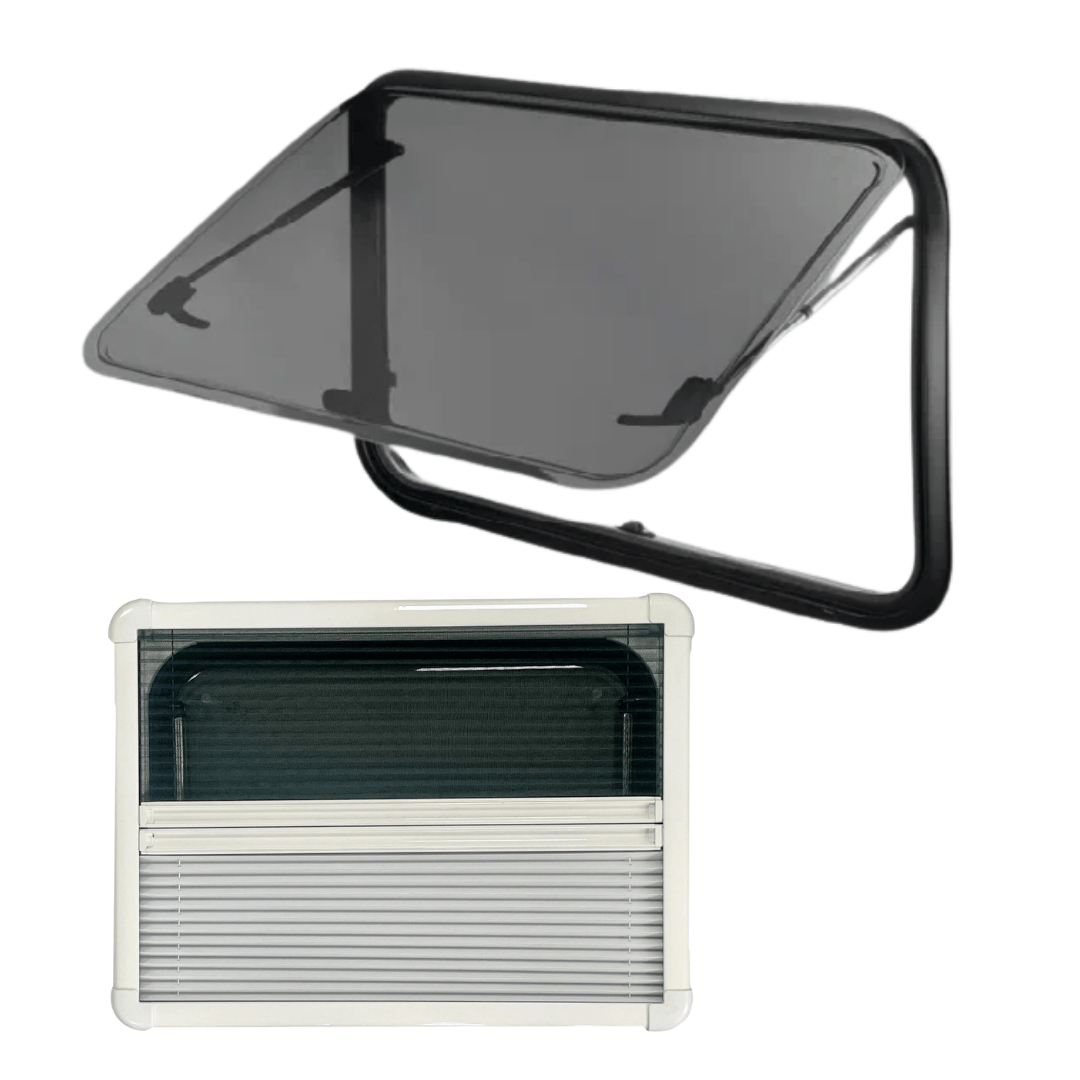
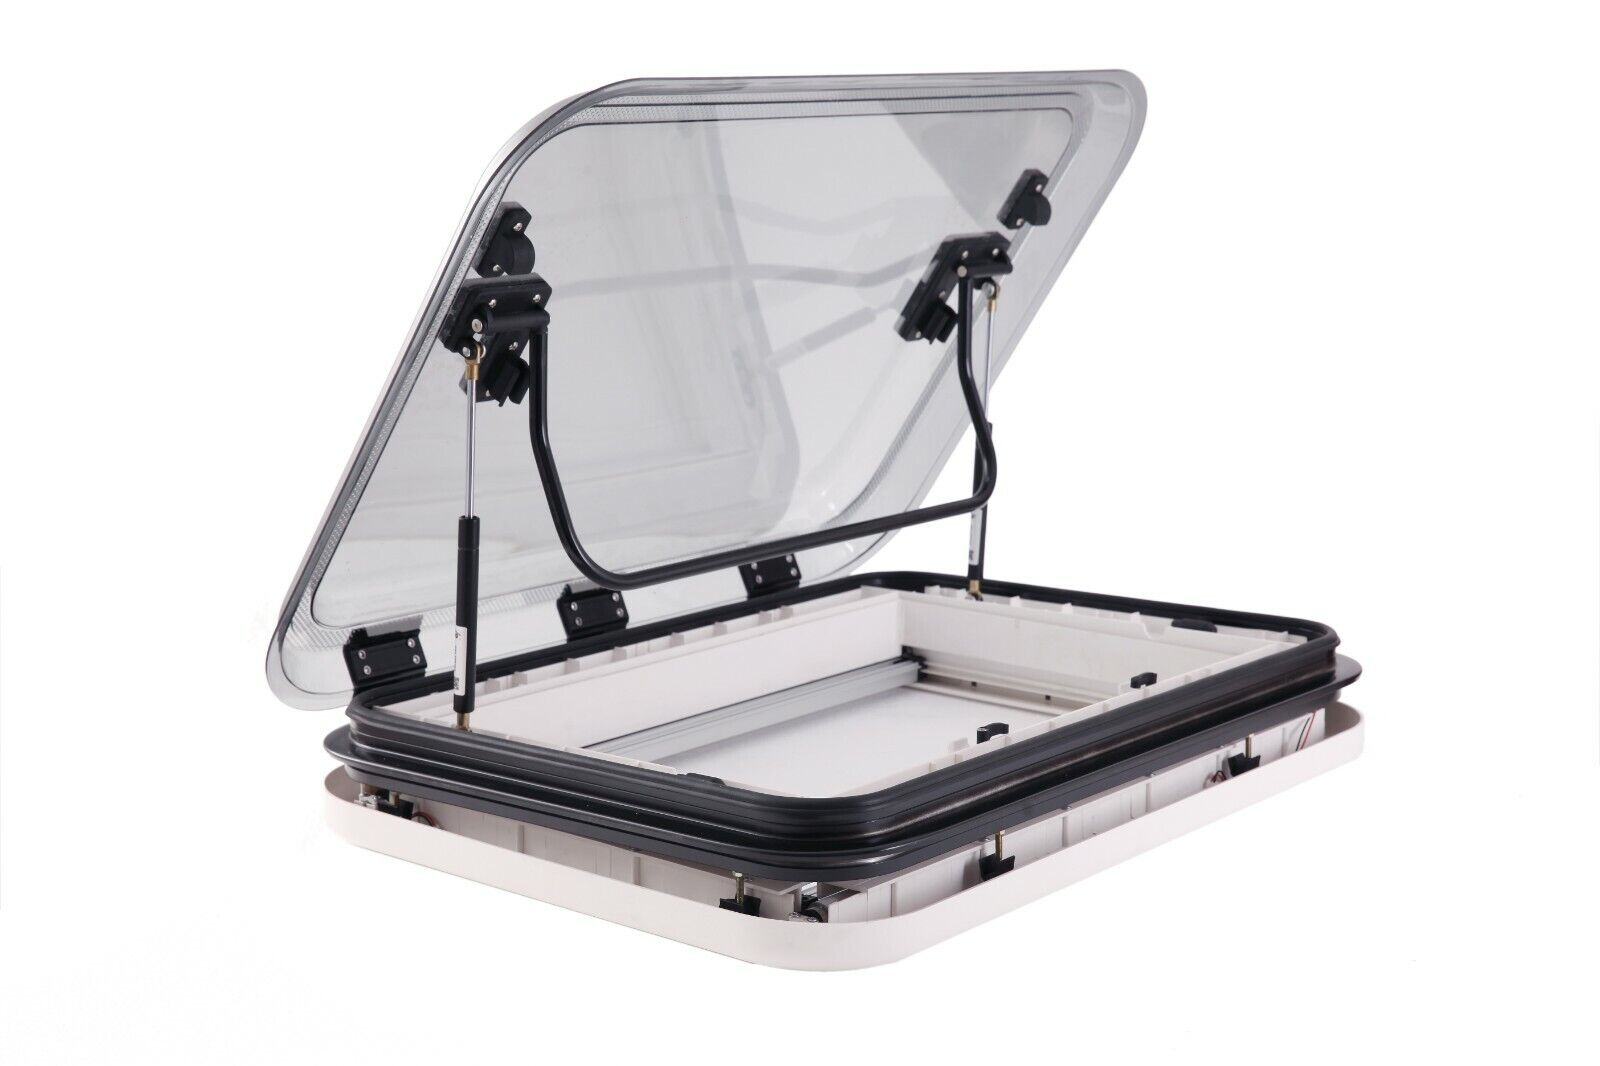
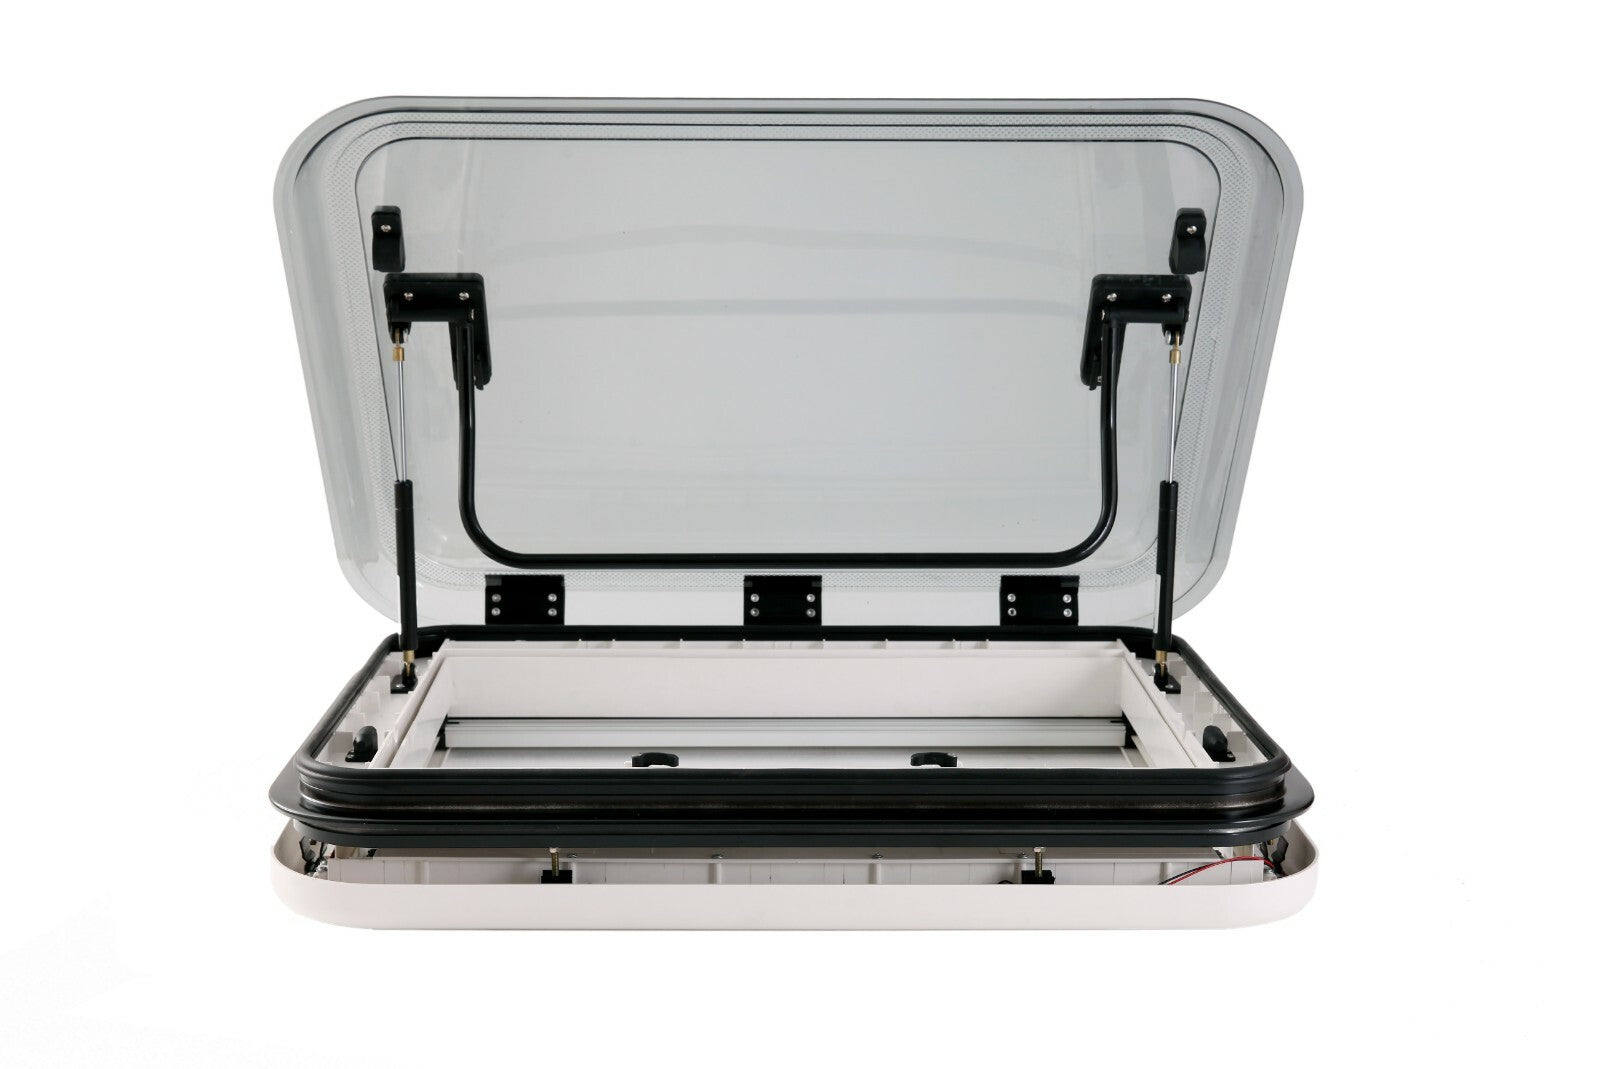
6️⃣ Underestimating the importance of bays and windows

👉 Why is this a mistake?
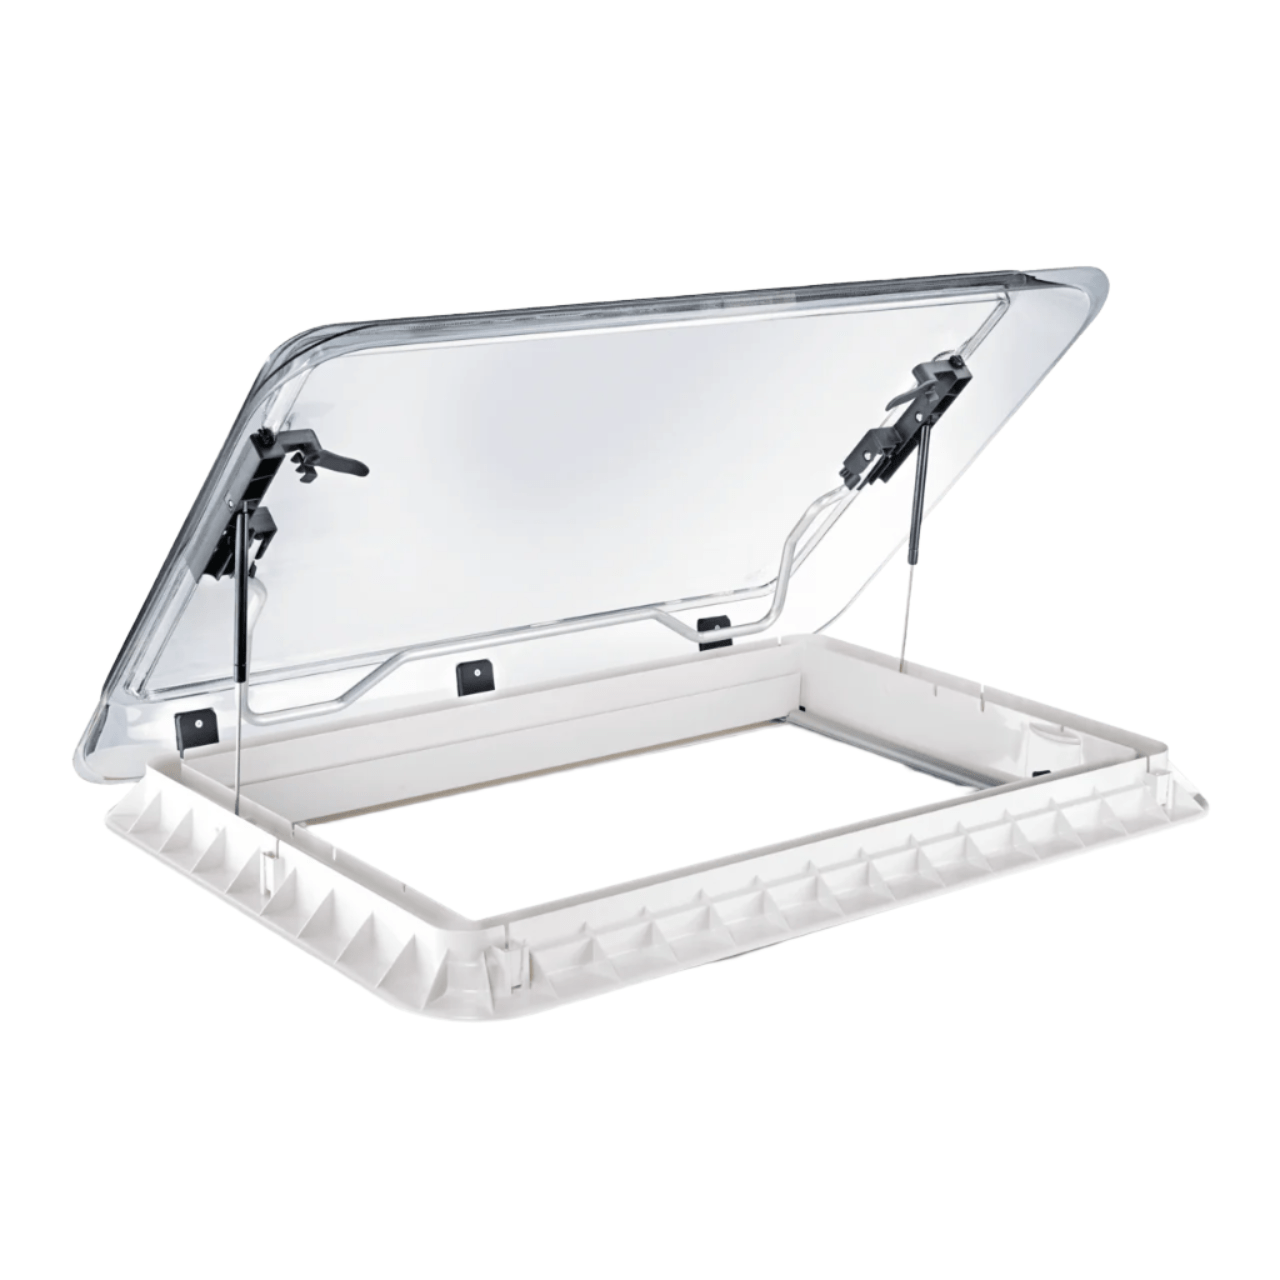
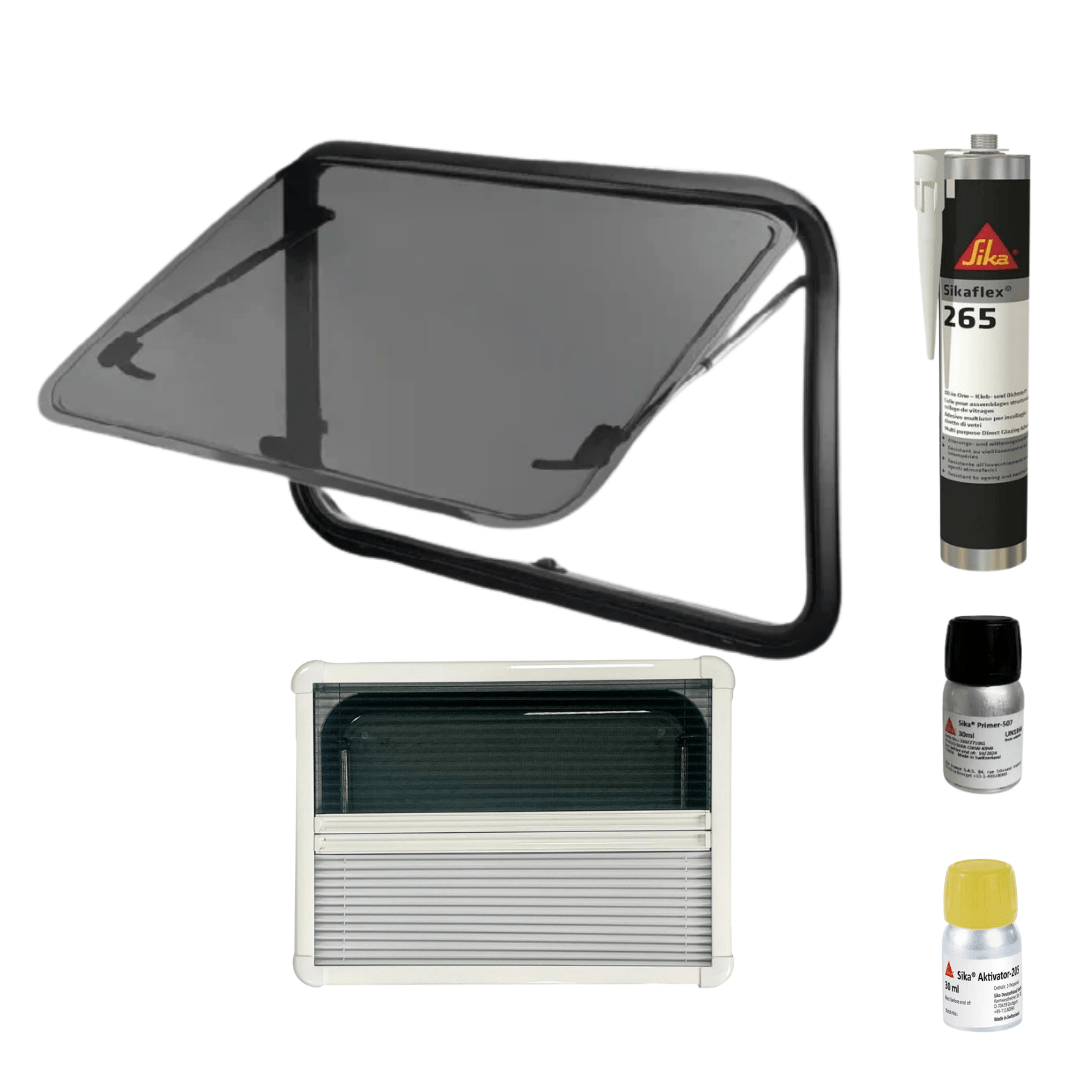
Poor choice, bad installation, or forgetting to secure the glazed bays and windows of your Motorhome or Campervan can quickly become a headache. Poor waterproofing can cause water infiltration 🌧️, drafts ❄️, or insufficient thermal insulation. Moreover, poorly secured windows can make your vehicle more vulnerable to break-ins 🚨.
🔧 Best practices to avoid this mistake:
1️⃣ Choose suitable bays:
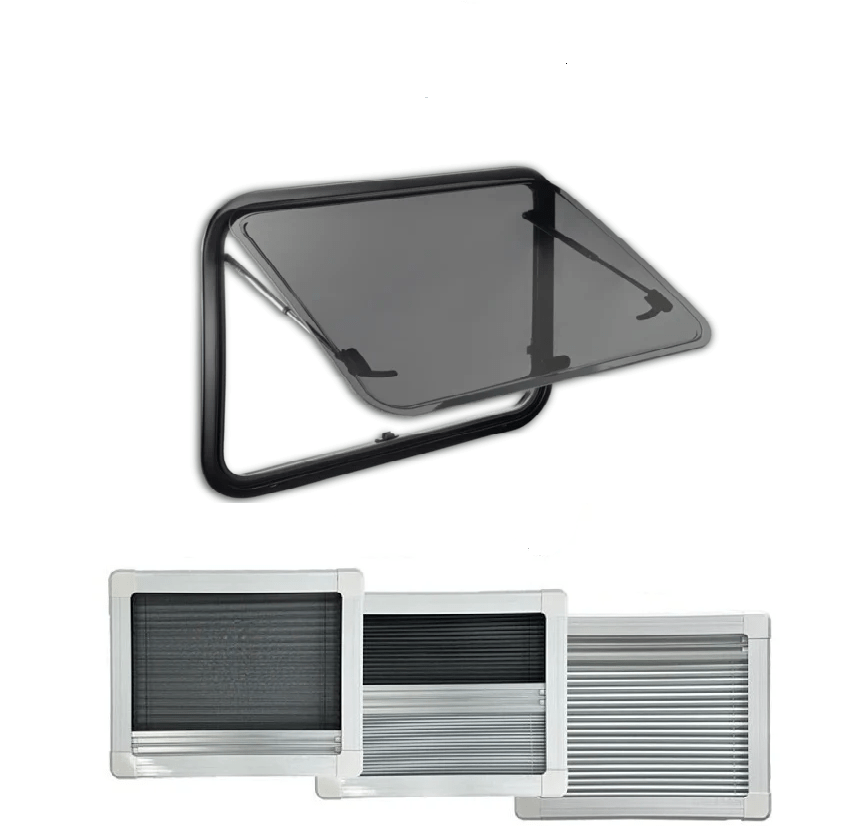
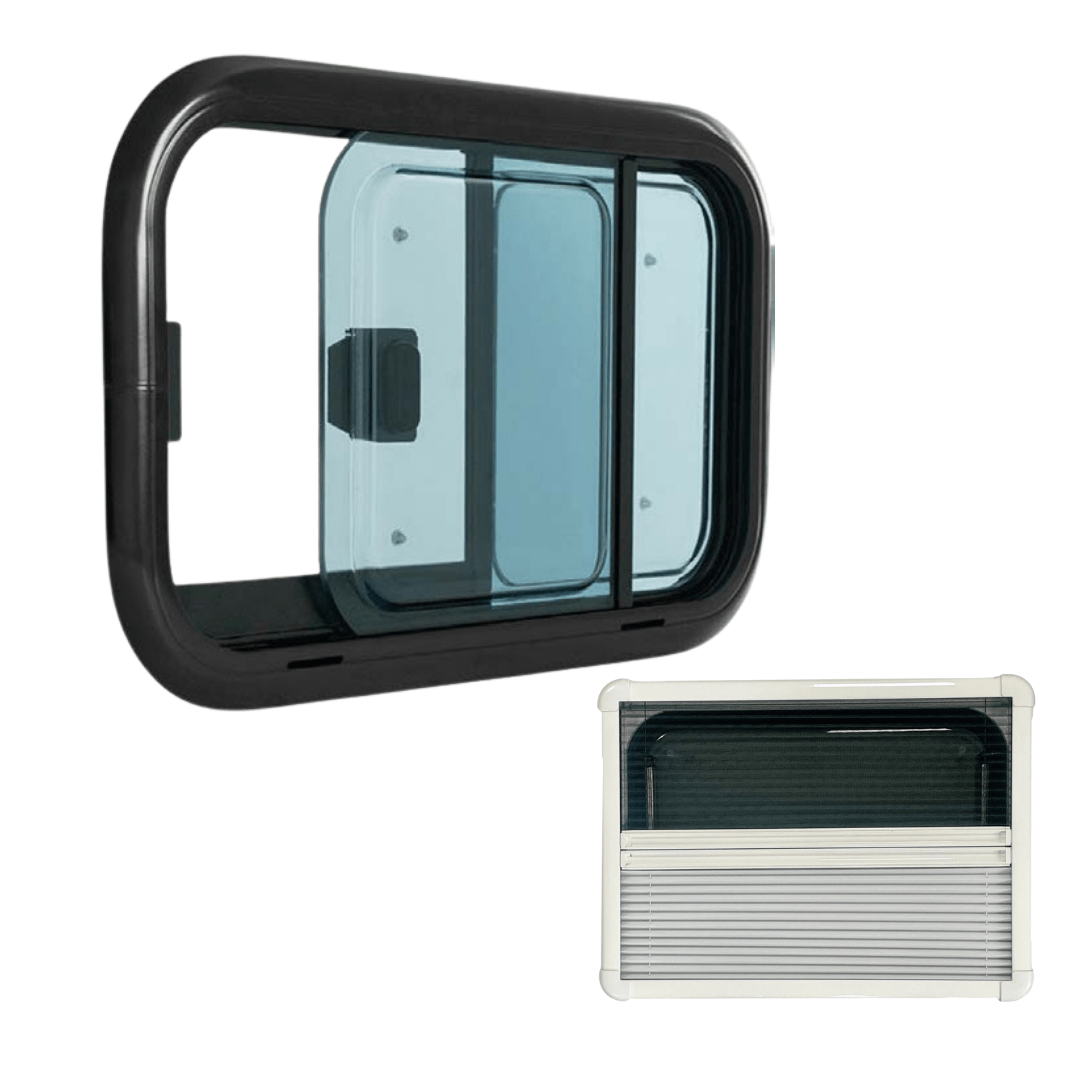
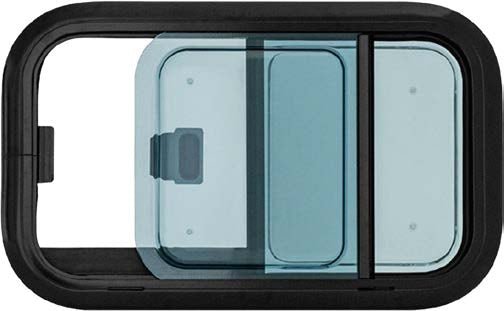
- Choose windows specific to Motorhomes or Campervans, designed to withstand vibrations and outdoor conditions.
- Prefer models with double glazing for better thermal and sound insulation.
2️⃣ Ensure a perfect installation:
- Use suitable sealants (butyl or polyurethane) to ensure perfect waterproofing.
- Check alignment and firmly fix windows to prevent them from loosening over time.
3️⃣ Secure your openings:
- Install reinforced locks or anti-theft grilles to protect your glazed bays.
- Consider integrated blackout blinds and mosquito nets for more comfort and security.
👉 Layout tip: Poor management of windows and bays can turn your Vanlife into a hassle. Investing in quality bays and installing them correctly guarantees a comfortable, secure, and trouble-free trip in your Motorhome or Campervan! 🚐✨
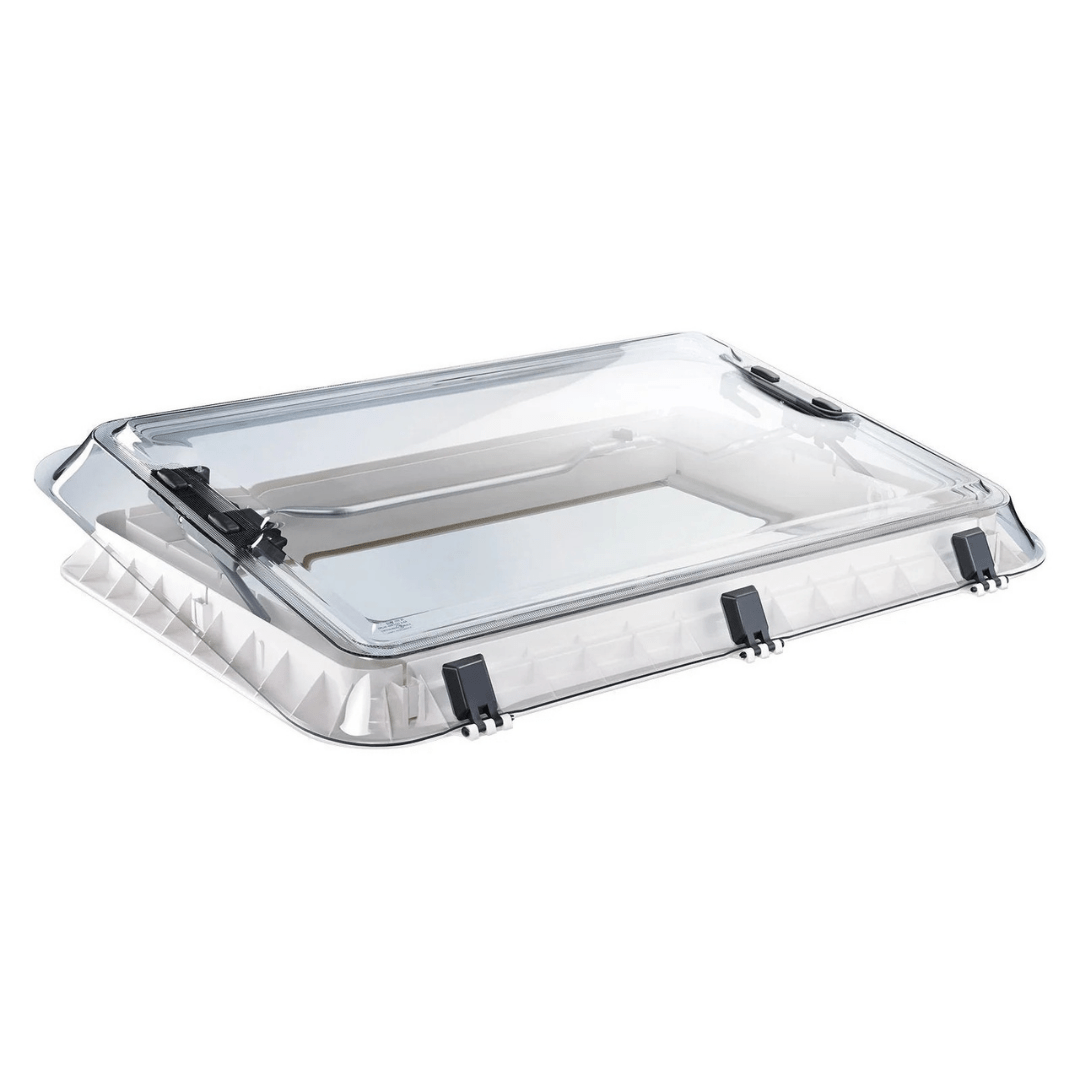
🎉 Good news: Discover our selection of windows and bays for Motorhomes at unbeatable prices, always on sale on our site. Treat yourself to the peace and comfort you deserve, without breaking your budget! 🌞🔧
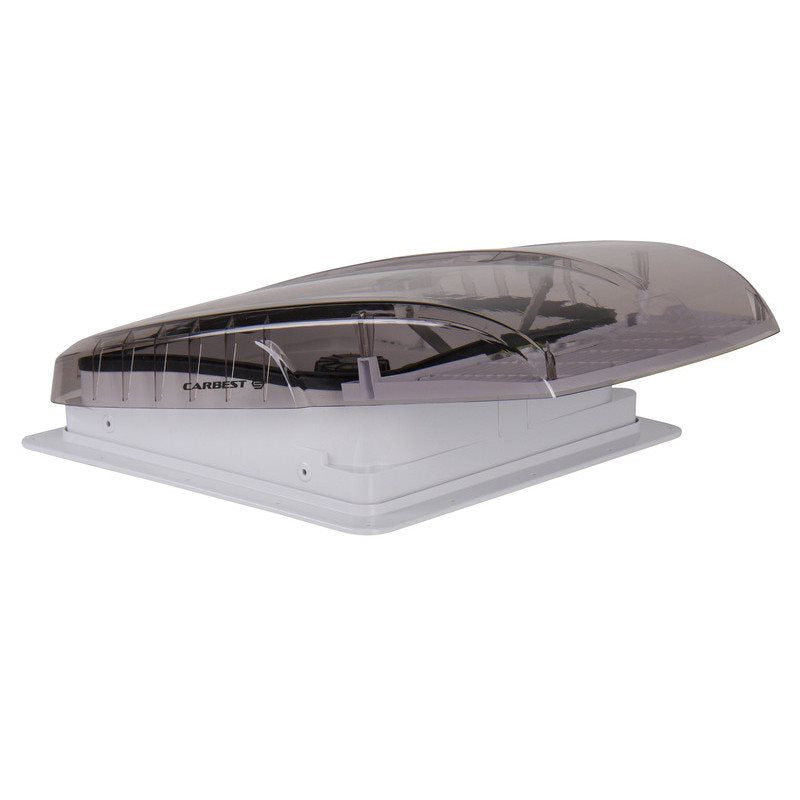
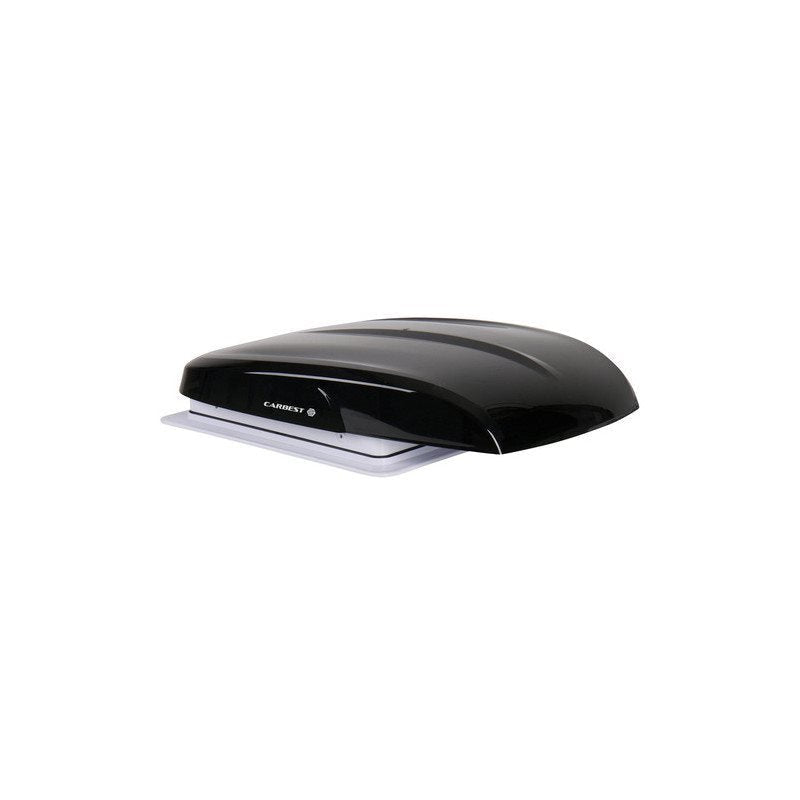
7️⃣ Neglecting the installation or choice of roof vents 🌬️

👉 Why is this a mistake?
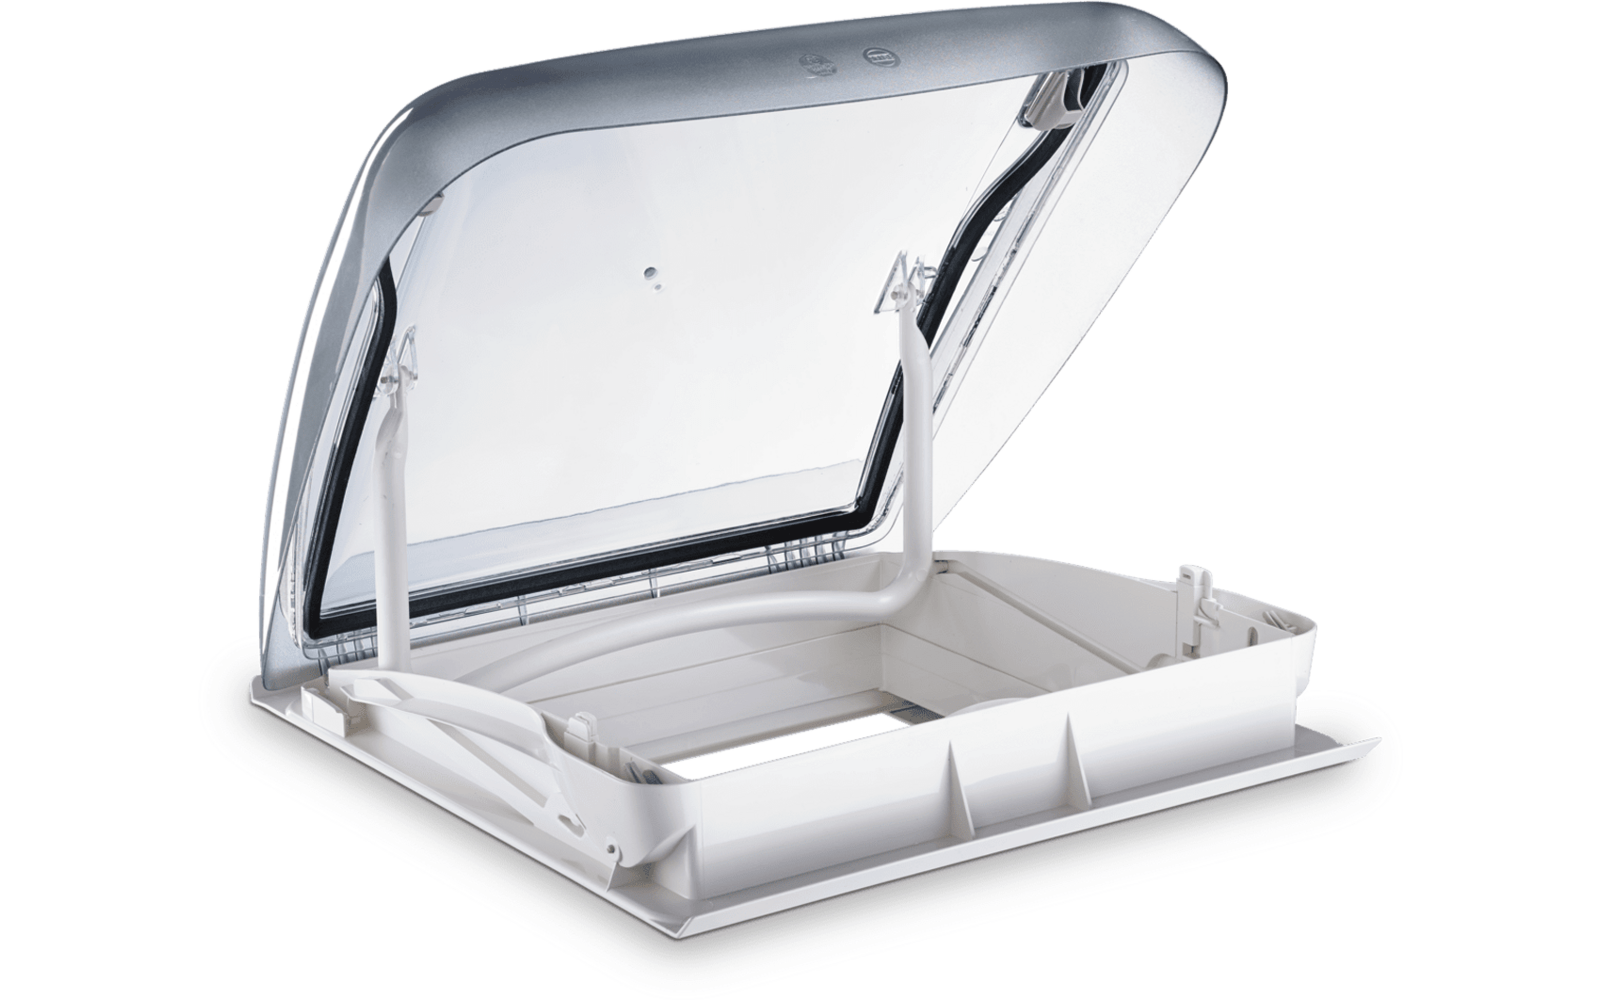
Roof vents are essential to ensure good ventilation and brightness in your Motorhome or fitted panel van, but they are often poorly chosen or badly installed. Incorrect installation can cause water leaks 🌧️, excessive noise while driving 🚐💨, or poor ventilation, making the cabin uncomfortable and stuffy.
🔧 Best practices to avoid this mistake:
1️⃣ Choose the right roof vent:
- Choose a model suited to your use, with options like permanent ventilation or an integrated blackout/mosquito screen.
- If you often travel in summer, a roof vent with integrated fan can be a real asset to cool the interior.
2️⃣ Ensure flawless installation:
- Clean and prepare the surface before installation to ensure good adhesion.
- Use a suitable sealant and apply it evenly to avoid leaks.
3️⃣ Maintain your roof vents regularly:
- Check seals and tighten screws regularly to prevent wear.
- Clean surfaces to prevent dust or debris from damaging mechanisms or blocking ventilation.
👉 Fitting tip: A well-chosen and well-installed roof vent transforms your Vanlife by ensuring better brightness, permanent ventilation, and top interior comfort, whatever the season! 🌞🌬️
🎉 Good news: Discover our roof vents for Motorhomes and fitted panel vans on our site, always at unbeatable prices and with exclusive promotions. Take advantage to improve your layout at a low cost! 🚐✨
🚀 Summary of the 7 key steps to fit out a van, panel van or Motorhome
1️⃣ Planning and design 📝: Before fitting out your Campervan, define your needs: use (occasional travel or nomadic life?), number of people, essential equipment (bed, kitchen, bathroom...) and budget. A good layout plan helps optimize space and avoid costly mistakes.
2️⃣ Vehicle Preparation 🛠️: Check the mechanical condition of the vehicle (engine, tires, brakes…), treat any rust, clean thoroughly and remove unnecessary elements (seats, old coverings) to start with a clean base before outfitting.
3️⃣ Insulation and Coverings 🔥: Good thermal and acoustic insulation is essential for year-round comfort. Use materials like wool, cork or polyurethane foam. Dress the interior with plywood, paneling or a vinyl covering for an easy-to-maintain floor.
4️⃣ Electrical Installation ⚡: An autonomous electrical system is essential to power your van equipment (fridge, lighting, USB outlets…). Install an auxiliary battery, a DC/DC charger, solar panels, a 12V/220V inverter and prioritize low-consumption LED lighting.
5️⃣ Water and Plumbing 🚿: For more comfort, add a fresh water tank (20 to 50L), a waste water tank, a water pump, a sink, an indoor or outdoor shower and, if needed, dry or chemical toilets for full autonomy.
6️⃣ Interior Layout 🏡: Optimize space with a fixed or convertible bed, a compact kitchen with a stove and fridge, smart storage (drawers, shelves) and a modular seating area. If space allows, include a waterproof bathroom for added comfort.
7️⃣ Customization and Decoration 🎨: Give character to your Campervan with colors, textiles, curtains and accessories suited to your lifestyle. Securely fasten elements to prevent movement on the road and enjoy a space that reflects you! 🚐✨
📌 Want even more tips and advice to outfit your van or Motorhome? Discover all our detailed guides on our website!
7 key steps to outfit a van, panel van or Motorhome
1️⃣ Planning and Design
2️⃣ Vehicle Preparation 🛠️
3️⃣ Insulation and Coverings 🔥
4️⃣ Electrical Installation ⚡
5️⃣ Water and Plumbing 🚿
6️⃣ Interior Layout 🏡
7️⃣ Customization and Decoration 🎨


